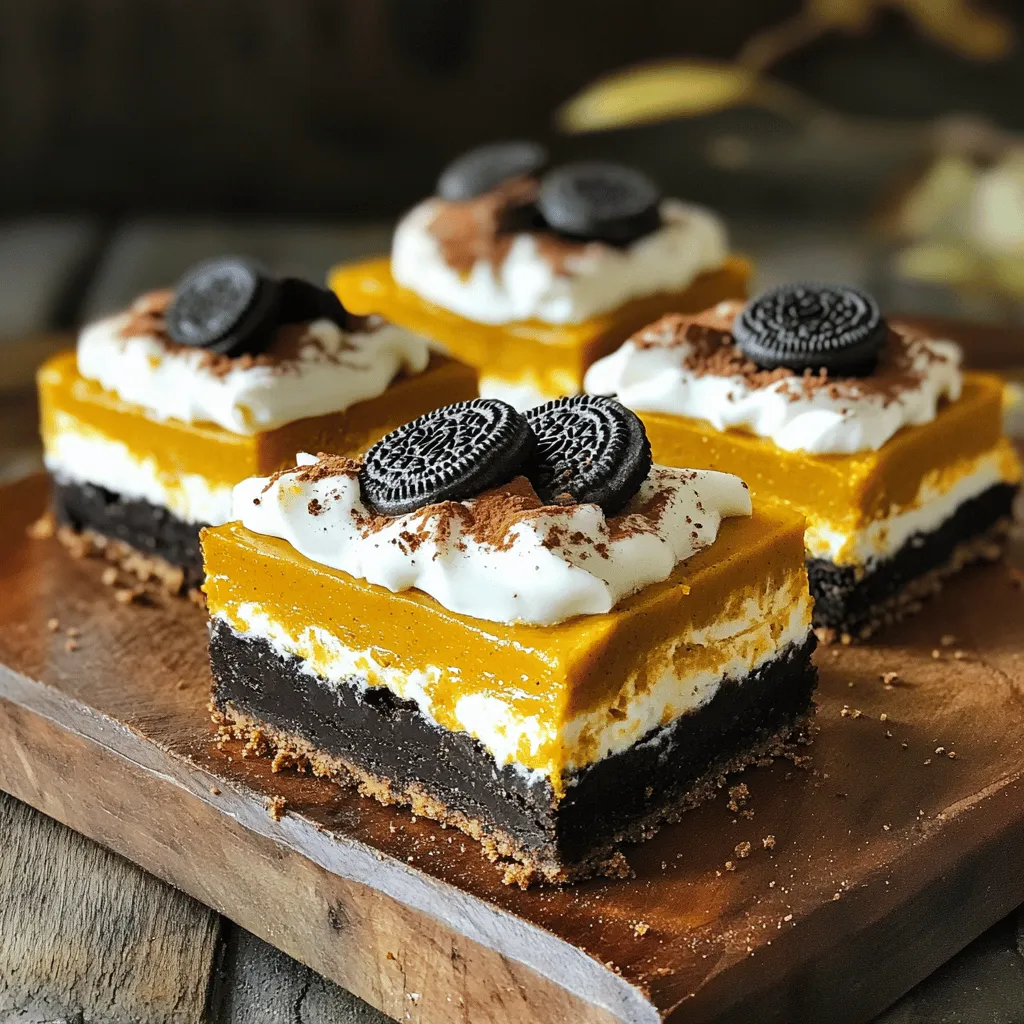
Craving a treat that’s easy to make and bursting with fall flavor? Look no further! These No-Bake Pumpkin Oreo Bars combine the favorite tastes of pumpkin and rich Oreos, creating a perfect dessert. With just a few simple ingredients and no oven required, you can whip up this delightful dish in no time. Join me, and let’s make these simple and yummy bars your new go-to treat!
Ingredients
List of Ingredients
– 24 Oreo cookies, crushed
– ½ cup unsalted butter, melted
– 1 cup pumpkin puree
– 1 cup cream cheese, softened
– ½ cup powdered sugar
– 1 teaspoon vanilla extract
– 1 teaspoon pumpkin spice
– 1 cup Cool Whip or whipped cream
– Additional crushed Oreos for topping
When making No-Bake Pumpkin Oreo Bars, you need a few simple ingredients. First, the Oreo cookies create a crunchy base. The creamy filling comes from pumpkin puree and cream cheese. Together, these ingredients make a delicious treat.
To start, crush the Oreo cookies. You can use a rolling pin or a food processor. Mix the crushed cookies with melted butter. This mixture forms the crust. Press it into a greased baking pan.
Next, you need pumpkin puree. It gives the bars their rich flavor. Cream cheese adds a smooth texture. Beat these with sugar and spices until combined. Then, fold in the Cool Whip for a light finish. This gives the filling a fluffy feel.
You can also think about extra toppings. More crushed Oreos or a sprinkle of pumpkin spice can make the bars look pretty.
Step-by-Step Instructions
Preparing the Crust
Start by crushing 24 Oreo cookies into fine crumbs. You can use a food processor or a rolling pin. Next, mix these crumbs with ½ cup of melted butter in a medium bowl. Stir until the crumbs soak up the butter. This will make a tasty, rich crust. Now, press this mixture evenly into the bottom of a greased 9×9-inch baking pan. Use the back of a measuring cup to get it flat and even.
Making the Pumpkin Filling
In a larger bowl, combine 1 cup of pumpkin puree, 1 cup of softened cream cheese, and ½ cup of powdered sugar. Add 1 teaspoon of vanilla extract and 1 teaspoon of pumpkin spice for flavor. Beat this mixture with an electric mixer until it is smooth and creamy. This part brings warmth and sweetness to your bars. Now, gently fold in 1 cup of Cool Whip or whipped cream. This will make the filling light and fluffy.
Assembling and Chilling
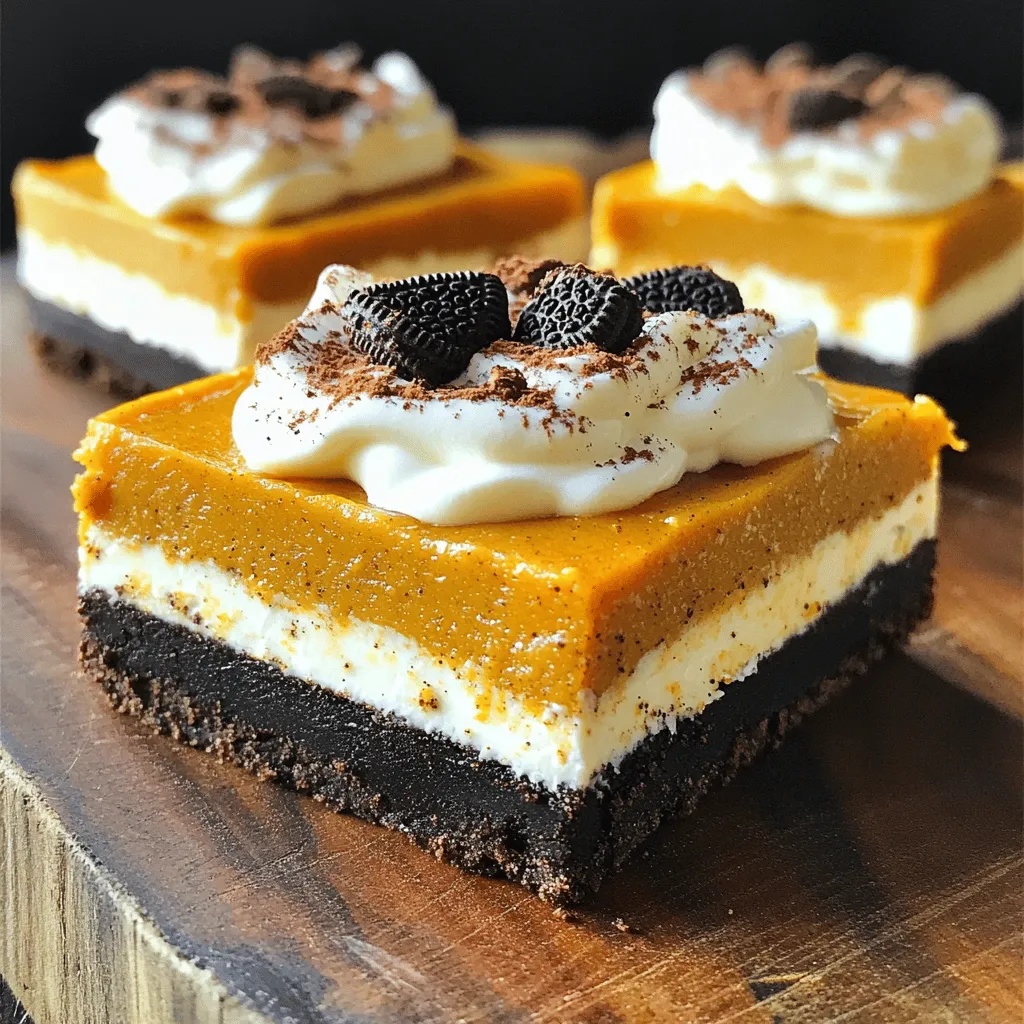
Spread the creamy pumpkin mixture evenly over the Oreo crust in your baking pan. Smooth the top with a spatula for a nice finish. For a fun crunch, sprinkle additional crushed Oreos on top. Cover the pan with plastic wrap and place it in the fridge. Chill the bars for at least 4 hours. This will help them set and firm up. Once chilled, cut them into bars and serve. Enjoy this delicious treat!
Tips & Tricks
Ensuring Perfect Texture
Softened cream cheese is key. It blends well with other ingredients, creating a smooth filling. If it’s too cold, your mixture may be lumpy. Use an electric mixer for the best results. Start on low speed, then increase to medium. This helps the ingredients mix without splattering. Aim for a light and fluffy filling.
Chilling Time
Chill your bars for at least 4 hours. This time allows the filling to firm up. If you skip this step, the bars may fall apart when you cut them. A well-chilled dessert is easier to serve and looks better on the plate. Planning ahead helps you enjoy these bars at their best.
Serving Suggestions
Serve the bars cold on a nice platter. Add a dollop of whipped cream to each piece. This adds a creamy touch. Sprinkle some pumpkin spice on top for extra flavor and a festive look. If you have leftovers, cover them tightly. Store in the fridge for up to a week. Enjoy the flavors of fall with each bite!
Variations
Flavor Enhancements
You can make your No-Bake Pumpkin Oreo Bars even better. Try adding chocolate chips or nuts. Chocolate chips give a nice, sweet crunch. Nuts can add a rich flavor and texture. You can also switch up the cookie base. Use gluten-free Oreos if you want a gluten-free treat.
Dietary Modifications
If you have dietary needs, you can change some ingredients. For a vegan version, use plant-based cream cheese and whipped cream. This keeps the bars creamy while being dairy-free. If you want a healthier twist, try low-sugar alternatives. Use a sugar substitute for the powdered sugar.
Seasonal Twists
You can change the flavors to fit the season. Mix in other fall spices like cinnamon or nutmeg for extra warmth. You can also get creative with toppings. Use caramel sauce or pecans for a festive look. Try topping with seasonal sprinkles or whipped cream for a holiday feel.
Storage Info
Proper Storage Techniques
To keep your No-Bake Pumpkin Oreo Bars fresh, store them in the fridge. Place the bars in an airtight container. This prevents them from drying out and keeps them tasting great. If you have leftovers, make sure to cover the top with plastic wrap.
For longer storage, you can freeze the bars. Cut them into pieces and wrap each piece in plastic wrap. Then, place them in a freezer bag. This helps avoid freezer burn and keeps the bars yummy.
Shelf Life
When stored in the fridge, your No-Bake Pumpkin Oreo Bars last about five days. If you freeze them, they can stay good for up to three months. Just remember to label your container with the date. This way, you won’t forget how long they have been stored.
Reheating Instructions
If your bars dry out while stored, you can rehydrate them. Simply place the bars on a plate and cover them with a damp paper towel. Microwave them for about 10 to 15 seconds. This method adds back some moisture without cooking them. Enjoy your delicious treat!
FAQs
How long do No-Bake Pumpkin Oreo Bars need to chill?
These bars need to chill for at least 4 hours. This time helps them set properly. I recommend leaving them overnight for the best taste. The longer they chill, the firmer they become.
Can I use sugar-free Oreo cookies for this recipe?
Yes, you can use sugar-free Oreo cookies. They work well in the crust. Just remember that sugar-free options might change the taste a bit. The bars will still be tasty and fun!
What can I use as a substitute for pumpkin puree?
You can use butternut squash puree or sweet potato puree. Both give a nice flavor. You can also roast the squash or sweet potato first for added sweetness. Just blend until smooth before adding.
Are these bars suitable for freezing?
Yes, these bars freeze well. Wrap them tightly in plastic wrap and then in foil. This helps keep them fresh. To thaw, place them in the fridge overnight before serving.
Can I make this recipe in advance?
Absolutely! You can make these bars ahead of time. Just store them in the fridge or freezer until you’re ready to serve. They taste great after a day or two.
This dessert brings together simple ingredients and easy steps. You create a sweet crust and a rich filling with Oreos, pumpkin, and cream cheese. Remember to chill for the best texture. Feel free to add your own twist with chocolate chips or nuts.
Enjoy these bars at gatherings or for a cozy night in. They deserve a spot in your recipe book. Try making them today for a tasty treat!