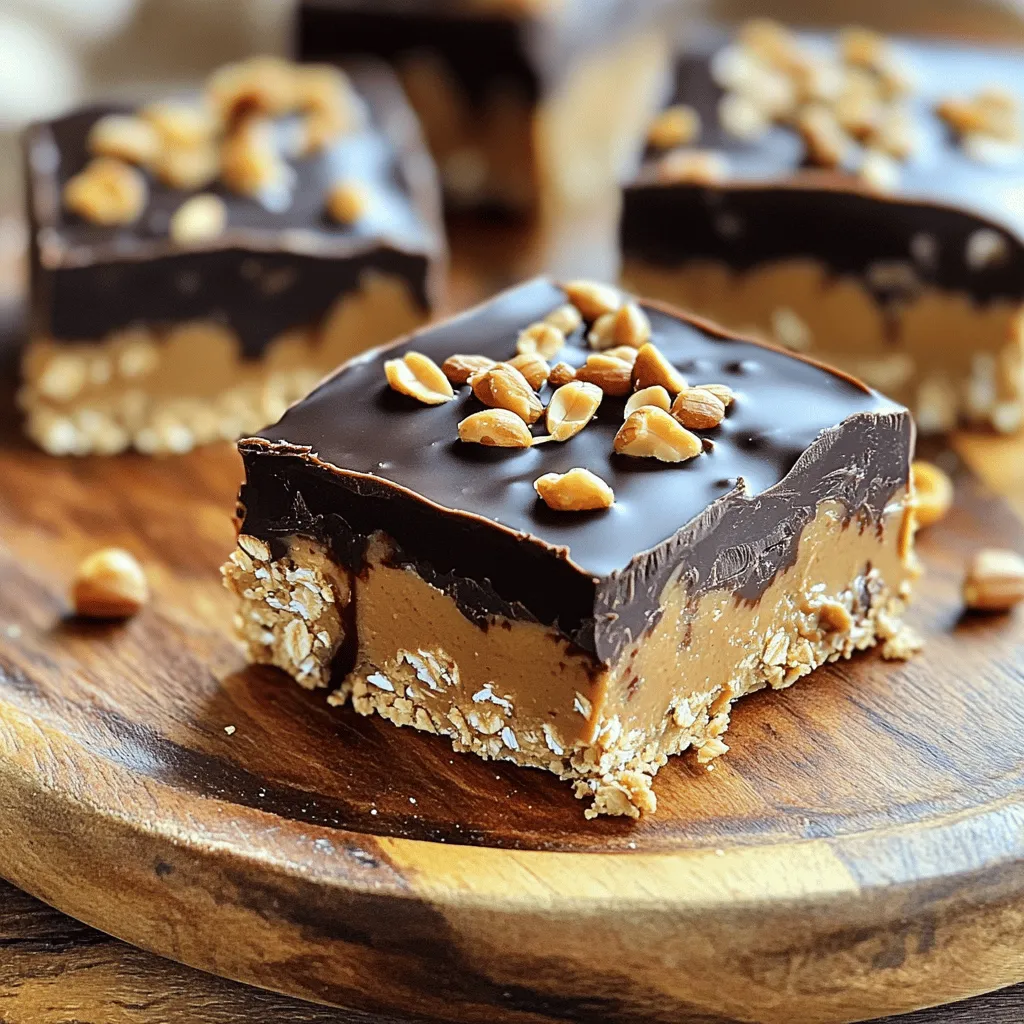
Are you ready to whip up a delicious treat without turning on your oven? I’m excited to share my easy recipe for No Bake Peanut Butter Chocolate Bars. These bars are quick to make, filled with rich flavors, and require simple ingredients you probably already have at home. Whether you’re a beginner or a kitchen pro, this recipe will satisfy your sweet tooth in no time. Let’s dive into the steps and start creating your new favorite snack!
Ingredients
Main Ingredients List
To make these no-bake peanut butter chocolate bars, gather these key items:
– 1 cup creamy peanut butter
– 1/2 cup honey or maple syrup
– 1 1/2 cups rolled oats
– 1/2 cup powdered sugar
– 1 cup dark chocolate chips
– 1 tablespoon coconut oil
– 1/4 teaspoon sea salt
These ingredients work together to create a sweet and chewy treat that’s hard to resist.
Optional Ingredients for Customization
You can change the bars to fit your taste. Here are some ideas:
– Chopped peanuts for garnish
– A pinch of cinnamon for extra warmth
– A splash of vanilla extract for added flavor
– Dried fruits like cranberries or raisins for a fruity twist
Feel free to mix and match these options to create your perfect bar.
Ingredient Substitutions
If you need to swap out any ingredients, consider these easy substitutions:
– Use almond butter instead of peanut butter for a nutty twist.
– Agave syrup can replace honey or maple syrup if desired.
– Rolled oats can be swapped with quick oats if you’re in a hurry.
– Use milk chocolate chips if you prefer a sweeter taste.
These substitutions help you make the bars work for your diet or preference.
Step-by-Step Instructions
Preparation Overview
This recipe is simple and fun. You need just a few steps to make these bars. Gather all your ingredients first. It makes cooking easier and faster.
Detailed Cooking Steps
1. In a large bowl, mix 1 cup of creamy peanut butter with 1/2 cup of honey or maple syrup. Blend them until the mix is smooth.
2. Next, add 1 1/2 cups of rolled oats, 1/2 cup of powdered sugar, and 1/4 teaspoon of sea salt. Stir until everything is combined well.
3. Line an 8×8 inch baking dish with parchment paper. This helps you remove the bars later. Press the peanut butter mix into the dish. Use a spatula to make it even.
4. In a microwave-safe bowl, add 1 cup of dark chocolate chips and 1 tablespoon of coconut oil. Heat in 20-second bursts, mixing in between, until it melts.
5. Pour the melted chocolate over the peanut butter layer. Spread it out evenly with your spatula.
6. If you want, sprinkle some chopped peanuts on top for extra crunch.
7. Place the dish in the fridge for at least 2 hours. This helps the bars set. Once firm, lift the bars out using the parchment paper. Cut them into squares or bars.
Visual Guide or Video Link
Looking for a visual guide? Check out my video link for a step-by-step watch. It shows how to make these bars and makes it easier to follow along!
Tips & Tricks
Perfecting the Texture
To get the best texture in your bars, use creamy peanut butter. Creamy peanut butter blends well and gives a smooth mouthfeel. If you prefer a crunch, mix in chopped peanuts. You can also adjust the oats. Add more oats for a firmer bite, or less for a softer bar.
Ideas for Serving and Presentation
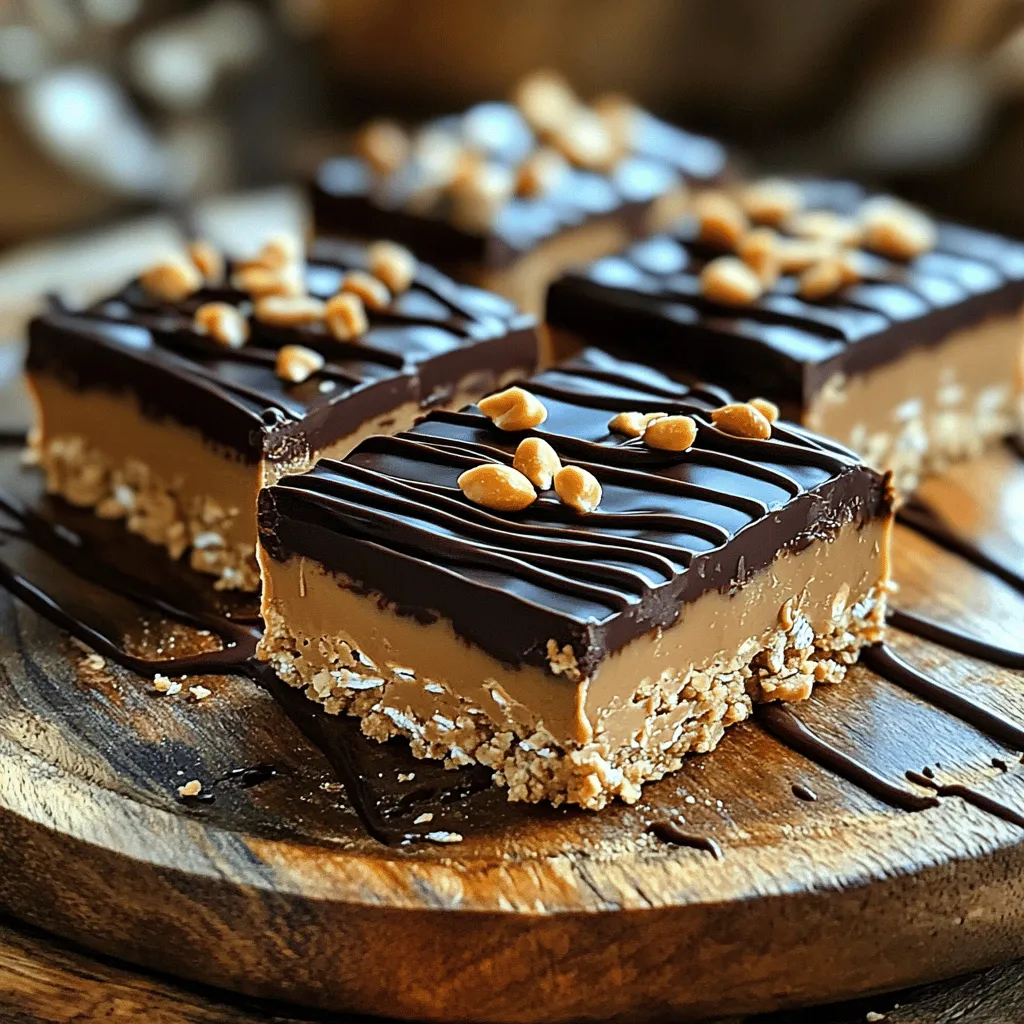
For serving, cut the bars into fun shapes. Use cookie cutters for stars or hearts. Place the bars on a rustic wooden platter for a nice touch. Drizzle some melted chocolate on top for flair. A sprinkle of chopped peanuts adds crunch and looks great.
Common Mistakes to Avoid
One common mistake is not letting the bars chill long enough. If you cut them too soon, they will crumble. Make sure to let them set for at least two hours. Another mistake is using too much honey or syrup. This can make the bars too sticky.
Variations
Flavor Variations
You can easily change the flavor of these bars. Try using almond butter instead of peanut butter. Almond butter gives a nice twist. You could also use white chocolate instead of dark chocolate. This adds a sweet and creamy taste. Mix in some cocoa powder for a deeper chocolate flavor. You can even add a hint of vanilla extract for extra richness.
Gluten-Free and Vegan Options
Making these bars gluten-free is simple. Just use gluten-free oats instead of regular ones. For a vegan option, switch honey for maple syrup. This keeps the bars plant-based and delicious. Always check labels to ensure all ingredients fit your diet. With these tweaks, everyone can enjoy the treat!
Seasonal Add-Ins
You can customize these bars with seasonal add-ins. In fall, add chopped apples or pumpkin puree for a cozy flavor. In summer, mix in dried fruits like cranberries or apricots. Nuts are a great choice too. Chopped walnuts or pecans add crunch and healthy fats. These options let you enjoy a new taste with each batch.
Storage Info
Best Storage Practices
To keep your no bake peanut butter chocolate bars fresh, store them in an airtight container. Line the container with parchment paper for easy removal. Place a layer of parchment between bars if stacking them. This prevents sticking and keeps them intact.
How Long Do They Last?
These bars last about one week in the fridge. If you store them properly, they will stay tasty and fresh. If you notice any changes in smell or texture, it’s best to toss them out.
Freezing Instructions
You can freeze these bars for up to three months. Wrap each bar in plastic wrap and place them in a zip-top freezer bag. When ready to eat, let them thaw in the fridge. They will taste just as good as fresh!
FAQs
Can I make these bars without peanut butter?
Yes, you can! If you can’t use peanut butter, try almond butter or sunflower seed butter. Both options give a nice taste and still hold the bars together well.
How to make no-bake bars firmer?
To make your bars firmer, add more rolled oats or reduce the sweetener. You can also chill them longer. A good cooling time helps them set properly.
What is the best way to cut chocolate bars?
Use a sharp knife that is warmed slightly. This helps the knife glide through the chocolate without cracking. Cut the bars into squares or rectangles for easy serving.
What’s the difference between using honey or maple syrup?
Honey is thicker and sweeter. Maple syrup gives a milder flavor and is often lighter. Both work well, so choose based on your taste preference.
Can I add protein powder to the recipe?
Yes, you can add protein powder! Just mix it in with the oats and sugar. Start with a small amount, so it doesn’t change the texture too much.
What are some healthy toppings for these bars?
You can use toppings like shredded coconut, chia seeds, or sliced almonds. They add crunch and extra nutrition. Try chopped dark chocolate for a rich flavor!
This blog post showed you how to make tasty bars. We covered the key ingredients and substitutions to fit your needs. I detailed easy steps to prepare and cook. The tips helped you perfect texture and avoid common errors. You learned about flavor variations and storage methods to keep them fresh. Keep these ideas in mind for your next snack. They make healthy treats fun and delicious. Your creation can impress family and friends. Enjoy your bars!