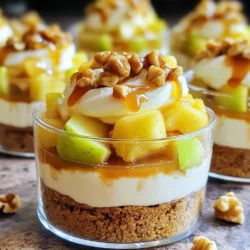
No-Bake Caramel Apple Cheesecake Cups
Indulge in the sweet goodness of No-Bake Caramel Apple Cheesecake Cups! This easy, layered dessert features a creamy blend of cream cheese, caramel-coated apples, and a crunchy graham cracker crust, all topped with a drizzle of caramel. Perfect for any occasion, this treat is sure to impress friends and family. Ready to delight your taste buds? Click through to explore this delicious recipe and make your own dessert masterpiece!