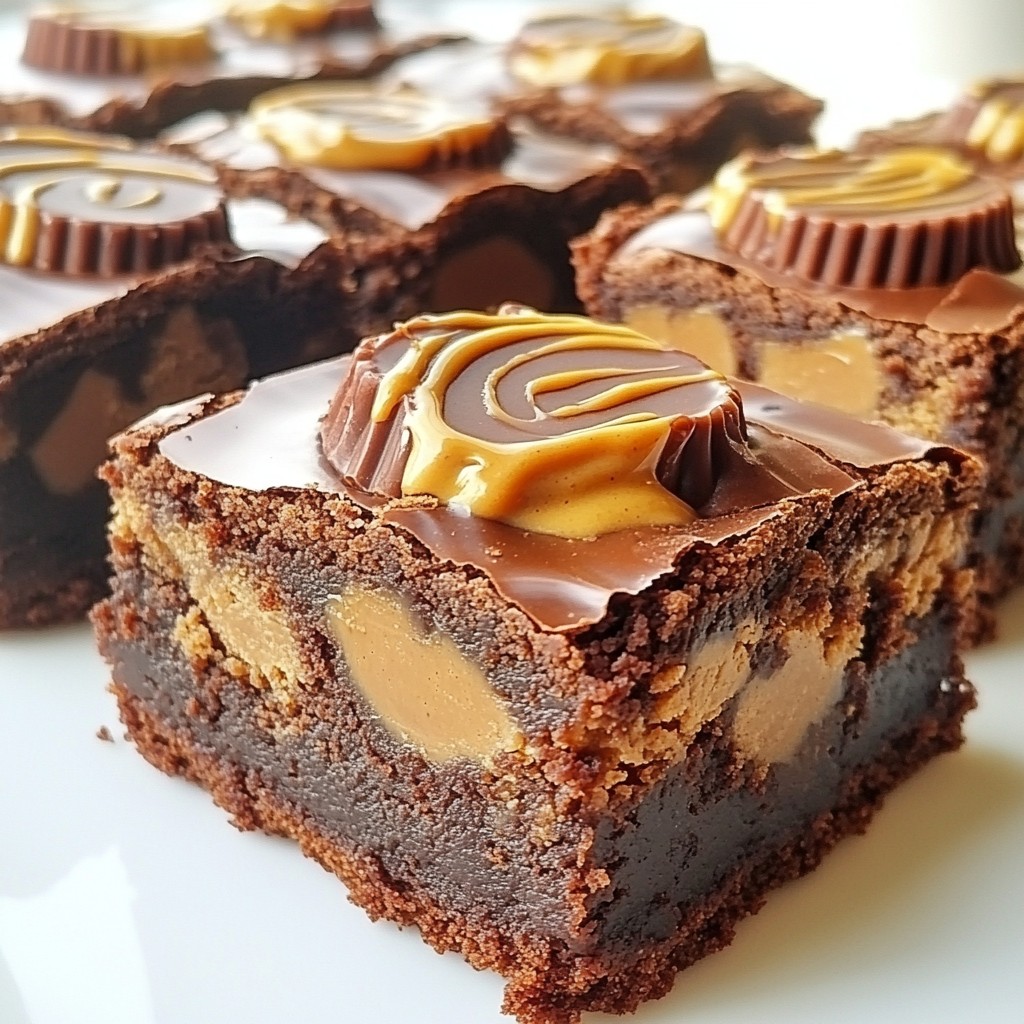
If you love chocolate and peanut butter, you’re in for a treat! My Peanut Butter Cup Brownies are the ultimate dessert that blend rich chocolate with creamy peanut butter. With each bite, you get a heavenly mix of flavors and textures. Whether you’re baking for a special occasion or just craving something sweet, these brownies are sure to impress. Let's dive into the ingredients and get started on this delicious journey!
Why I Love This Recipe
- Decadent Flavor Combination: The rich chocolate brownie base paired with creamy peanut butter creates an indulgent treat that satisfies any sweet tooth.
- Easy to Make: This recipe requires simple ingredients and straightforward steps, making it perfect for bakers of all skill levels.
- Perfect for Sharing: Cut into squares, these brownies are ideal for parties, potlucks, or just sharing with friends and family.
- Customizable Topping: You can easily add more peanut butter cups or drizzle additional melted peanut butter on top for an extra special touch.
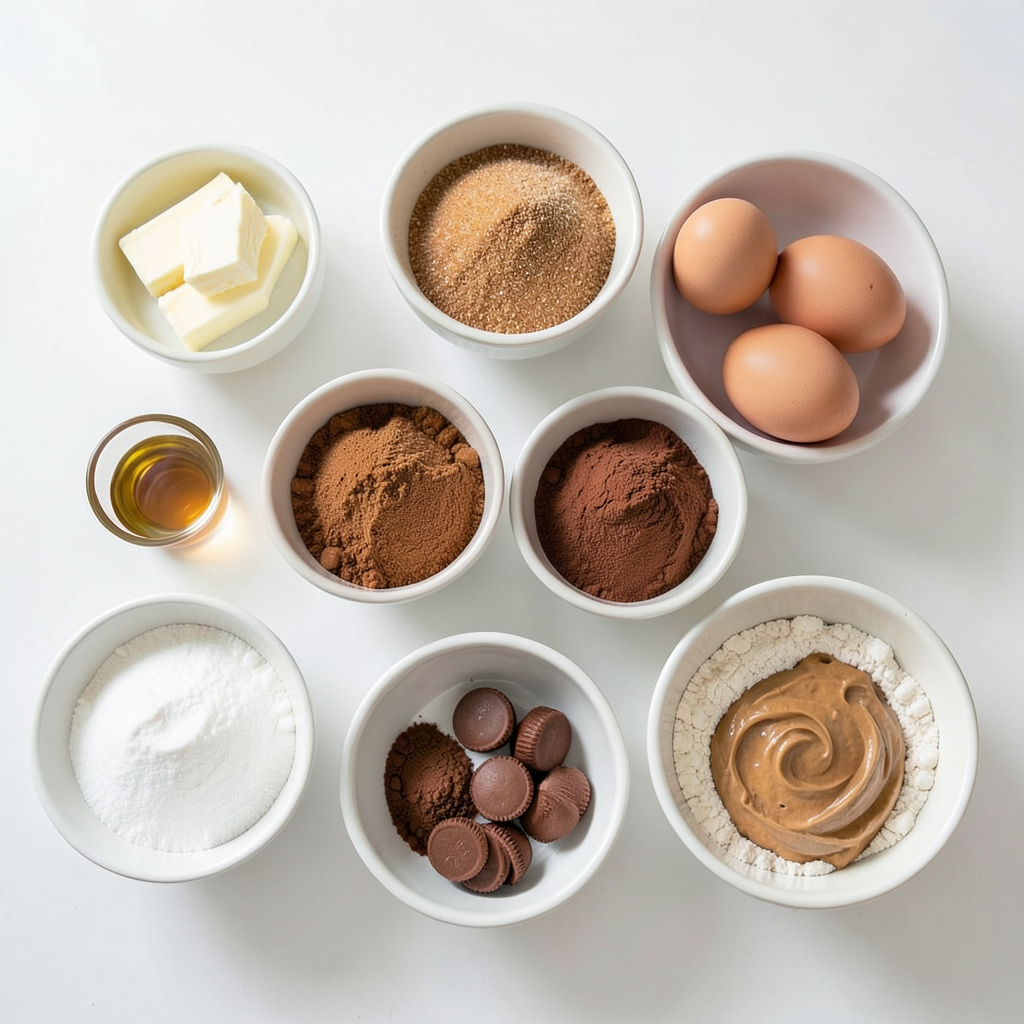
Ingredients
List of Ingredients
- 1 cup unsalted butter
- 1 ½ cups granulated sugar
- 1 cup brown sugar, packed
- 4 large eggs
- 1 tablespoon vanilla extract
- 1 cup all-purpose flour
- ½ cup unsweetened cocoa powder
- ½ teaspoon baking powder
- ½ teaspoon salt
- 1 cup creamy peanut butter (plus extra for drizzling)
- 12 mini peanut butter cups (or more for topping)
To make these Peanut Butter Cup Brownies, you need simple but rich ingredients. Start with unsalted butter. It gives the brownies a creamy base. Use both granulated and brown sugar. Granulated sugar adds sweetness, while brown sugar gives a nice chew.
Next, you'll need four large eggs. They create a light texture. Don't forget the vanilla extract. It enhances the flavors.
For the dry mix, blend all-purpose flour, cocoa powder, baking powder, and salt. Cocoa powder is key for that deep chocolate taste. Baking powder helps the brownies rise.
Now, we can’t forget the star of the show: creamy peanut butter. It brings a nutty flavor and smooth texture.
Finally, mini peanut butter cups add surprise bites of sweetness. They melt in the brownie, creating delight in every piece.
Gather these ingredients, and you are ready to start crafting your delicious brownies!
Step-by-Step Instructions
Preparation Steps
1. Preheat the Oven and Prepare the Baking Pan
First, heat your oven to 350°F (175°C). Take a 9x13 inch baking pan and grease it. Line the pan with parchment paper, leaving some paper hanging over the sides. This makes it easy to lift the brownies out later.
2. Melting Butter and Combining Sugars
In a medium saucepan, melt 1 cup of unsalted butter over low heat. Stir in 1 ½ cups of granulated sugar and 1 cup of packed brown sugar. Mix until it is smooth and combined. Once done, remove it from heat and let it cool for a few minutes.
3. Incorporating Eggs and Vanilla
Now, add 4 large eggs to the butter-sugar mix. Do this one at a time, stirring well after each addition. Next, pour in 1 tablespoon of vanilla extract and mix until everything blends nicely.
Mixing Dry Ingredients
1. Combining Flour, Cocoa Powder, Baking Powder, and Salt
In a separate bowl, mix 1 cup of all-purpose flour, ½ cup of unsweetened cocoa powder, ½ teaspoon of baking powder, and ½ teaspoon of salt. This mix gives the brownies a rich flavor.
2. Gradually Folding Dry Ingredients into Wet Mixture
Slowly add the dry mix to the wet ingredients. Stir gently until just combined. Be careful not to overmix, as that can make the brownies tough.
Assembling the Brownies
1. Layering Half of the Batter and Peanut Butter Cups
Pour half of the brownie batter into the prepared pan. Spread it out evenly with a spatula. Next, take 12 mini peanut butter cups and place them on top of the batter.
2. Swirling Peanut Butter and Final Layering
Pour the rest of the brownie batter over the peanut butter cups, covering them fully. For a fun touch, spoon a few blobs of creamy peanut butter on top. Use a knife to swirl it around for a nice design.
Baking and Cooling
1. Baking Time and Toothpick Test
Place the pan in the oven and bake for 25 to 30 minutes. To check if they’re done, insert a toothpick into the center. It should come out with a few moist crumbs, not wet batter.
2. Cooling Instructions
Once baked, take the brownies out of the oven. Let them cool in the pan for about 10 minutes. Then, use the parchment paper to lift them out onto a cutting board. Allow them to cool completely before cutting into squares. Enjoy your delicious peanut butter cup brownies!
Tips & Tricks
Achieving the Perfect Brownie Texture
- Avoiding Overmixing: Mix your batter just enough to combine the ingredients. Overmixing can lead to tough brownies. You want a soft and fudgy texture. Gently fold the dry ingredients into the wet mixture until you see no dry flour.
- Ensuring Proper Oven Temperature: Always preheat your oven to 350°F (175°C). An accurate temperature guarantees even baking. Use an oven thermometer to check if your oven runs hot or cold. This can make a big difference in your brownie’s texture.
Enhancements and Serving Suggestions
- Drizzling Peanut Butter for Presentation: After swirling some peanut butter on top, try drizzling more melted peanut butter right before serving. It adds a nice finishing touch and makes the brownies look even more inviting.
- Pairing with Ice Cream or Whipped Cream: These brownies taste great with a scoop of vanilla ice cream or a dollop of whipped cream. The cold creaminess balances the rich chocolate and peanut butter, making each bite a delight.
Pro Tips
- Use Room Temperature Ingredients: This helps the batter mix more evenly, resulting in a smoother texture for your brownies.
- Don't Overmix the Batter: Mix until just combined to ensure your brownies remain fudgy and chewy, rather than cakey.
- Swirl with Warm Peanut Butter: Microwave your peanut butter for a few seconds before swirling to make it easier to drizzle and create beautiful patterns.
- Cool Completely Before Cutting: Let the brownies cool completely to help them set and make cutting easier, resulting in cleaner edges.
Variations
Ingredient Substitutions
You can switch ingredients to suit your needs or preferences.
- Using Coconut Oil or Margarine: You can swap unsalted butter for coconut oil or margarine. This change can make your brownies dairy-free and add a slight coconut flavor. Just use the same amount, one cup, for a great result.
- Gluten-Free Options with Alternative Flours: If you need gluten-free brownies, try using almond flour or a gluten-free mix. Replace the all-purpose flour with one cup of your chosen flour. This keeps the texture light and moist.
Flavor Variations
Adding new flavors can take your brownies to the next level.
- Adding Nuts or Chocolate Chips: You can mix in nuts or chocolate chips. Walnuts or pecans add crunch, while chocolate chips bring extra sweetness. Fold in about half a cup for a tasty twist.
- Incorporating Additional Flavorings (e.g., espresso, mint): Try adding a teaspoon of espresso powder for a coffee kick. If you want a refreshing taste, a few drops of mint extract work well. This small addition can really change your brownies.
Storage Information
How to Store Brownies
Store your peanut butter cup brownies at room temperature in an airtight container. Keep them away from direct sunlight. If you prefer, you can refrigerate them for a firmer texture. Just remember to let them sit at room temperature for about 10 minutes before serving.
For long-term storage, freezing is a great option. Wrap each brownie square in plastic wrap tightly. Place the wrapped brownies in a freezer-safe bag or container. You can freeze them for up to three months without losing flavor.
Shelf Life
For the best taste, eat the brownies within five days if stored at room temperature. If you keep them in the fridge, they can last up to a week. When frozen, they stay fresh for about three months. Enjoy them at their peak for the best chocolate delight!
FAQs
Common Questions About Peanut Butter Cup Brownies
Can I use crunchy peanut butter instead of creamy? Yes, you can! Crunchy peanut butter adds a fun texture. It gives bites a nice crunch. Try it if you like a little extra bite in your brownies.
How do I know when the brownies are done baking? Check with a toothpick. Insert it into the center of the brownies. When it comes out with a few moist crumbs, they're ready. Avoid wet batter on the toothpick. This means they need more time.
What can I substitute for eggs in this recipe? You can use applesauce or flaxseed meal. For applesauce, use 1/4 cup for each egg. For flaxseed meal, mix 1 tablespoon with 2.5 tablespoons of water. Let it sit for a few minutes before adding it to your mix.
Tips for Serving
What to serve with peanut butter cup brownies? These brownies pair well with vanilla ice cream. The cold ice cream balances the warm brownies. You can also serve them with whipped cream or fresh berries for a tasty contrast.
How should I cut these brownies for serving? Use a sharp knife for clean cuts. First, let them cool completely. This helps keep the shape. Cut into squares or rectangles, about 2 inches each. Adjust the size based on your preference.
You learned how to make delicious peanut butter cup brownies. We covered ingredients, steps, and tips. Remember to blend the wet and dry ingredients carefully to keep your brownies soft. You can also explore fun variations, like gluten-free options or added flavors. Store them properly to enjoy their best taste. With these insights, you can create a sweet treat that everyone will love. Now, go and bake those brownies! Enjoy every bite.