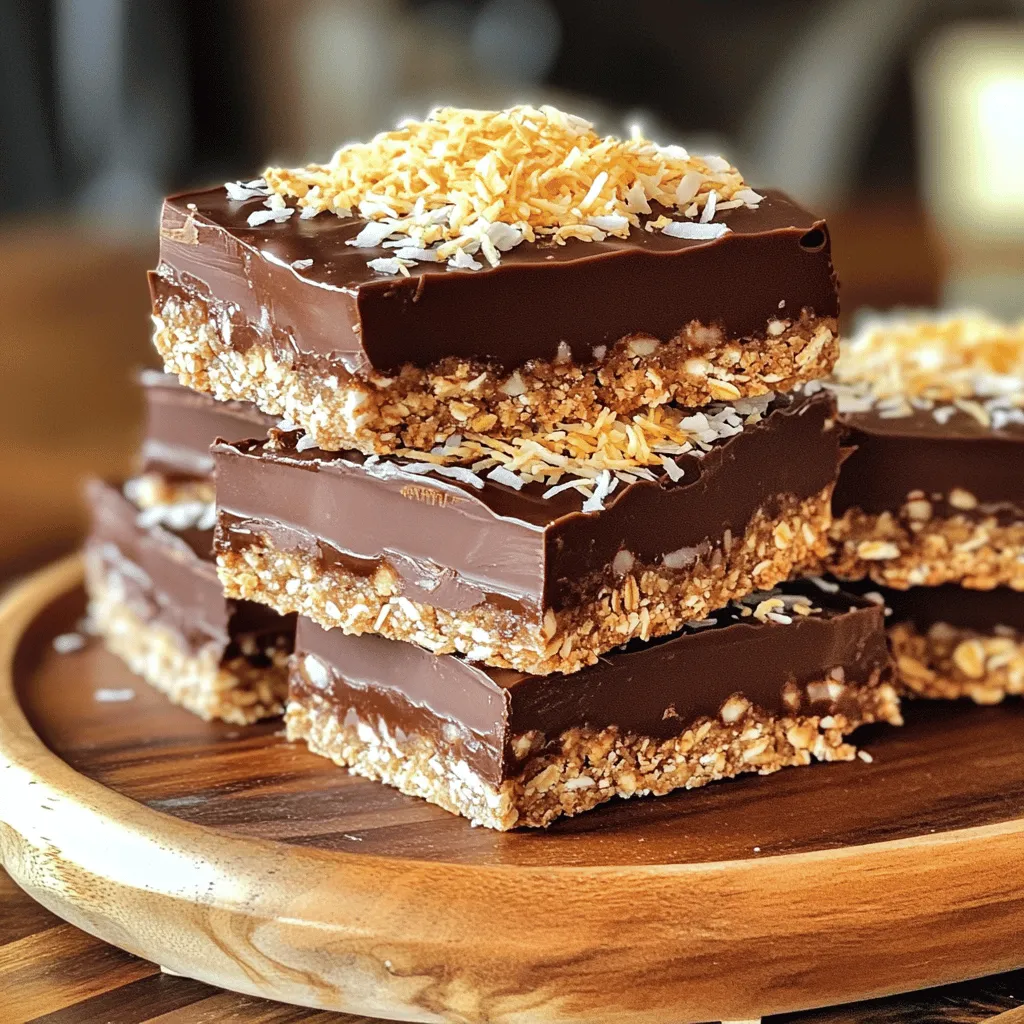
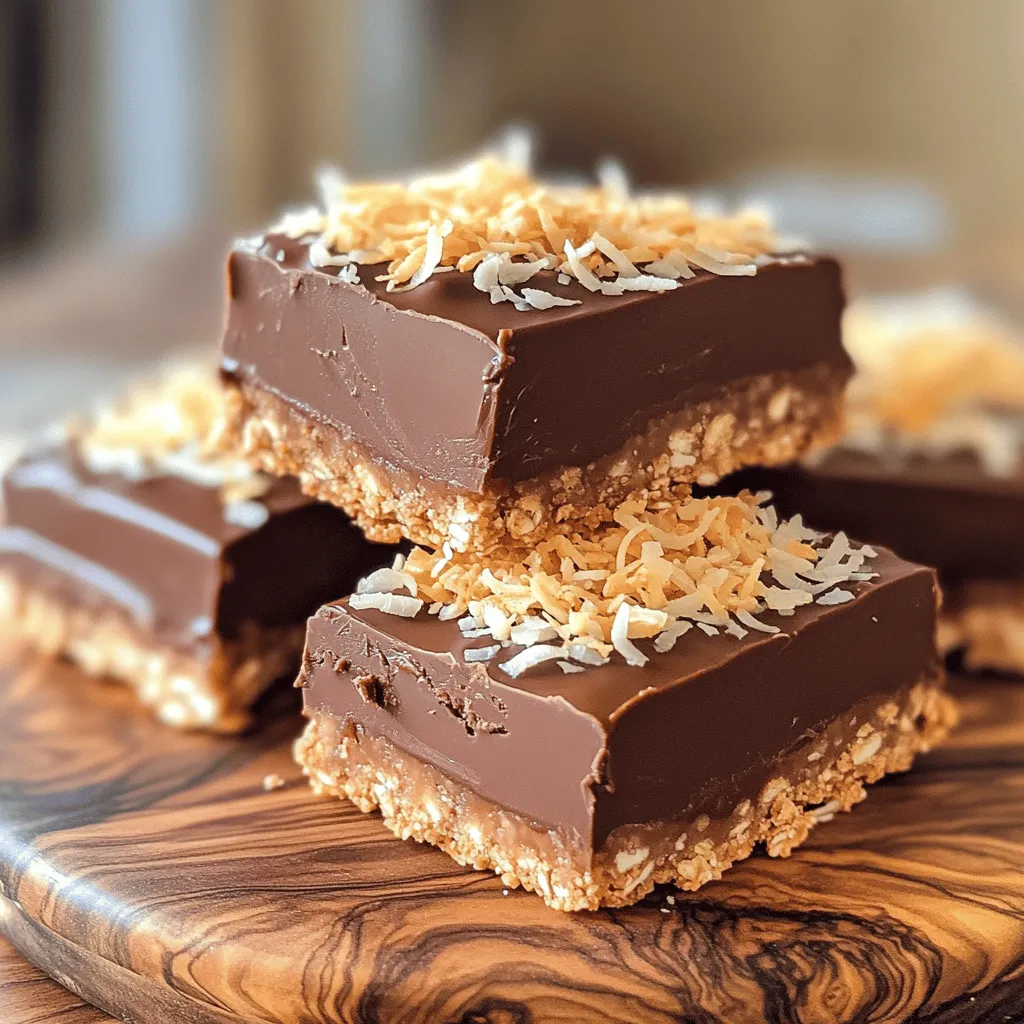
Are you ready to whip up a delight that requires no baking? These No-Bake Chocolate Coconut Bars are simple, tasty, and perfect for any occasion. With just a few basic ingredients, you can create a treat that impresses everyone. Whether you’re a busy parent or a dessert lover, this easy recipe fits right into your day. Let’s get started on making your new favorite sweet indulgence!
Ingredients
List of Ingredients
To make these tasty No-Bake Chocolate Coconut Bars, gather the following items:
– 1 cup unsweetened shredded coconut
– 1 cup rolled oats
– 1 cup almond flour
– 1/2 cup maple syrup
– 1/4 cup coconut oil, melted
– 1/2 cup dark chocolate chips (dairy-free if desired)
– 1 teaspoon vanilla extract
– A pinch of sea salt
Alternative Ingredients or Substitutions
You can easily swap some ingredients for personal taste or dietary needs. If you don’t have almond flour, try using cashew flour or oat flour. For a nut-free option, you can use sunflower seed flour. Instead of maple syrup, honey or agave syrup can work as a sweetener. If you want a different flavor, use coconut milk instead of coconut oil. Lastly, any type of chocolate can replace dark chocolate chips, like milk chocolate or white chocolate.
Nutritional Information
Each bar provides a delicious and nutritious treat. Here’s a quick look at what’s inside:
– Calories: Approximately 180 per bar
– Protein: 3g
– Carbohydrates: 18g
– Fat: 10g
– Fiber: 3g
– Sugar: 6g
These bars are great for a snack or dessert. They contain healthy fats from coconut and almond flour, along with fiber from oats. Enjoy these bars as part of a balanced diet!
Step-by-Step Instructions
Preparation Steps
Start by gathering all your ingredients. You will need unsweetened shredded coconut, rolled oats, almond flour, maple syrup, coconut oil, dark chocolate chips, vanilla extract, and sea salt. In a large bowl, mix the shredded coconut, rolled oats, and almond flour. Make sure to mix well so they blend evenly. This step is key to a great texture.
Melting the Chocolate
Next, we melt the dark chocolate chips. Use a microwave-safe bowl for this step. Heat the chocolate in 20-second bursts. Stir after each interval until it is smooth. Be careful not to overheat the chocolate. It should be creamy and easy to spread.
Assembling the Bars
Now, let’s combine everything. In another bowl, whisk together maple syrup, melted coconut oil, vanilla extract, and a pinch of sea salt. Then pour this mixture over the dry ingredients. Stir until everything is coated and sticky. Line an 8×8 inch baking dish with parchment paper. Press the mixture firmly into the dish to form an even layer.
Once this is done, pour the melted chocolate over the pressed mixture. Use a spatula to spread it out evenly. Place the dish in the fridge for at least two hours so the bars can set. When ready, lift the bars out using the parchment paper and cut them into squares or rectangles. Enjoy this easy no-fuss treat!
Tips & Tricks
How to Achieve the Perfect Texture
To get the right texture, mix the dry ingredients well. This helps them stick together. When you add the wet mix, stir until everything is fully coated. This sticky mix is key for holding the bars together. Press firmly into the baking dish. A tight pack gives a great bite.
Serving Suggestions
Serve these bars cold for a refreshing treat. You can cut them into squares or rectangles. Place them on a nice platter for a pretty display. Try adding extra shredded coconut on top. A drizzle of melted chocolate also looks great and tastes divine.
Common Mistakes to Avoid
One big mistake is not letting the bars chill long enough. They need at least 2 hours to set. Skipping the parchment paper can make removal hard. Always line your dish for easy lifting. Lastly, don’t over-melt the chocolate. Stir it slowly to keep it smooth.
Variations
Flavor Variations
You can easily change the taste of these bars. Try adding nuts like almonds or walnuts for a crunchy texture. You can also mix in dried fruit, like cranberries or apricots, for a sweet touch. Different extracts can enhance the flavor too. For a tropical vibe, add coconut extract. For a minty twist, use peppermint extract. Each tweak makes the bars unique and fun.
Dietary Adjustments
If you need a gluten-free version, use certified gluten-free oats. This makes the bars safe for those with gluten allergies. For a vegan option, make sure to use dairy-free chocolate chips. You can also swap maple syrup for agave nectar for a plant-based sweetener. These simple changes ensure everyone can enjoy this tasty treat.
Chocolate Alternatives
If you want a different chocolate experience, consider using white chocolate or carob chips. Both options add a new flavor while keeping the bars sweet. For a richer taste, try dark chocolate with a high cocoa content. If you prefer less sweetness, use unsweetened cocoa powder mixed into the base. Each chocolate swap can transform the recipe into something new.
Storage Info
Best Storage Practices
To keep your no-bake chocolate coconut bars fresh, store them in an airtight container. Place a layer of parchment paper between layers if stacking. This method helps avoid sticking and keeps the bars intact. Store them in the fridge for the best taste and texture.
Freezing Instructions
You can freeze these bars for later enjoyment. Cut them into squares or rectangles before freezing. Wrap each piece in plastic wrap and place them in a freezer-safe bag. They will stay fresh for up to three months. When you want to eat one, just take it out and let it thaw in the fridge.
Shelf Life of No-Bake Chocolate Coconut Bars
When stored in the fridge, these bars last about one week. If you freeze them, they can last for three months. Always check for any signs of spoilage before eating. Keeping them in a cool area helps maintain their flavor and texture. Enjoy your treats at their best!
FAQs
How long do No-Bake Chocolate Coconut Bars last?
No-Bake Chocolate Coconut Bars can last for about one week in the fridge. Store them in an airtight container to keep them fresh. If you want to enjoy them later, you can freeze them. They will last up to three months in the freezer. Just make sure to wrap them well.
Can I use sweeteners other than maple syrup?
Yes, you can use other sweeteners. Honey is a great option if you are not vegan. Agave syrup works well too. You might need to adjust the amounts based on the sweetness level you prefer. Just keep in mind that the flavor might change slightly.
What type of chocolate works best for this recipe?
I recommend using dark chocolate chips for a rich flavor. You can choose dairy-free chocolate chips if you want a vegan option. You can also use semi-sweet chocolate if you like a sweeter taste. The key is to pick a chocolate you enjoy. This will make your bars even more delicious. For the best results, use high-quality chocolate.
In this post, we explored how to make tasty no-bake chocolate coconut bars. We listed key ingredients and smart substitutions. The step-by-step guide showed you how to prepare, melt, and assemble the bars. I shared tips for texture and serving ideas to avoid common errors. You also learned about fun flavor twists and how to store your bars.
Now, enjoy the process and make this recipe your own!