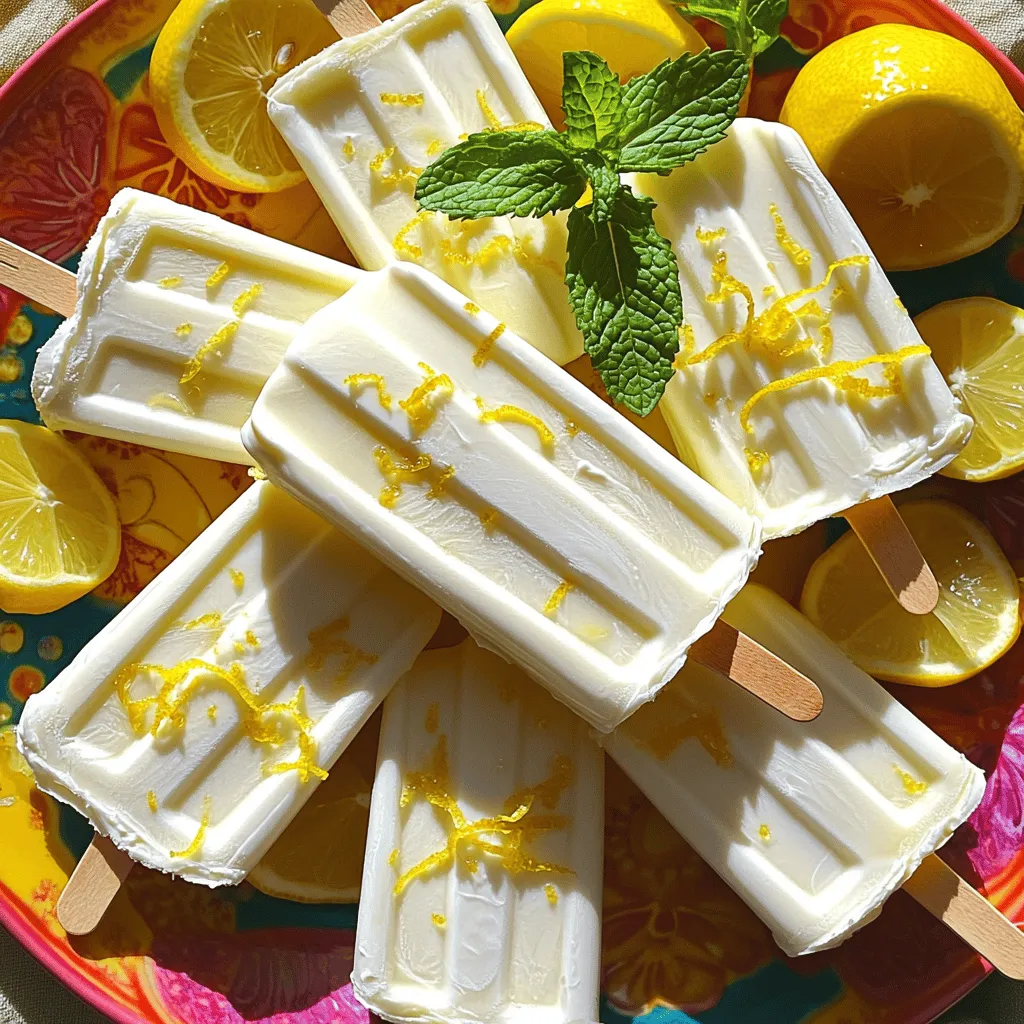
Looking for a cool and creamy treat this summer? Greek Yogurt Lemon Popsicles are the perfect way to beat the heat! Made with just a few simple, wholesome ingredients, these popsicles offer a refreshing burst of lemon flavor balanced with the rich creaminess of Greek yogurt. In this post, I’ll walk you through easy steps to whip up this delightful dessert that everyone will love. Let’s dive in!
Ingredients
Main Ingredients
– 2 cups Greek yogurt
– 1/2 cup fresh lemon juice
– 1/2 cup honey or maple syrup
– Zest of 2 lemons
Additional Ingredients
– 1 teaspoon vanilla extract
– A pinch of salt
– Optional: Fresh mint leaves for garnish
Greek yogurt lemon popsicles need fresh, simple ingredients. The Greek yogurt gives a creamy base. For the tart flavor, fresh lemon juice is key. Honey or maple syrup adds sweetness. The zest of lemons brings out more flavor.
You can also add vanilla extract for depth. A pinch of salt helps balance the taste. If you want to add a touch of color, fresh mint leaves make a great garnish.
This combination creates a refreshing treat. You’ll enjoy every bite, especially on warm days.
Step-by-Step Instructions
Preparation Steps
To start, you need to mix your Greek yogurt with fresh lemon juice and sweetener. I love using honey or maple syrup for this recipe. They both add a nice sweetness. In a mixing bowl, combine:
– 2 cups Greek yogurt
– 1/2 cup fresh lemon juice
– 1/2 cup honey or maple syrup
Next, add some lemon zest, a splash of vanilla extract, and a pinch of salt. The zest gives a bright flavor. Whisk everything together until smooth. Taste the mix and adjust the sweetness if needed.
Molding Directions
Now it’s time to pour the mixture into your popsicle molds. Leave a little space at the top for the mixture to expand as it freezes. This step is key! After pouring, insert the popsicle sticks into each mold. If you have flexible molds, wait a few minutes before inserting. This makes it easier to insert the sticks.
Freezing Process
Place the molds in the freezer for 4-6 hours. This allows your popsicles to freeze solid. If you want easy removal, run the molds under warm water for a few seconds. This helps loosen them up. Enjoy your Greek yogurt lemon popsicles right away or store them in a freezer bag for later.
Tips & Tricks
Adjusting Sweetness
Taste is key! Start with the recipe and mix Greek yogurt, lemon juice, and sweetener. After mixing, taste it. If it’s too tart, add more honey or maple syrup. Just a little goes a long way. Keep tasting until it’s just right for you.
Texture Tips
A smooth texture makes the popsicles nice. To achieve this, whisk the mixture well. Make sure there are no lumps. If you want to avoid ice crystals, freeze the mixture quickly. This helps keep the pops soft. You can also blend the mixture for an even finer texture.
Serving Suggestions
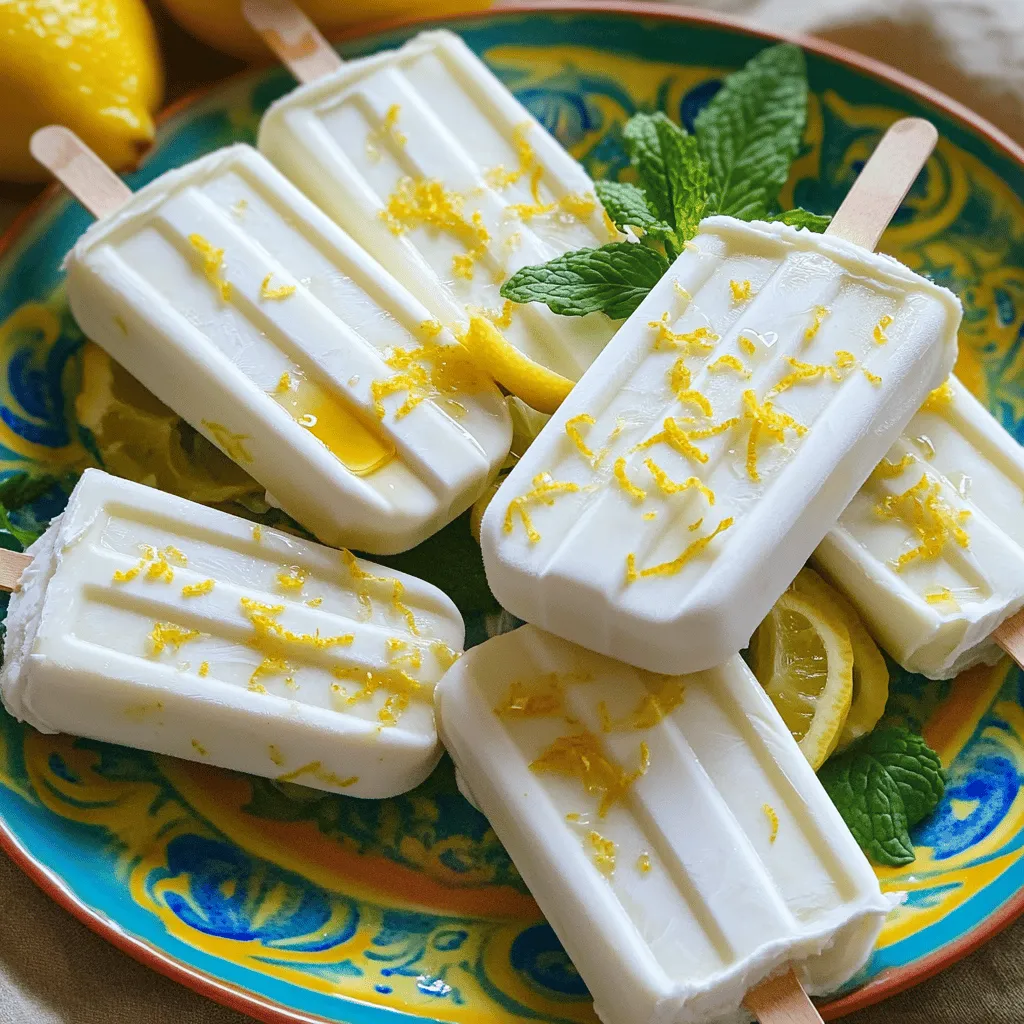
Presentation matters! When serving your popsicles, remove them from molds and place them on a plate. You can drizzle some honey over them for extra sweetness. Add fresh mint leaves for a nice touch. They add color and flavor. You can also cut a lemon in half and place it beside the pops for a fun look. These little details make your popsicles pop!
Variations
Flavor Additions
You can easily change the flavor of your Greek yogurt lemon popsicles. Try adding fruits like berries or peaches. They mix well and add a sweet touch. Just chop the fruit into small pieces and stir them in. You can also use herbs like basil or mint for a fresh twist.
Sweeteners are another way to change the taste. Instead of honey, try agave syrup or coconut sugar. Each brings a unique flavor to your pops. You can even mix sweeteners to find the perfect taste.
Dietary Options
If you need a vegan option, swap the Greek yogurt for a plant-based yogurt. Almond or coconut yogurt works well. These options keep the pops creamy and delicious.
For a sugar-free version, use a sugar substitute like stevia or erythritol. These options keep your pops sweet without the added sugar. Just make sure to test the sweetness as you mix.
Presentation Ideas
Make your popsicles look fun with some creative ideas. Layer different flavors in your molds for a colorful treat. For example, pour lemon yogurt, then add a layer of berry mix. This creates a beautiful striped effect.
Using unique molds can also add fun. Try star or heart-shaped molds for a festive look. You can even use ice cube trays for mini pops. Just adjust the freezing time as needed.
Storage Info
Freezing
To store your popsicles, place them in a freezer-safe bag or container. Make sure the popsicles are completely frozen before moving them. This keeps them from sticking together. If you use a plastic mold, cover it with plastic wrap. This helps prevent freezer burn.
Shelf Life
These Greek yogurt lemon popsicles stay fresh for about 2 months in the freezer. After that, they may lose flavor or texture. For best taste, enjoy them within the first month. Always check for ice crystals before eating them.
Thawing Tips
When you’re ready to enjoy a popsicle, run warm water over the mold for a few seconds. This helps loosen the popsicles for easy removal. You can also leave them at room temperature for about 5 minutes. This way, they soften just enough to enjoy without melting too fast.
FAQs
How long do Greek Yogurt Lemon Popsicles last in the freezer?
Greek Yogurt Lemon Popsicles can last for up to two months in the freezer. They stay tasty and fresh if stored properly. I recommend sealing them in a freezer bag or container. This helps prevent freezer burn.
Can I use a different sweetener?
Yes, you can. If you prefer, try agave syrup or coconut sugar. Both add sweetness with unique flavors. Just keep in mind to adjust the amount based on your taste. Honey and maple syrup work well, but you can experiment!
What can I substitute if I don’t have lemon juice?
If you lack lemon juice, use lime juice instead. The flavor will change, but it will still taste great. You can also use citric acid dissolved in water if you want a tart flavor. Remember, the goal is to keep it refreshing!
Can I make these popsicles with dairy-free yogurt?
Absolutely! Use coconut yogurt or almond yogurt for a dairy-free version. The texture may change slightly, but the flavor remains delightful. This option is perfect for those who avoid dairy or follow a vegan diet.
How can I make my popsicles creamier?
To achieve a creamier texture, try adding a banana or avocado to the mixture. Blend it well with the yogurt. This will give your popsicles a smooth and rich feel, making them even more enjoyable.
Can I add fruit to the popsicles?
Yes! You can add berries, mango, or diced peaches to the mix. These fruits add flavor and color. Just blend them into the yogurt mixture or layer them in the molds for a fun look.
How do I know when the popsicles are ready?
Popsicles are ready when they feel solid to the touch. Typically, they need at least 4-6 hours in the freezer. If you’re unsure, just check after a few hours. You want them fully frozen for the best experience.
Can I use this recipe to make a smoothie bowl?
Definitely! Just skip the popsicle molds and keep the mixture smooth. Pour it into a bowl and top with your favorite fruits, nuts, or seeds. It makes a refreshing and healthy breakfast or snack.
You now know how to make Greek yogurt lemon popsicles. We explored the main and optional ingredients and their different roles. I shared step-by-step instructions, tips for the best texture, and ideas for keeping it fresh. You also learned simple variations to suit your taste.
Enjoy creating these tasty treats. They are easy to make and perfect for hot days. With your newfound skills, enjoy sharing these popsicles with family and friends!