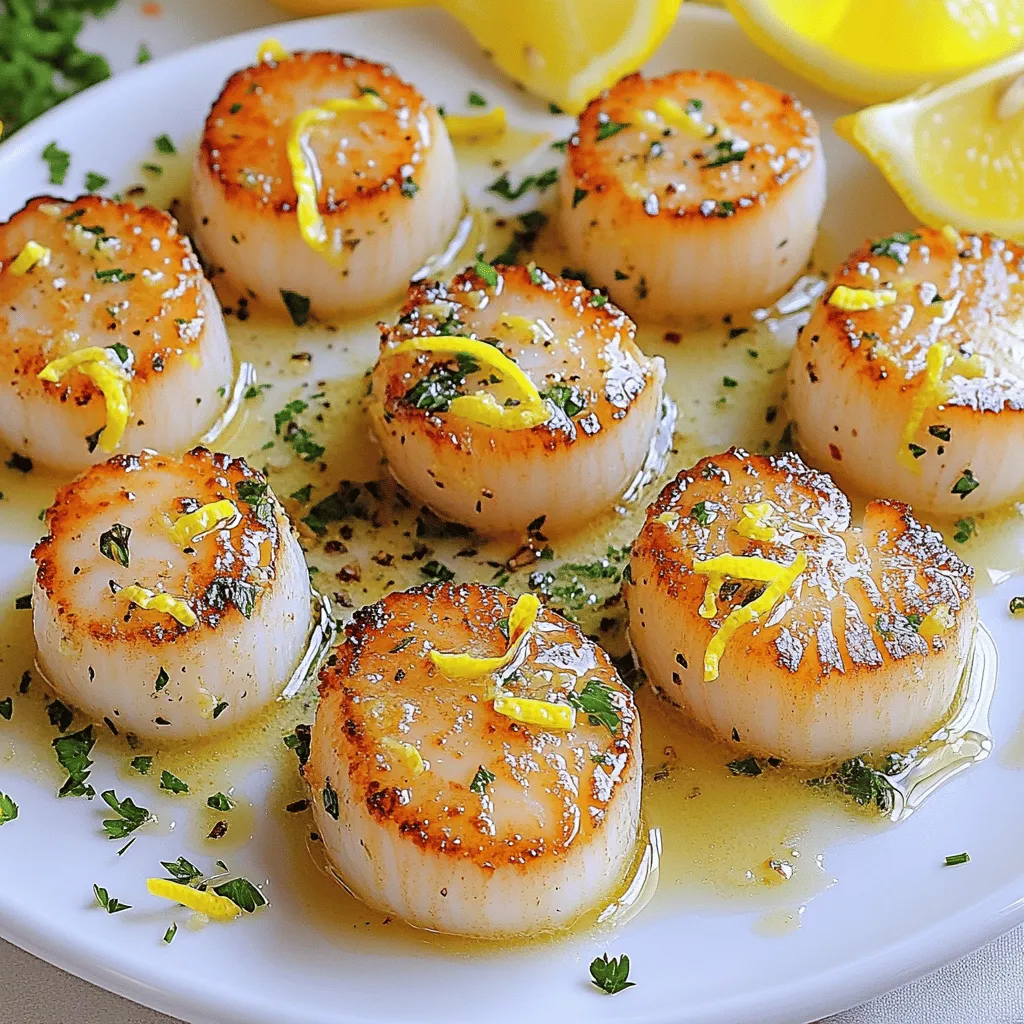
If you’re ready to wow your guests with a stunning seafood dish, you’re in the right place! Gordon Ramsay’s Pan-Seared Scallops are simple yet packed with flavor. In just a few easy steps, you’ll learn how to achieve that perfect golden sear that keeps your scallops tender and juicy. Get ready to impress with fresh ingredients and chef-level techniques. Let’s dive in and elevate your cooking game!
Ingredients
List of Ingredients
– 12 large sea scallops
– 1 tablespoon olive oil
– 2 tablespoons unsalted butter
– 2 cloves garlic, minced
– Zest of 1 lemon
– 1 tablespoon fresh parsley, chopped
– Sea salt and freshly ground black pepper, to taste
– Lemon wedges, for serving
Additional Ingredient Notes
Selecting Fresh Scallops
Fresh scallops should smell like the ocean. Look for firm, moist scallops. They should have a creamy color. Avoid any that are discolored or have a strong fishy smell.
Alternative Oils for Cooking
While olive oil is great, you can use avocado oil or grapeseed oil. These oils have high smoke points, making them perfect for searing scallops.
Suggested Pairings
Best Side Dishes
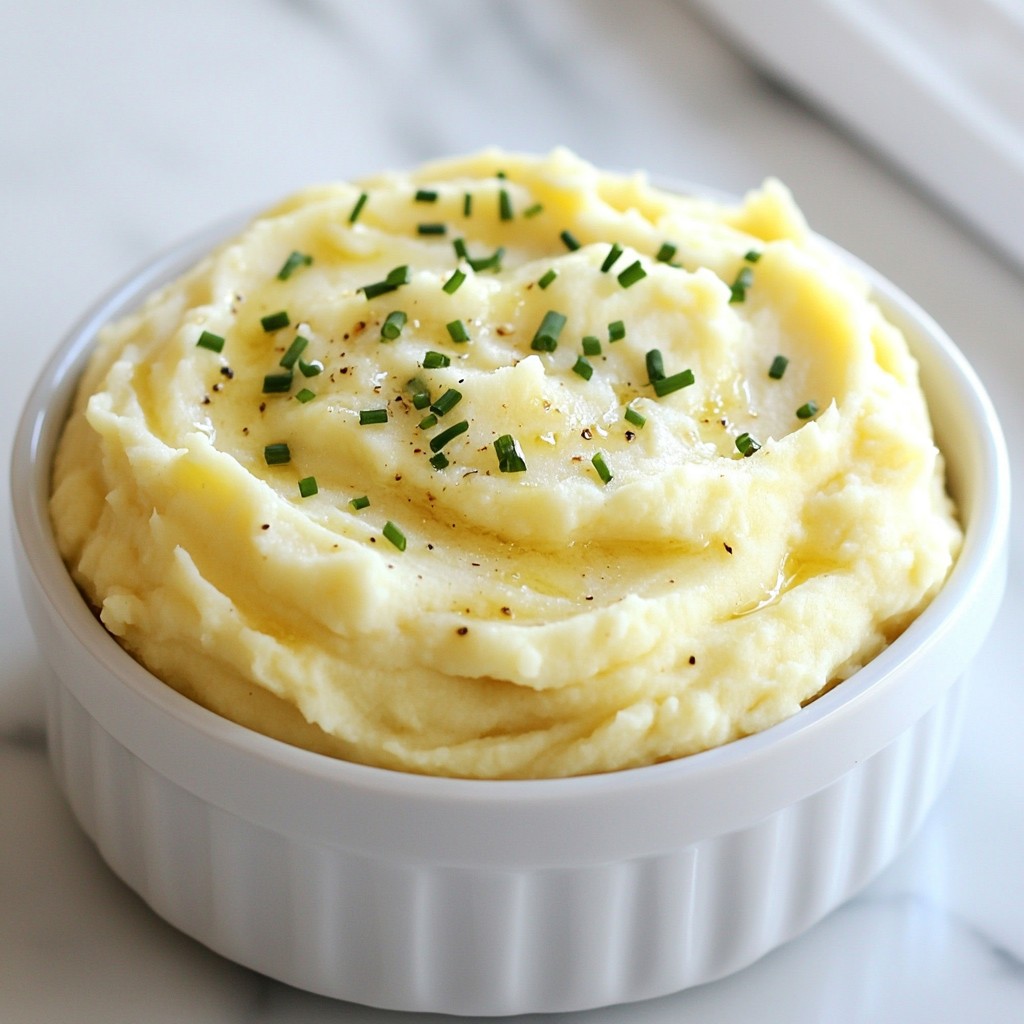
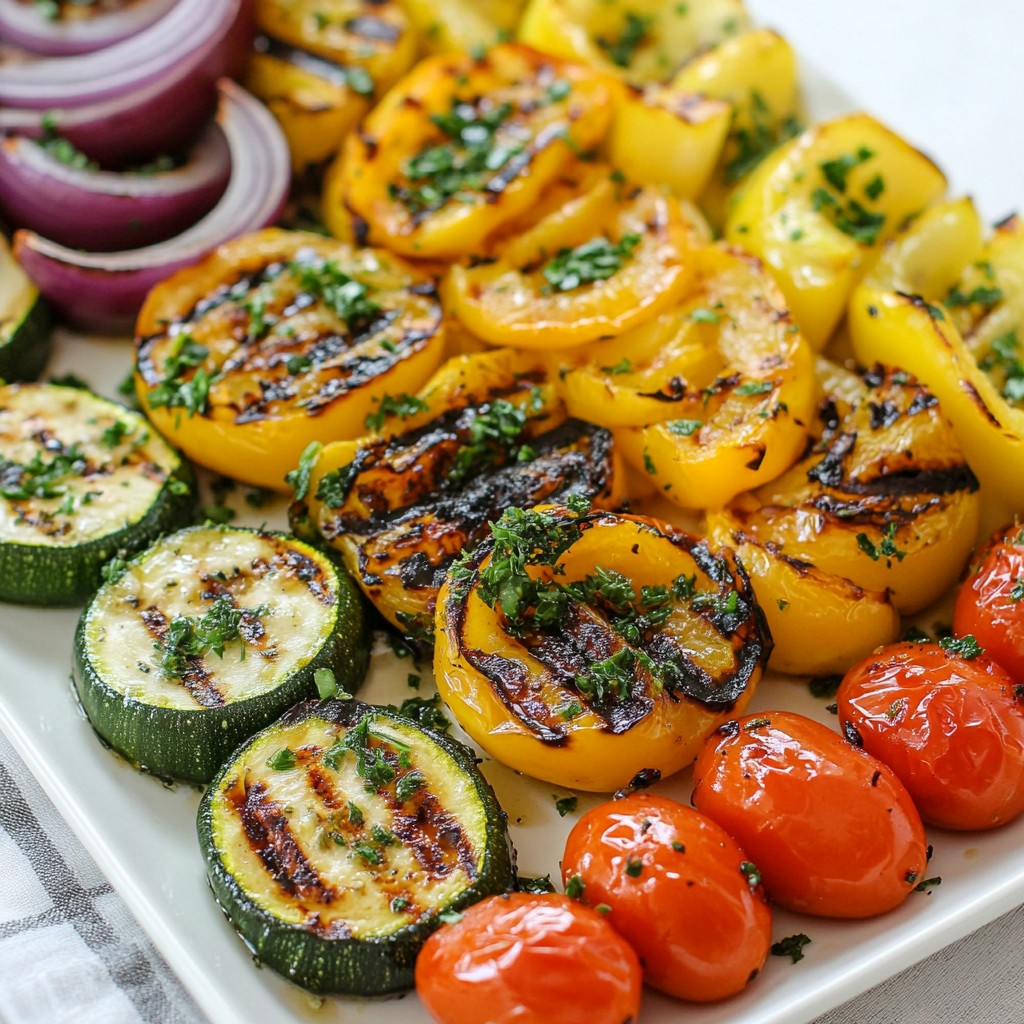
Serve scallops with a light salad or garlic mashed potatoes. A side of asparagus or green beans works well too.
Recommended Wines
Pair these scallops with a crisp white wine. Sauvignon Blanc or Chardonnay enhances the dish’s flavors nicely.
Step-by-Step Instructions
Preparation Steps
How to Dry and Season Scallops
Start by patting the scallops dry with paper towels. This step is key. If they are wet, they won’t sear well. Season both sides with sea salt and freshly ground black pepper. A good seasoning helps enhance their natural flavor.
Heating the Skillet
Next, take a non-stick skillet and heat one tablespoon of olive oil over medium-high heat. Wait until the oil just begins to smoke. This tells you it’s hot enough for the scallops.
Cooking Steps
Searing the Scallops for Maximum Flavor
Carefully add the scallops to the hot pan. Make sure they are in a single layer and not touching each other. This gives them room to sear. Cook for about 2-3 minutes until they form a rich, golden crust.
Basting with Garlic Butter
Now, flip the scallops gently. Add two tablespoons of unsalted butter and two minced garlic cloves to the pan. Cook for another 2-3 minutes. As they cook, spoon the melted butter over the scallops. This adds flavor and moisture.
Final Touches
Adding Lemon Zest and Parsley
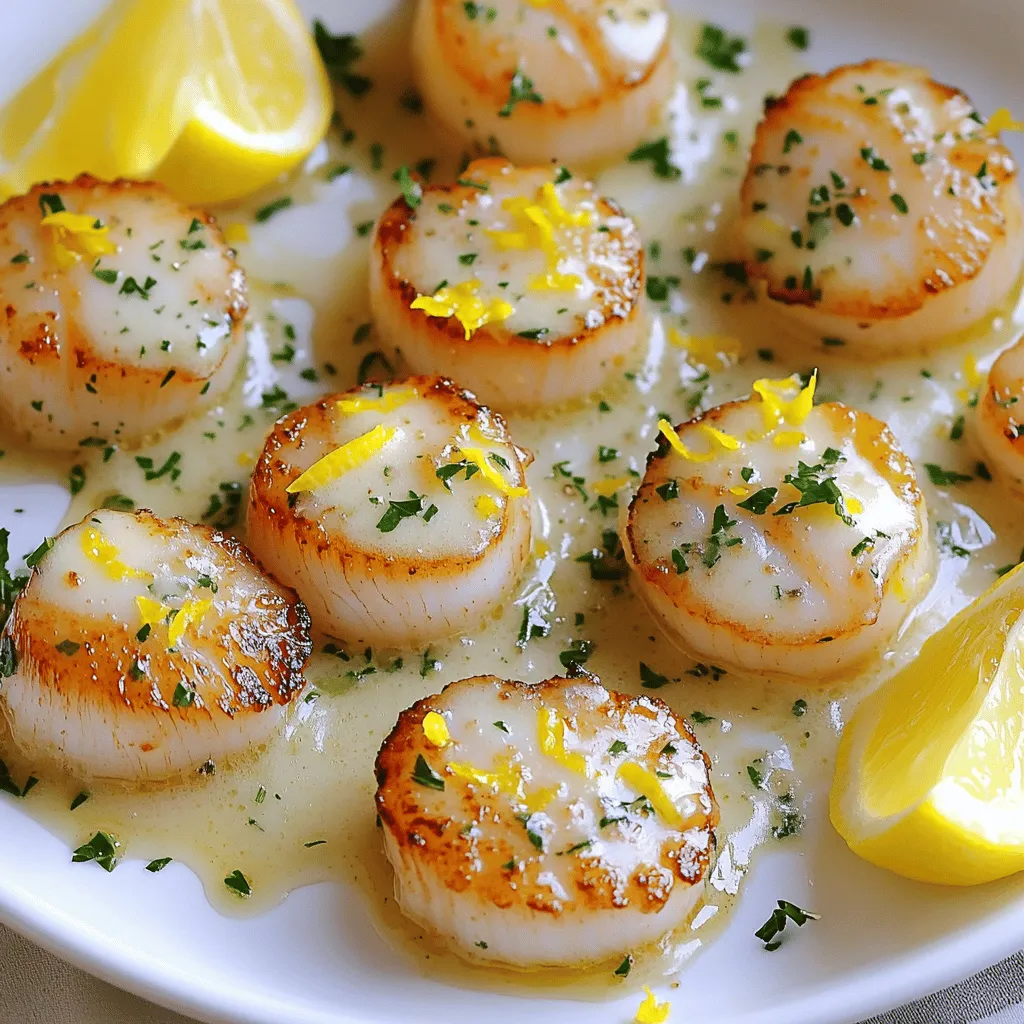
Right before you take them off the heat, sprinkle on the zest of one lemon and one tablespoon of chopped parsley. Toss gently to mix. This brightens up the dish and adds a fresh touch.
Plating the Dish
Serve the scallops immediately. Arrange them neatly on a plate and drizzle with the garlic butter from the pan. Add lemon wedges on the side for an extra pop of flavor.
Tips & Tricks
Achieving the Perfect Sear
To get a great sear, you need the right temperature. Heat your skillet until it is hot but not smoking. A good test is to sprinkle a few drops of water into the pan. If they dance and evaporate quickly, it’s ready.
Next, ensure non-stick cooking. Use a non-stick skillet or a well-seasoned cast iron pan. This helps the scallops release easily, keeping their shape and crust intact.
Enhancements for Flavor
To amp up the flavor, try different herbs. Fresh thyme, basil, or tarragon can add depth. You can also mix in some fresh chives for a mild onion taste.
Spices can also enhance your dish. Consider adding a pinch of smoked paprika for a warm flavor or a dash of cayenne for heat. These spices can elevate the sweet taste of scallops.
Tools and Equipment Recommendations
For cooking scallops, a good skillet is key. A stainless steel or cast iron skillet works well because they hold heat evenly. Avoid overcrowding the pan to get that perfect sear.
You might also want a fish spatula. This tool is thin and flexible, making it easier to flip the scallops without breaking them. A pair of tongs can also help when you’re basting them with garlic butter.
Variations
Flavor Profiles
– Lemon-Butter Scallops: This version adds a bright twist. You can mix more lemon juice with butter. It adds a nice zesty flavor that pairs well with the scallops.
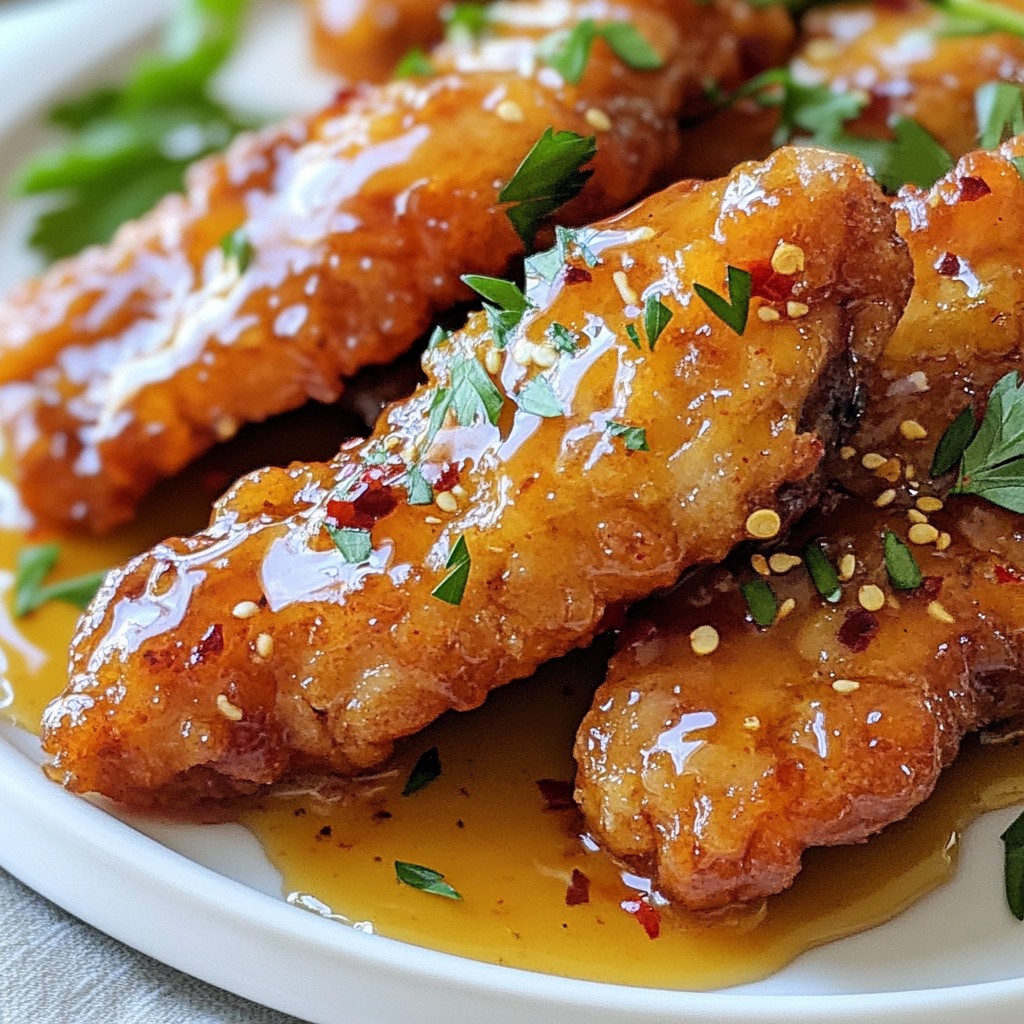
– Spicy Scallops with Chili Flakes: For heat lovers, add chili flakes. This simple change brings a kick. The spice enhances the scallops’ natural sweetness.
Dietary Variations
– Gluten-Free Options: Good news! Scallops are naturally gluten-free. Just make sure any sauces used with them are also gluten-free.
– Low-Fat Alternatives: If you’re watching fat, use less butter. You can swap it with a bit of vegetable broth. It keeps the dish light but still tasty.
Alternative Cooking Methods
– Grilled Scallops: Grilling gives scallops a smoky flavor. Just marinate them for a few minutes. Then, place them on a hot grill for a quick cook.
– Broiled Scallops: Broiling is another easy option. Place scallops on a baking sheet and cook them under the broiler for a quick sear. This method keeps them juicy and tender.
Storage Info
How to Store Leftover Scallops
For safe storage, keep leftover scallops in the fridge. Use an airtight container. They will stay fresh for about 1-2 days. Make sure to cool them before sealing.
If you want to keep them longer, you can freeze scallops. Wrap them tightly in plastic wrap and place in a freezer bag. This helps prevent freezer burn. They can last up to 2 months in the freezer.
Reheating Scallops
To reheat scallops, use the stovetop for best results. Warm a skillet on low heat. Add a little butter or oil, then place the scallops in the pan. Heat for 1-2 minutes on each side.
Avoid using the microwave. It can overcook the scallops and make them rubbery. Slow and low is the best way to maintain their texture.
Shelf Life and Safety
Watch for signs of spoilage. If the scallops smell sour or have a slimy texture, do not eat them. Fresh scallops should smell like the sea, not fishy.
For safe consumption, eat refrigerated scallops within 1-2 days. If frozen, consume them within 2 months for the best taste. Always prioritize safety when enjoying seafood.
FAQs
How to Make Gordon Ramsay’s Pan-Seared Scallops?
To make Gordon Ramsay’s pan-seared scallops, follow these steps:
1. Dry and Season: Pat the scallops dry with paper towels. Season both sides with sea salt and black pepper.
2. Heat the Skillet: Heat olive oil in a non-stick skillet over medium-high heat until it shimmers.
3. Sear the Scallops: Add the scallops in a single layer. Sear for 2-3 minutes until they are golden brown.
4. Flip and Baste: Gently flip the scallops. Add butter and minced garlic. Cook for another 2-3 minutes, basting with melted butter.
5. Add Zest and Parsley: Before finishing, mix in lemon zest and parsley. Toss gently.
6. Serve: Plate the scallops and serve with lemon wedges.
This quick method creates a dish that shines with flavor.
What Makes Scallops Chewy?
Scallops can turn chewy due to common mistakes. Here are a few to avoid:
– Overcooking: Cooking scallops too long makes them tough. Aim for a golden crust, not rubbery texture.
– Improper Drying: If the scallops are not dry, they won’t sear well. Always pat them dry.
– Too Low Heat: Cooking at low heat fails to create that nice sear. Use medium-high heat for best results.
Avoiding these mistakes helps you enjoy tender and juicy scallops.
Can I Use Frozen Scallops?
Yes, you can use frozen scallops, but keep a few points in mind:
– Thawing: Always thaw scallops in the fridge overnight. Do not microwave them as it can lead to uneven cooking.
– Texture: Fresh scallops often taste better, but if frozen is all you have, they can work well. Just ensure they are of good quality.
– Cooking Time: Frozen scallops may need a minute or two longer to cook compared to fresh ones.
Using frozen scallops can still yield a delicious meal when done correctly.
Cooking sea scallops is simple and rewarding. We covered the key ingredients, like fresh scallops and garlic, for a tasty dish. You learned how to sear them perfectly, ensuring great flavor. We also explored creative variations and storage tips.
Remember, fresh ingredients and proper cooking techniques make all the difference. Enjoy your scallop dish with recommended sides and wine pairings. Cooking at home opens up new culinary adventures. Now, you can impress friends and family with your scallop skills. Happy cooking!