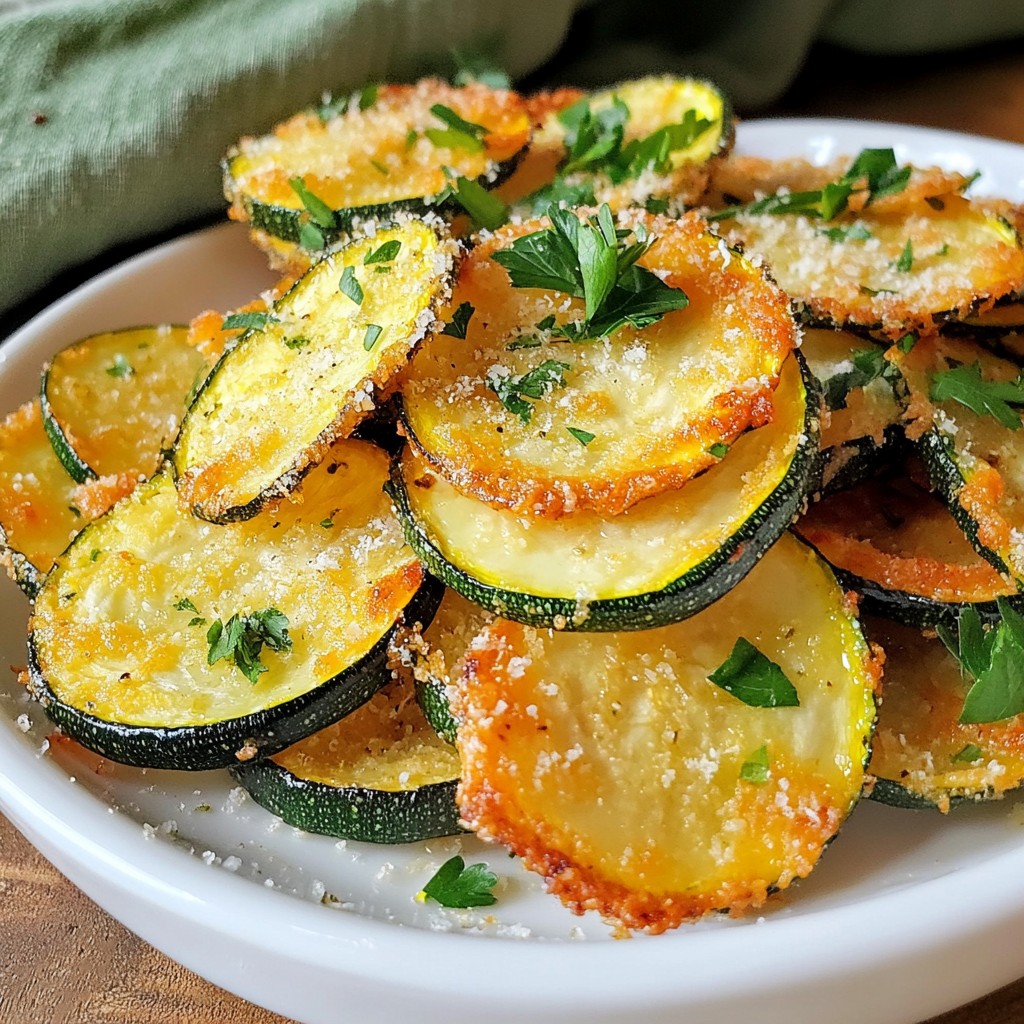
Are you looking for a tasty snack that's both crispy and full of flavor? Let me introduce you to Garlic Parmesan Zucchini Chips! These little bites are easy to make and will satisfy your cravings. With just a few simple ingredients like zucchini, Parmesan cheese, and garlic powder, you can create a healthy treat that everyone will love. Get ready to impress your family and friends with this delicious recipe!
Why I Love This Recipe
- Crispy Delight: These garlic Parmesan zucchini chips are the perfect crunchy snack that satisfies your cravings without the guilt.
- Healthy Alternative: Made with fresh zucchini and minimal oil, these chips are a nutritious alternative to traditional potato chips.
- Easy to Make: The simple preparation and straightforward baking process make this recipe a breeze for any home chef.
- Flavor Packed: The combination of garlic, Parmesan, and oregano gives these chips an irresistible flavor that will keep you coming back for more.
Ingredients
Main Ingredients
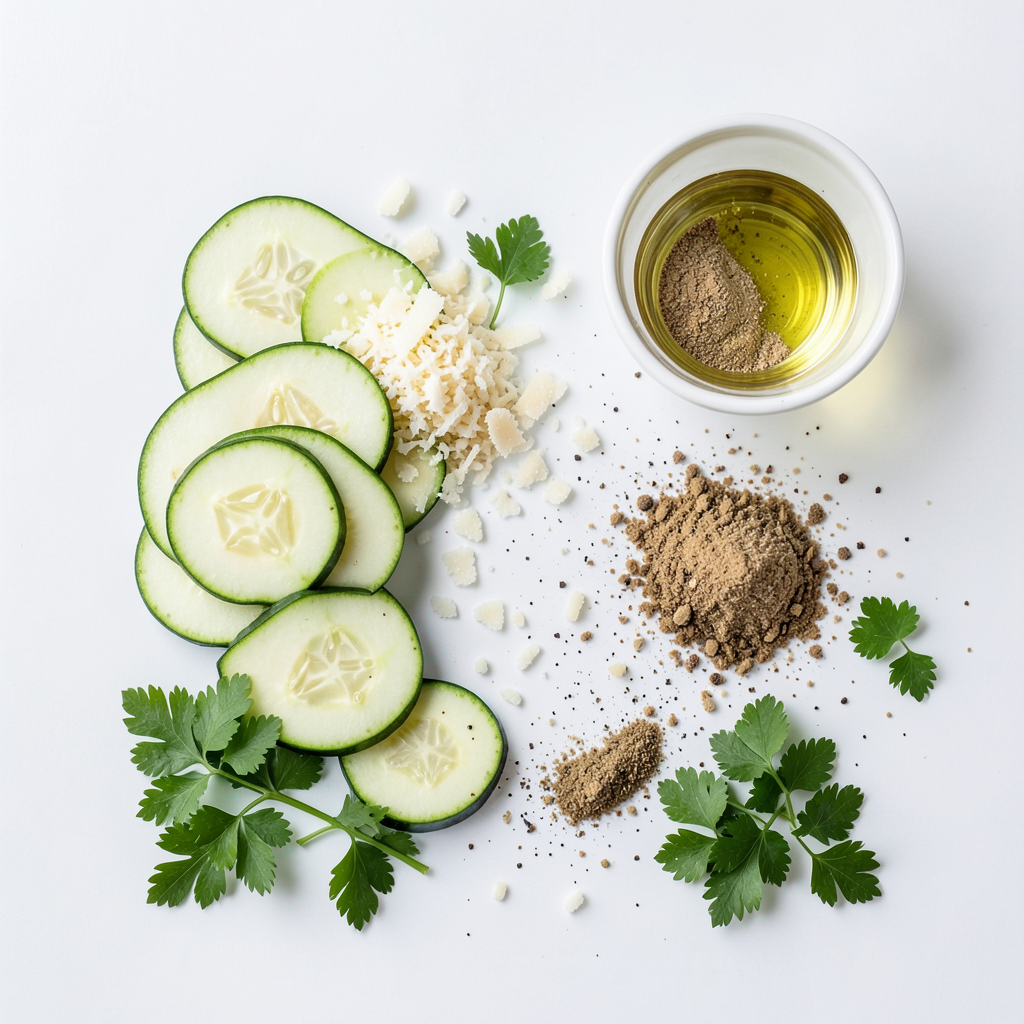
- 2 medium zucchinis, thinly sliced
- 1/4 cup grated Parmesan cheese
- 2 tablespoons olive oil
Seasoning Ingredients
- 1 teaspoon garlic powder
- 1/2 teaspoon onion powder
- 1/2 teaspoon dried oregano
Optional Garnish
- Fresh parsley, chopped
- Salt and pepper
The main ingredients for Garlic Parmesan Zucchini Chips are simple. You need zucchini, Parmesan cheese, and olive oil. Zucchini gives the chips a nice crunch. The grated Parmesan adds rich flavor. Olive oil helps everything stick and cook well.
For seasoning, garlic powder is the star. It gives a strong and tasty kick. Onion powder adds a sweet, mild flavor. Dried oregano brings a hint of earthiness to the mix.
You can garnish your chips with fresh parsley. It adds color and a fresh taste. Salt and pepper enhance all the flavors. Just sprinkle them to your liking.
Gather these ingredients, and you are ready to make a delicious snack!
Step-by-Step Instructions
Preparation Steps
- First, preheat your oven to 225°F (110°C). This low heat helps make the chips crispy.
- Next, line a baking sheet with parchment paper. This keeps the chips from sticking and makes cleanup easy.
- In a large bowl, mix together 2 tablespoons of olive oil, 1 teaspoon of garlic powder, and 1/2 teaspoon each of onion powder and dried oregano. Add salt and pepper to taste. This mixture is your flavor base.
Coating the Zucchini
- Thinly slice 2 medium zucchinis. Aim for even slices; this helps them cook uniformly.
- Add the sliced zucchini to the bowl with the flavor base. Toss gently until each slice is coated well.
- Lay the zucchini slices in a single layer on the prepared baking sheet. Make sure they don’t overlap; this ensures they crisp up nicely.
- Sprinkle 1/4 cup of grated Parmesan cheese evenly over the arranged slices. This adds a rich, cheesy flavor.
Baking Process
- Bake the zucchini in the preheated oven for 1 to 2 hours. The time will depend on your oven and the thickness of your slices.
- Start checking for doneness at the 1-hour mark. You want them crispy and golden brown. Keep an eye on them to avoid burning.
- Once done, remove the baking sheet from the oven and let the chips cool slightly. Garnish with fresh chopped parsley before serving. This adds a nice pop of color and flavor!
Tips & Tricks
Achieving Crispy Chips
To make your zucchini chips crispy, slice them thin. Aim for about 1/8 inch thick. Thin slices cook evenly and get nice and crunchy. Use a sharp knife or a mandoline for even cuts.
Lay the slices out in a single layer on your baking sheet. Overlapping will make them soggy, so give each slice space. This helps air flow around them while baking.
Flavor Enhancements
Add your twist with seasonings! Try smoked paprika for a smoky kick or chili powder for heat. A sprinkle of lemon zest can add a fresh zing.
For cheese lovers, experiment with other cheeses. Grated Pecorino Romano or nutritional yeast can bring a unique flavor. These options can change up your chips in fun ways!
Serving Suggestions
Dips can make your chips even better. Pair with a creamy ranch or a zesty salsa for extra flavor. Hummus works great too, adding a nice touch to your snack.
Get creative with serving! Place your chips in a bowl with fresh herbs on top. You can also use them as a crunchy topping for salads or soups. This adds a fun texture to your meals.
Pro Tips
- Slice Evenly: Ensure the zucchini slices are uniform in thickness to guarantee even cooking and crispiness.
- Season Generously: Don't be shy with the seasoning! Adjust the garlic powder and Parmesan to suit your taste for maximum flavor.
- Watch the Time: Keep an eye on the chips during the last half hour of baking to prevent burning; ovens can vary in temperature.
- Storage Tips: Store leftover chips in an airtight container at room temperature to maintain their crispness for a few days.
Variations
Flavor Variants
You can spice up your Garlic Parmesan Zucchini Chips easily. For a kick, add cayenne pepper to the seasoning mix. This spicy garlic Parmesan version will make your taste buds dance. If you want a fresh twist, try herb-infused zucchini chips. Use fresh or dried herbs like basil, thyme, or rosemary. These will add a fragrant note to your chips, making them even more special.
Ingredient Swaps
If you're looking for a vegan option, use nutritional yeast instead of Parmesan cheese. It gives a cheesy flavor without dairy. You can also swap zucchini for other vegetables. Try using sweet potatoes or eggplants for a different taste and texture. Just remember to adjust cooking times based on the thickness of the slices.
Cooking Methods
You don't have to use the oven for these chips. An air fryer works great too! Preheat your air fryer to 350°F (175°C) and cook the zucchini chips for 10 to 15 minutes. Check them often for crispiness. If you prefer stovetop cooking, heat a non-stick pan over medium heat. Cook the zucchini slices for about 3-4 minutes on each side until golden. This method offers a quick and tasty alternative for a crunchy snack.
Storage Info
Best Storage Practices
To keep your Garlic Parmesan Zucchini Chips crispy, store them in an airtight container. This will help lock in the crunch and flavor. I recommend using a glass jar or a plastic container with a tight seal. Avoid leaving them out in the open air, as they may lose their texture.
Shelf Life
These tasty chips last about 3 to 5 days when stored properly. After a few days, check for signs of spoilage. If they feel soft or have an off smell, it's time to toss them. Freshness is key for enjoying their best flavor.
Reheating Tips
If you want to reheat the chips, use an oven for the best results. Preheat the oven to 350°F (175°C) and place the chips on a baking sheet. Heat for about 5 to 10 minutes or until they are crispy again. Avoid the microwave, as it can make them soggy. Enjoy your delicious Garlic Parmesan Zucchini Chips just like they were fresh from the oven!
FAQs
What are the nutritional values of Garlic Parmesan Zucchini Chips?
Garlic Parmesan Zucchini Chips are tasty and healthy. Each serving has about 120 calories. Here’s how the calories break down:
- Calories: 120
- Fat: 9g
- Carbohydrates: 5g
- Protein: 5g
This snack packs fiber and nutrients. You get vitamins A and C from the zucchini, plus calcium from the Parmesan. It’s a great choice for a light snack!
Can I make Garlic Parmesan Zucchini Chips in advance?
Yes, you can prepare these chips ahead of time. Store them in an airtight container. Keep them in a cool, dry place. For the best taste, eat them within 3 days.
To reheat, use your oven or air fryer. Preheat your oven to 300°F (150°C). Bake for about 10 minutes. This way, they stay crispy and delicious.
Are these zucchini chips keto-friendly?
Absolutely! Garlic Parmesan Zucchini Chips fit well in a keto diet. Each serving has only 5g of carbs. They are low in sugars and high in fiber.
These chips help satisfy cravings without adding many carbs. Enjoy them as a snack or with meals. They're a fun and tasty option for anyone on a keto plan!
You’ve learned how to make delicious Garlic Parmesan Zucchini Chips from scratch. We covered key ingredients, like zucchini and Parmesan cheese, and shared easy steps to prepare and bake them. I also provided tips for getting them crispy and different flavor options to try. Remember, feel free to get creative with seasonings or cooking methods. With proper storage, these chips can stay fresh longer. Enjoy your cooking journey and savor these tasty snacks guilt-free!