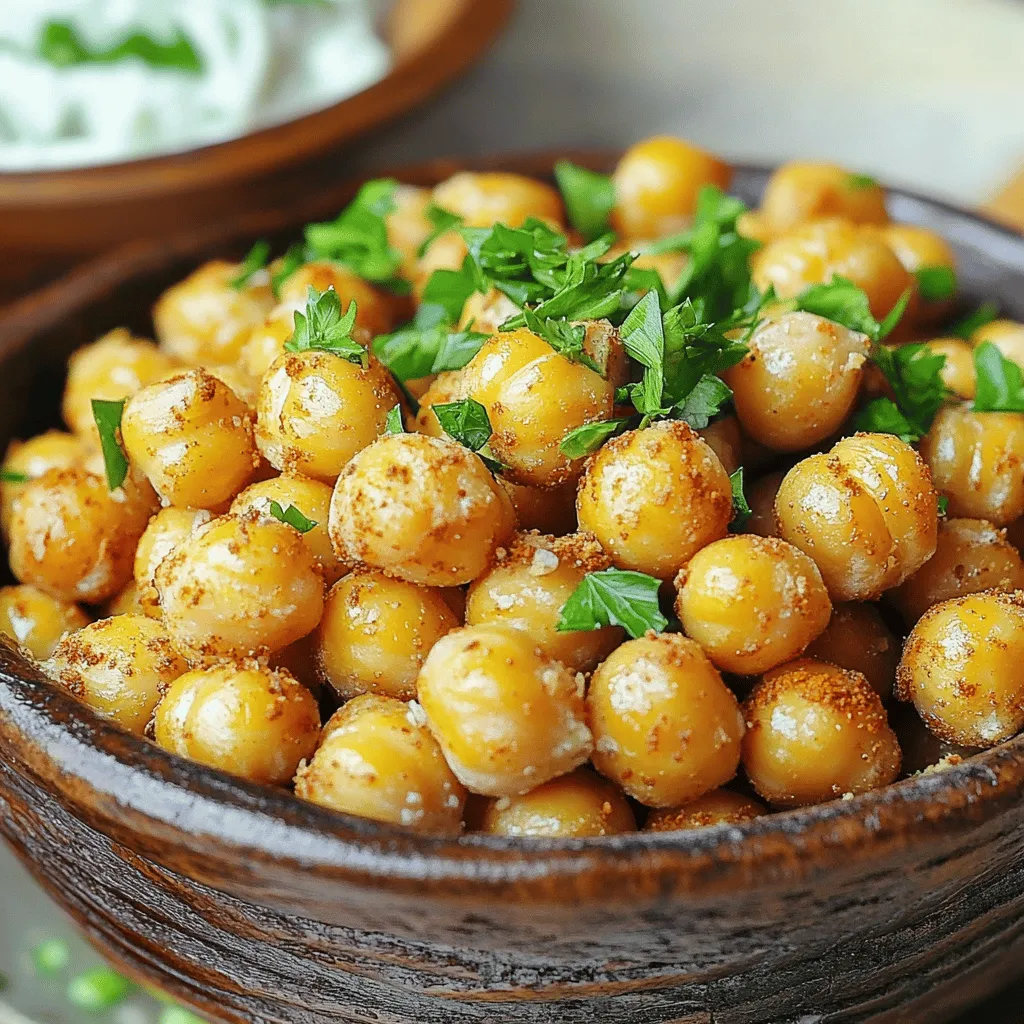
Looking for a tasty and healthy snack? Crispy roasted chickpeas might be your new favorite! These crunchy bites are not only fun to eat but also packed with nutrients. You can easily customize them to fit your taste. In this post, I’ll guide you through the process of making these snacks from scratch, sharing tips and tricks to ensure you get that perfect crunch. Let’s dive in and unlock the deliciousness!
Ingredients
List of Ingredients
To make crispy roasted chickpeas, gather these simple items:
– 1 can (15 oz) chickpeas, drained and rinsed
– 2 tablespoons olive oil
– 1 teaspoon smoked paprika
– 1 teaspoon garlic powder
– 1/2 teaspoon ground cumin
– 1/2 teaspoon sea salt
– 1/4 teaspoon black pepper
– 1/4 teaspoon cayenne pepper (optional for heat)
– Fresh parsley, chopped (for garnish)
Optional Ingredients for Customization
You can change the flavor of your crispy chickpeas. Here are some ideas:
– Use curry powder for a warm spice.
– Add lemon zest for a fresh kick.
– Try nutritional yeast for a cheesy taste.
– Mix in some herbs like rosemary or thyme.
These options let you create a snack that fits your taste.
Nutritional Benefits of Chickpeas
Chickpeas are not just tasty; they are also healthy. Here’s why they are great:
– High in protein: Chickpeas give you a good dose of plant-based protein.
– Rich in fiber: They help keep your gut healthy and can aid digestion.
– Low in fat: This snack is a better choice than chips or other fried snacks.
– Packed with vitamins: They contain iron, magnesium, and B vitamins.
Adding chickpeas to your diet can boost your health and keep you full longer.
Step-by-Step Instructions
Preparation of Chickpeas
To start, you need to prepare the chickpeas. Grab a can of chickpeas, about 15 ounces. Drain and rinse them under cold water. This step washes away extra salt and reduces the canned taste. Next, spread the chickpeas on a clean kitchen towel. Pat them dry gently. It’s important to remove moisture. Dry chickpeas become crispier when roasted.
Seasoning Process
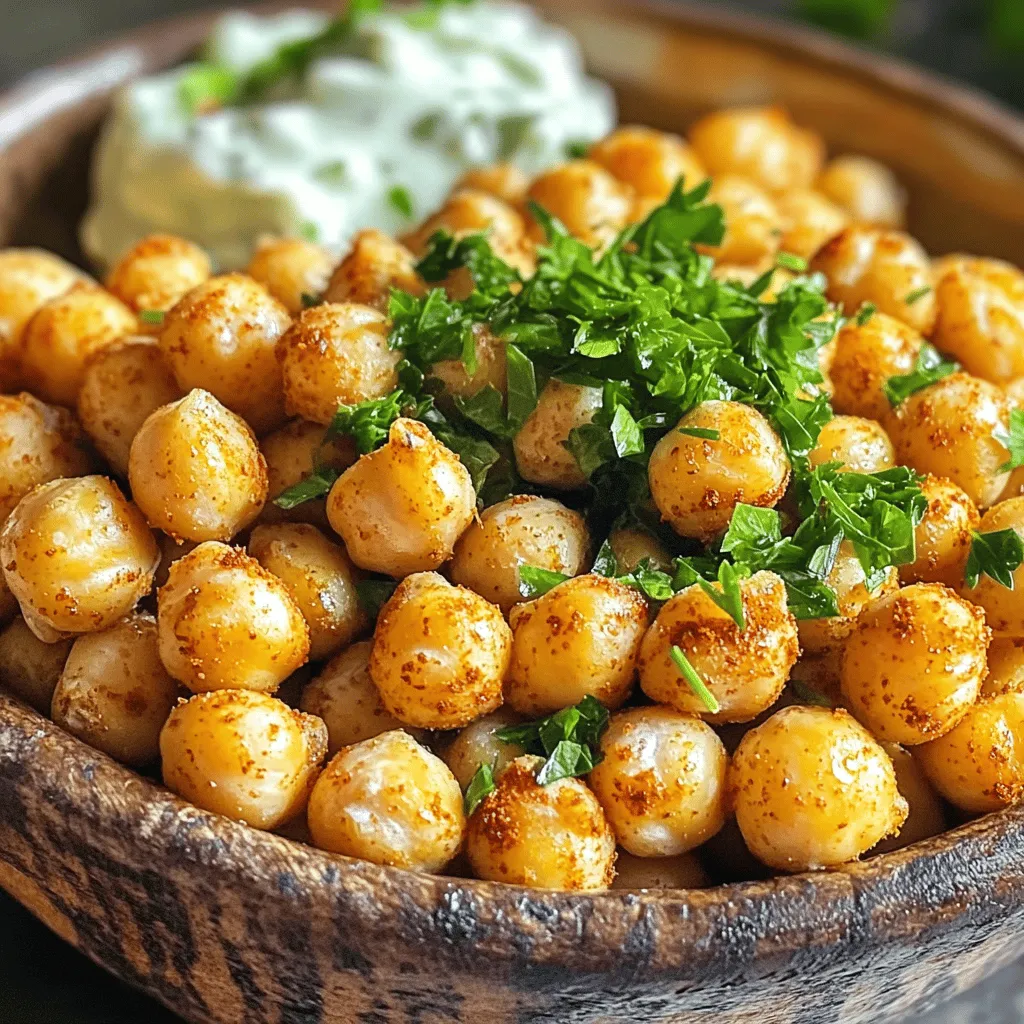
Now, let’s get to the seasoning. In a large bowl, combine your dried chickpeas with 2 tablespoons of olive oil. Add 1 teaspoon of smoked paprika, 1 teaspoon of garlic powder, and 1/2 teaspoon of ground cumin. Sprinkle in 1/2 teaspoon of sea salt, 1/4 teaspoon of black pepper, and 1/4 teaspoon of cayenne pepper if you want some heat. Mix everything well. Make sure each chickpea gets coated in those tasty spices. This step adds flavor and excitement to your snack.
Roasting Technique
For the roasting, preheat your oven to 400°F (200°C). Line a baking sheet with parchment paper. Spread the seasoned chickpeas in a single layer on the sheet. This helps them cook evenly. Roast in the oven for 20-25 minutes. Halfway through, shake the pan gently. This action helps ensure even cooking. You want them to turn golden brown and crispy. Once done, take them out and let them cool slightly. Taste and adjust the seasoning if needed. For a nice touch, garnish with chopped fresh parsley before you enjoy.
Tips & Tricks
Achieving Maximum Crispiness
To get the crispiest chickpeas, start by drying them well. After rinsing, use a kitchen towel to absorb moisture. This step is key. The drier the chickpeas, the crunchier they will be. Also, roast them at a high temperature. I recommend 400°F (200°C). This heat helps them turn golden brown and crisp. Shake the pan halfway through cooking. This action ensures that all sides get even heat.
Flavor Pairing Suggestions
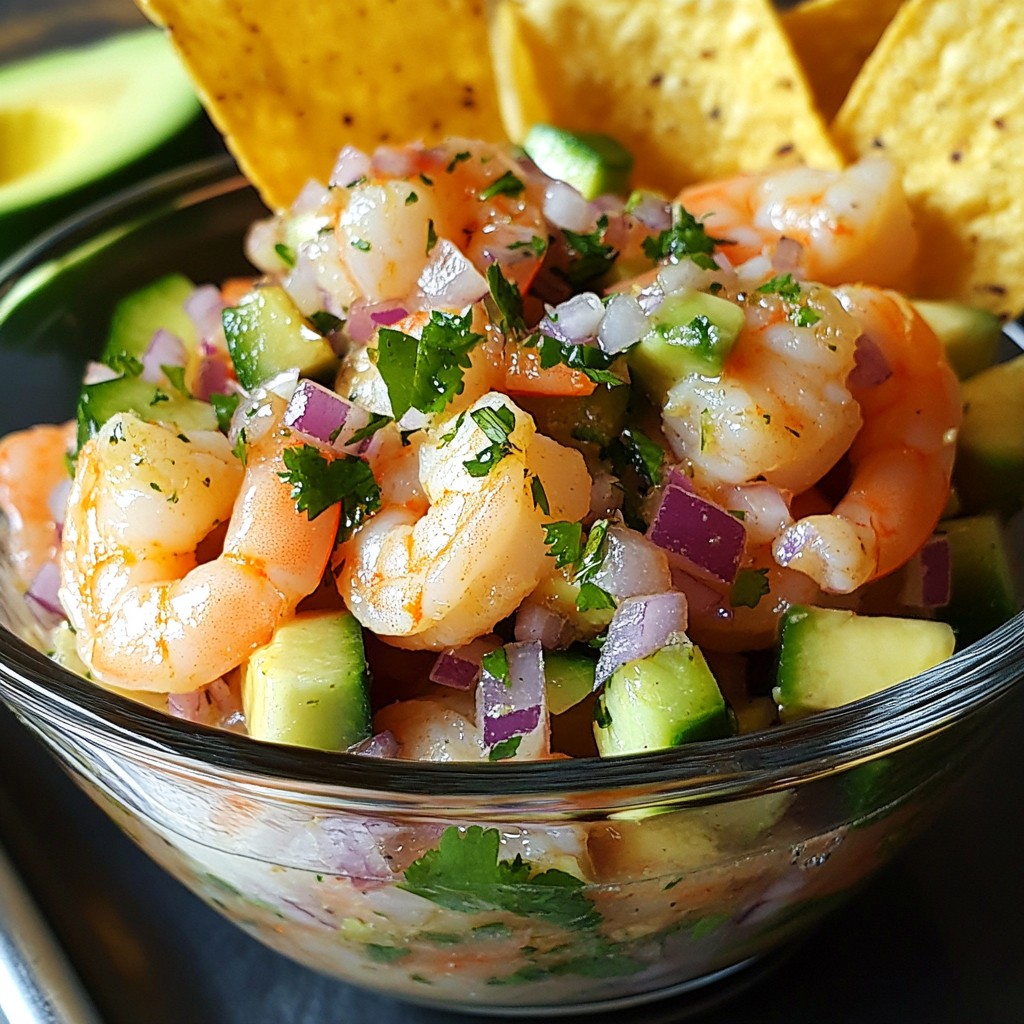
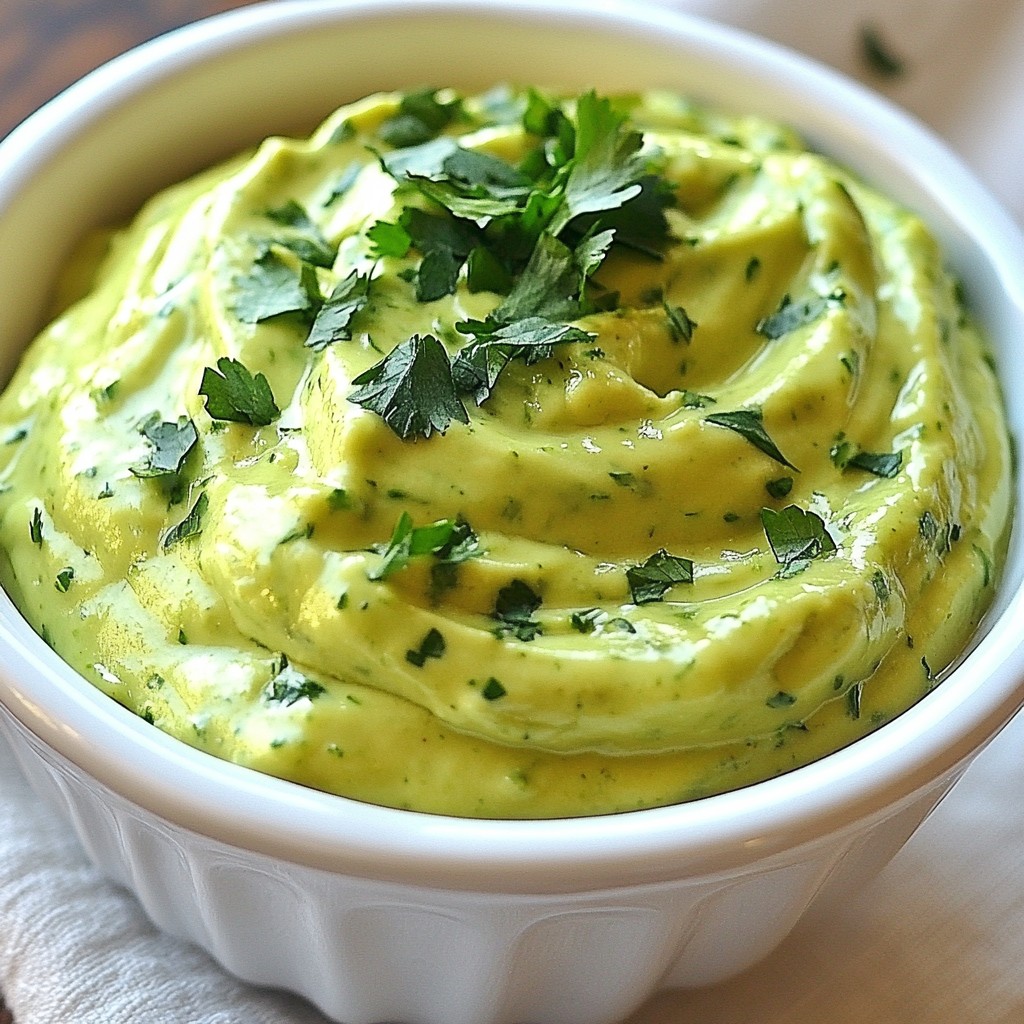
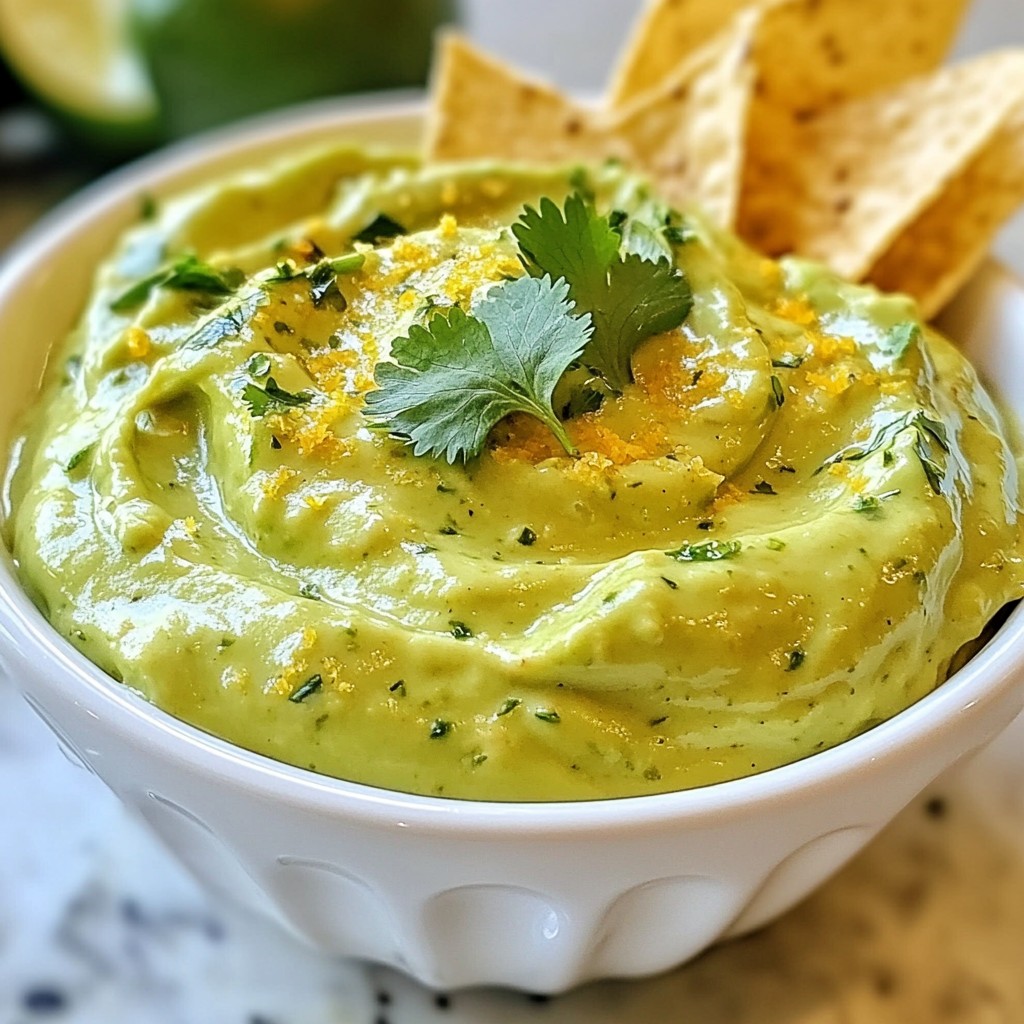
Crispy roasted chickpeas pair well with many dips. Try tzatziki or hummus for a creamy touch. You can also serve them with guacamole for a fresh taste. If you want a kick, consider a spicy salsa. For a twist, sprinkle some nutritional yeast on top. This gives a cheesy flavor without dairy. Mix and match flavors to find your favorite combination.
Common Mistakes to Avoid
One common mistake is not drying the chickpeas enough. If they stay wet, they won’t get crispy. Another mistake is overcrowding the baking sheet. Spread them out in one layer for best results. Avoid using too much oil; just enough to coat is perfect. Finally, don’t skip shaking the pan. This step is vital for even cooking. Following these tips will help you make perfect crispy roasted chickpeas every time.
Variations
Different Seasoning Combinations
You can change the flavor of crispy roasted chickpeas easily. Try using different spices. Instead of smoked paprika, you might like chili powder for a kick. If you want something zesty, use lemon zest or zest from a lime. Mix it up! Use Italian herbs like oregano or basil for a fresh taste.
Incorporating Other Ingredients
You can add more ingredients to your chickpeas for fun twists. Try tossing in some nuts or seeds. Sunflower seeds or pumpkin seeds add crunch and nutrition. You can also mix in some dried herbs like thyme or rosemary. These additions can make your snack even more exciting!
Sweet versus Savory Options
Crispy roasted chickpeas can be both sweet and savory. For a sweet snack, coat the chickpeas with a little maple syrup and cinnamon. Roast them just like the savory ones. They become a crunchy treat that’s perfect for dessert. You can make both types and serve them together. It’s a great way to please everyone!
Storage Info
Best Practices for Storage
To keep your crispy roasted chickpeas fresh, store them in an airtight container. Glass jars work great, as do plastic containers with tight lids. Avoid leaving them out in the open, as they can get stale quickly. If you have leftovers, let them cool completely before sealing them up. This helps maintain their crunch.
How to Reheat for Freshness
If your roasted chickpeas lose some crispiness, you can easily reheat them. Spread them on a baking sheet and place them in a preheated oven at 350°F (175°C) for about 5 to 10 minutes. This method revives their crunch without overcooking them. You can also toss them into an air fryer for about 3 minutes on high heat.
Shelf Life of Roasted Chickpeas
Crispy roasted chickpeas can last for about one week when stored properly. However, the sooner you eat them, the better! For the best taste and texture, enjoy them within the first few days. After that, they may lose their delightful crunch. For long-term storage, consider freezing them, though the texture may change slightly once thawed.
FAQs
Can I use dried chickpeas instead of canned?
Yes, you can use dried chickpeas. First, soak them overnight in water. After soaking, cook them until they are tender. Then, dry them well before seasoning and roasting. This method takes more time, but the flavor is rich and satisfying.
How do I make these crispy roasted chickpeas in an air fryer?
To make crispy roasted chickpeas in an air fryer, follow these steps:
– Drain and rinse the chickpeas.
– Pat them dry with a towel.
– Toss the chickpeas with olive oil and spices in a bowl.
– Place them in the air fryer basket in a single layer.
– Cook at 400°F (200°C) for 12-15 minutes.
– Shake the basket halfway for even cooking.
This method gives you great crunch without using the oven.
Where can I buy pre-made crispy roasted chickpea snacks?
You can find pre-made crispy roasted chickpea snacks at many grocery stores. Look in the snack aisle or the health food section. Some online retailers also offer them. Check brands that focus on healthy snacks to find tasty options.
In this blog post, we explored how to make crispy roasted chickpeas. We covered key ingredients, including optional ones for flavor. You learned step-by-step instructions to prepare, season, and roast chickpeas. I shared tips for maximum crispiness and flavor pairings. Additionally, we looked at storage best practices and answered common questions.
Crispy roasted chickpeas are easy to make and delicious. Use your favorite spices to customize them. Enjoy your healthy snacks!