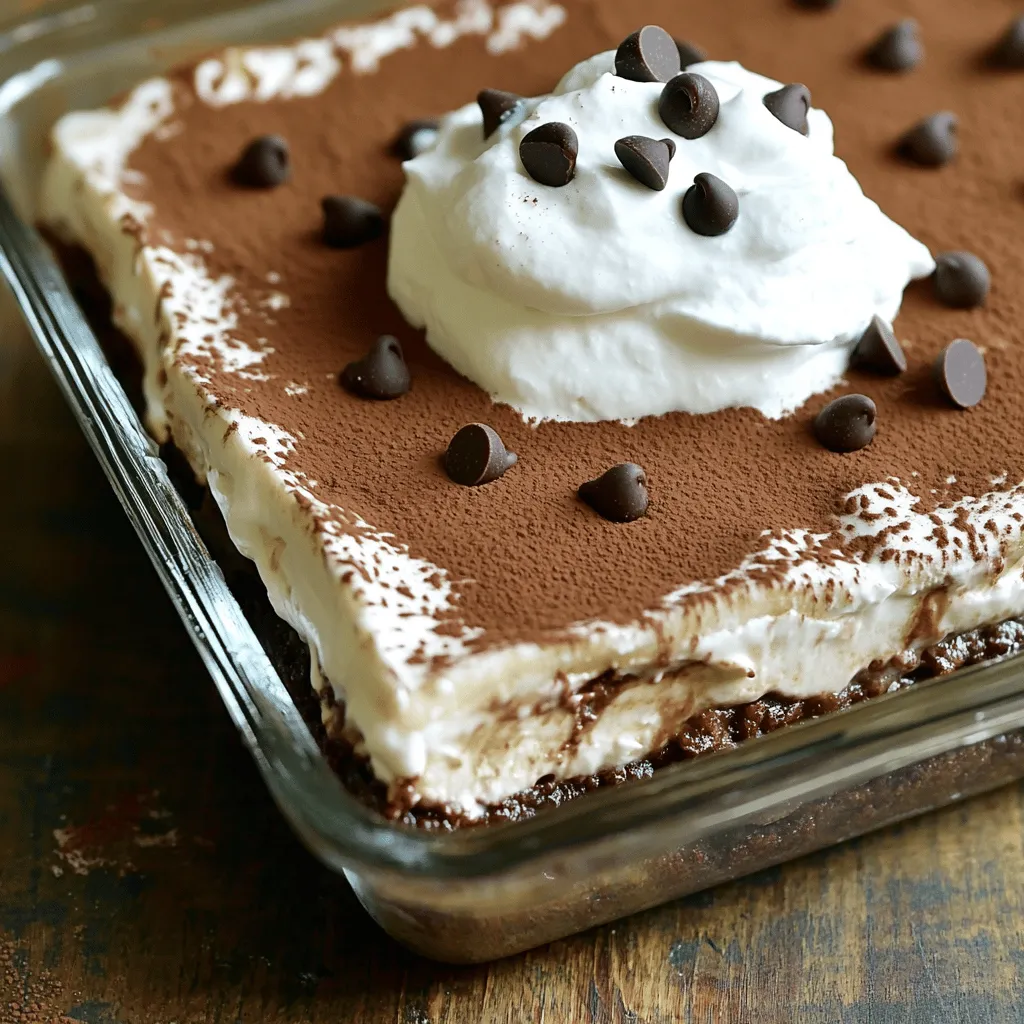
Are you ready to indulge in a sweet treat that’s as easy as it is delicious? This Chocolate Lasagna Recipe combines rich layers of creaminess with a scrumptious cookie crust. Perfect for gatherings or cozy nights in, this dessert is simple enough for anyone to make! Follow along as I guide you through each step, ensuring you create a dessert that will wow your friends and family. Let’s dive in!
Ingredients
Essential Ingredients for Chocolate Lasagna
To make this chocolate lasagna, you will need the following ingredients:
– 12 whole chocolate cookies (like Oreos)
– 2 tablespoons butter, melted
– 1 cup cream cheese, softened
– 1 cup powdered sugar
– 2 cups whipped cream (store-bought or homemade)
– 1 cup chocolate pudding mix
– 2 ¾ cups milk
– 1 cup mini chocolate chips
– 1 teaspoon vanilla extract
– Cocoa powder or chocolate shavings for garnish
For those with common allergens, here are some substitutions you can consider:
– Gluten-Free: Use gluten-free chocolate cookies.
– Dairy-Free: Replace cream cheese with a dairy-free cream cheese alternative. Use coconut whipped cream instead of regular whipped cream.
– Nut-Free: This recipe is naturally nut-free, but ensure all packaged items are nut-free as well.
These simple swaps help everyone enjoy this creamy and delicious dessert!
Step-by-Step Instructions
Preparing the Cookie Crust
To make the cookie crust, start by crushing the chocolate cookies. You can use a food processor or place them in a plastic bag and crush them with a rolling pin. Aim for fine crumbs that hold together well. Next, mix the crumbs with 2 tablespoons of melted butter. The mixture should feel like wet sand.
Press this mixture firmly into the bottom of a 9×13 inch dish. Use the back of a measuring cup or your hands to create an even layer. Make sure to press down hard enough so it holds together when you add the other layers.
Cream Cheese Layer Preparation
For the cream cheese layer, blend 1 cup of softened cream cheese and 1 cup of powdered sugar in a mixing bowl. Mix until the texture is smooth and creamy. This step is crucial for a rich flavor.
Next, gently fold in 2 cups of whipped cream. Use a spatula to combine them without losing the air in the whipped cream. This makes your layer light and fluffy. Spread this cream cheese mixture evenly over the cookie crust.
Chocolate Pudding Layer
Now, let’s make the chocolate pudding layer. In a separate bowl, whisk together 1 cup of chocolate pudding mix and 2 ¾ cups of milk. Whisk for about 2 to 3 minutes until it starts to thicken. It’s vital to let it sit for a couple of minutes to reach the right consistency.
This layer adds a rich chocolate taste that complements the creamy layers perfectly.
Constructing the Lasagna
To build the lasagna, pour the thickened chocolate pudding over the cream cheese layer. Use a spatula to spread it out gently. This ensures an even layer and a delightful presentation.
Next, sprinkle 1 cup of mini chocolate chips evenly over the pudding. This adds a nice texture and extra chocolate flavor.
Final Layer and Chilling Time
For the final layer, top your lasagna with the remaining whipped cream. Spread it out evenly to cover all the layers. You can use a spatula to smooth it out nicely.
Once done, cover the dish with plastic wrap and refrigerate it for at least 4 hours. If you can, let it chill overnight. This waiting time makes the flavors meld beautifully. The longer it chills, the better the taste!
Tips & Tricks
Serving Suggestions
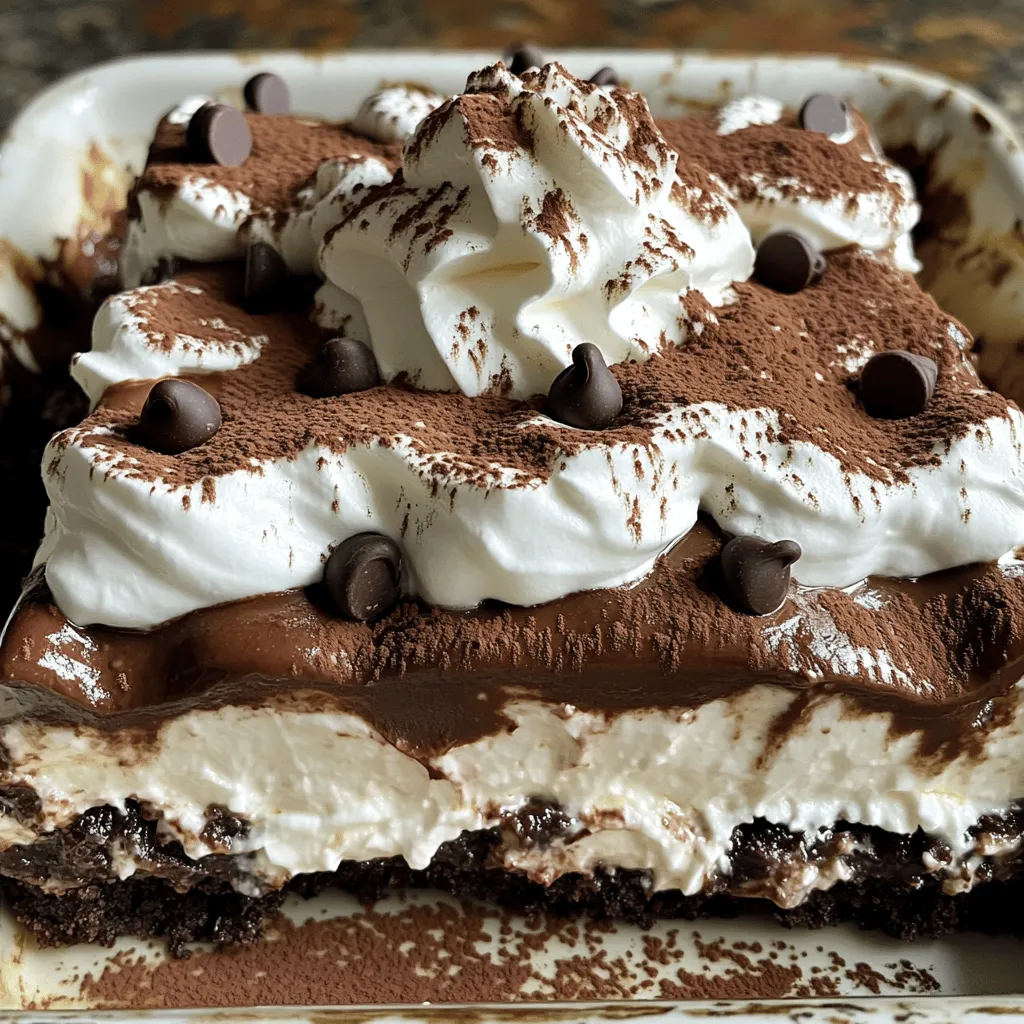
Garnishing your chocolate lasagna can elevate its look. Here are some ideas:
– Cocoa Powder: Dust the top with cocoa for a rich finish.
– Chocolate Shavings: Use a vegetable peeler on a chocolate bar for fun curls.
– Fresh Berries: Place raspberries or strawberries on top for a pop of color.
– Mint Leaves: Add a sprig of mint for a fresh touch.
Pairing your dessert with drinks can enhance the experience. Consider these beverages:
– Coffee: A cup of strong coffee complements the chocolate well.
– Milk: A classic choice, especially for kids.
– Red Wine: A light red wine can offer a nice contrast.
Presentation Tips
Cutting and serving your lasagna can be an art. Here’s how:
– Use a Sharp Knife: A clean cut makes for neater squares.
– Warm the Knife: Dip it in hot water to slice through layers smoothly.
– Serve on Plates: Place each square on a dessert plate for a nice look.
For parties, think creatively about serving:
– Mini Portions: Use small cups or shot glasses for individual servings.
– Layered Cups: Layer the ingredients in clear cups for a pretty view.
– Dessert Bar: Set up a station where guests can build their own mini lasagnas.
Common Mistakes to Avoid
Here are two common mistakes to keep in mind:
– Overmixing: When mixing layers, blend just enough. Overmixing can make your cream cheese layer too runny.
– Skipping the Chilling Step: Don’t skip chilling the lasagna. It needs time to set. Chilling helps the layers meld and improves the taste.
Variations
Alternative Cookie Crust Ideas
You can switch up the cookie crust for your chocolate lasagna. Try using different types of cookies. Gluten-free options work well too. Look for gluten-free chocolate cookies or almond-flour cookies. Both add unique flavors. You can also add nuts or spices to the crust. Chopped walnuts or pecans give a nice crunch. A pinch of cinnamon or nutmeg can add warmth and depth to the flavor.
Flavor Variations
The flavor of chocolate lasagna can be fun to change. You can use different pudding flavors. Vanilla or butterscotch pudding adds a nice twist. Mixing in fruits is also a great idea. Strawberries or bananas can bring freshness to each bite. They also add natural sweetness. Layering these fruit slices between the pudding and whipped cream makes it look lovely too.
Dietary Adjustments
If you need to make it dairy-free, there are great options. Use dairy-free cream cheese and whipped cream. You can also find dairy-free pudding mixes. For those watching sugar intake, try using sugar substitutes. Stevia or erythritol can work well in this recipe. These small changes let everyone enjoy your chocolate lasagna without worry.
Storage Info
How to Store Chocolate Lasagna
To keep your chocolate lasagna fresh, store it in the fridge. Use an airtight container or cover the dish tightly with plastic wrap. This helps to prevent it from absorbing other flavors in the fridge. You can keep it for up to five days this way. If you have leftovers, follow these tips for freezing:
– Cut the lasagna into squares for easy serving.
– Wrap each piece in plastic wrap and then foil.
– Place the wrapped pieces in a freezer-safe bag.
This method helps keep the chocolate lasagna tasty for up to three months.
Shelf Life
When stored properly, chocolate lasagna stays fresh for about five days in the fridge. You can tell if it has spoiled by looking for these signs:
– An off or sour smell.
– Changes in texture, like excessive moisture or dryness.
– Visible mold growth on the surface.
If you notice any of these signs, it’s best to toss it out. Enjoy your chocolate lasagna while it’s fresh for the best taste!
FAQs
Can I make Chocolate Lasagna in advance?
Yes, you can make Chocolate Lasagna in advance. In fact, it tastes better after sitting. I recommend making it the night before you plan to serve it. This gives the layers time to set and flavors to blend nicely.
How do I know when my lasagna is set?
Your lasagna is set when it feels firm. It should hold its shape when cut. Look for a clean edge around the sides of the dish. If it jiggles too much, it needs more chilling time.
Can I substitute ingredients?
Yes, you can substitute some ingredients. Here are a few ideas:
– Use gluten-free cookies for a gluten-free crust.
– Swap cream cheese for a dairy-free option if needed.
– You can replace chocolate pudding with vanilla pudding for a different taste.
These changes might alter the flavor slightly but can still work well.
In this post, I shared how to make a delicious chocolate lasagna. We covered essential ingredients, step-by-step instructions, and helpful tips to avoid mistakes. You learned about variations to fit your taste and how to properly store your dessert.
Remember, the secret lies in layering and chilling for the best flavor. With these steps, you can impress friends and family. Enjoy your tasty creation and let your baking journey begin!