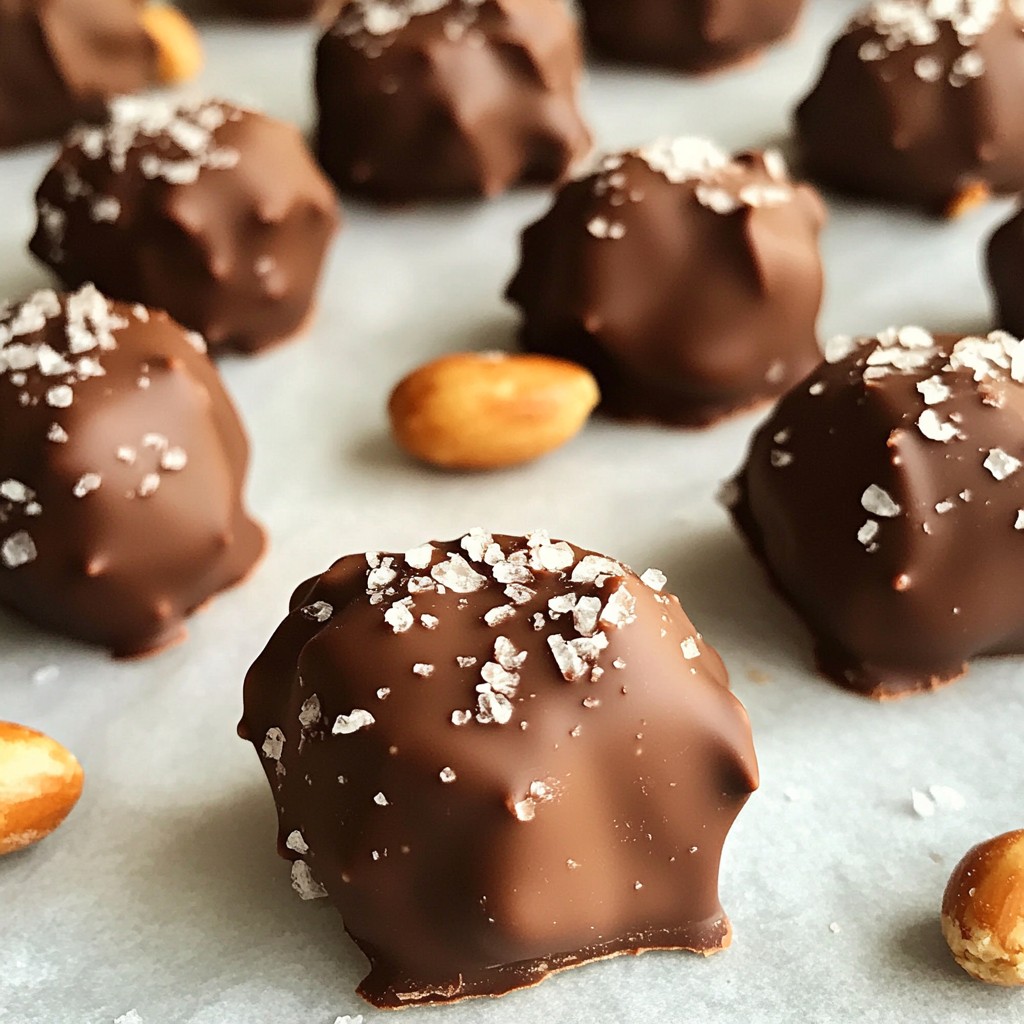
Craving a sweet treat that’s quick and easy? You’ve found it! Chocolate Covered Peanut Clusters are the perfect mix of salty and sweet. These little bites are delicious, fun to make, and satisfying for any chocolate lover. With just a few simple ingredients and easy steps, you can whip up these irresistible delights in no time. Ready to dig in? Let’s get started!
Why I Love This Recipe
- Quick and Easy: This recipe takes only 15 minutes of prep time, making it a perfect last-minute treat.
- Customizable: You can easily switch up the nuts or chocolates to suit your taste preferences.
- Decadent Flavor: The combination of sweet chocolate and salty peanuts creates a delightful taste experience.
- Perfect for Sharing: These clusters are great for parties, gifts, or simply enjoying with family and friends.
Ingredients
List of Required Ingredients
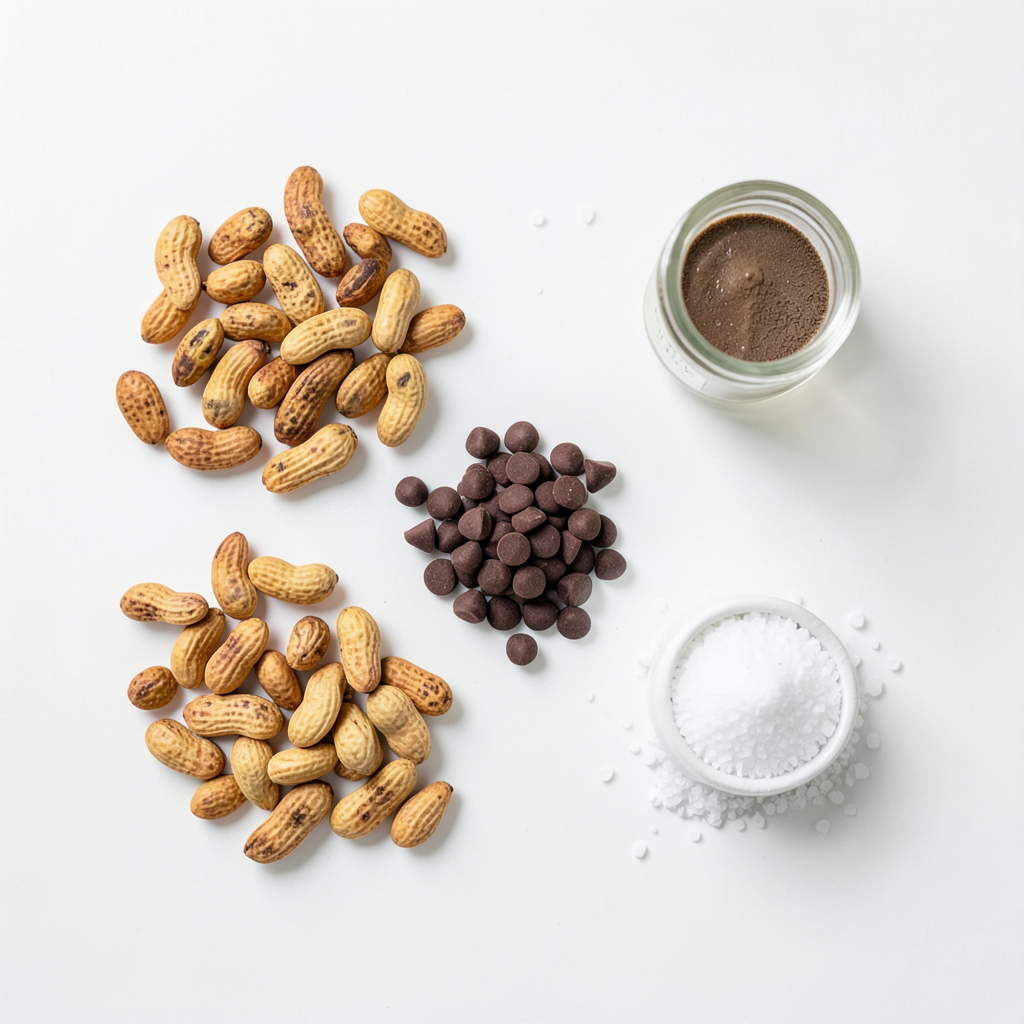
- 2 cups roasted salted peanuts
- 1 cup semi-sweet chocolate chips
- 1 cup milk chocolate chips
- 1 teaspoon vanilla extract
- Sea salt (optional)
To make chocolate covered peanut clusters, you need a few simple ingredients. First, gather 2 cups of roasted salted peanuts. These peanuts give a nice crunch and salty flavor. Next, grab 1 cup each of semi-sweet chocolate chips and milk chocolate chips. Combining these two types of chocolate adds depth to the flavor. You also need 1 teaspoon of vanilla extract. This little addition enhances the taste of the chocolate. Lastly, you may want sea salt to sprinkle on top. This adds a fun twist to the sweet treat.
With these ingredients, you set the stage for a fun and tasty project. Each ingredient plays a role in creating that perfect cluster. I love using roasted salted peanuts because they balance the sweetness of the chocolate. The blend of semi-sweet and milk chocolate brings a nice richness. You can have fun with the sea salt, too. Just a pinch can make a big difference!
Now, let’s get ready to whip up these delightful clusters!
Step-by-Step Instructions
Preparation Steps
- Lining the baking sheet: Start by taking a large baking sheet. Lay down parchment paper. This paper keeps the clusters from sticking. It makes cleanup easy, too.
- Coating peanuts with vanilla: Grab a medium mixing bowl. Add 2 cups of roasted salted peanuts. Pour in 1 teaspoon of vanilla extract. Stir well to coat each peanut with vanilla. This step adds a lovely flavor.
- Melting the chocolate: Use a microwave-safe bowl. Combine 1 cup of semi-sweet chocolate chips and 1 cup of milk chocolate chips. Microwave them in 30-second bursts. Stir between each burst. Keep going until the chocolate melts smoothly. This takes about 1-2 minutes.
Assembly Steps
- Combining chocolate and peanuts: Once the chocolate melts, let it cool for a minute. Pour the melted chocolate over the peanuts. Stir until all the peanuts are coated. This makes a rich, tasty mixture.
- Dropping clusters onto the baking sheet: Use a tablespoon or small cookie scoop. Drop spoonfuls of the mixture onto the lined baking sheet. Leave space between each cluster. This gives them room to set.
- Sprinkling sea salt (if desired): If you like a salty touch, sprinkle sea salt on top of each cluster. This adds a nice contrast to the sweet chocolate.
Setting the Clusters
- Refrigeration time: Place the baking sheet in the fridge. Let the clusters chill for about 30-45 minutes. This helps the chocolate harden properly.
- Checking for hardening: After chilling, check if the chocolate has set. It should feel firm to the touch. If it’s still soft, give it more time in the fridge. Once set, enjoy your sweet treat!
Tips & Tricks
Best Practices for Melting Chocolate
To melt chocolate well, I recommend using the microwave method. Place your chocolate chips in a microwave-safe bowl. Heat it for 30 seconds. Then, stir and heat again. Repeat this until smooth. This usually takes 1-2 minutes.
If you prefer an alternative, use a double boiler. Fill a pot with water and bring it to a simmer. Place a heat-safe bowl on top. Ensure the bowl does not touch the water. Stir the chocolate until melted. This method gives you more control over the heat.
Achieving the Perfect Cluster
For the best clusters, aim for a tablespoon size. This size helps them hold together well. If you want bigger clusters, use a scoop. Just remember, larger clusters take longer to set.
To avoid sticking, line your baking sheet with parchment paper. This makes it easy to remove the clusters later. You can also lightly grease the parchment with cooking spray for extra safety.
Enhancing Flavor and Texture
You can add more flavor to your clusters. A pinch of sea salt on top brings out the chocolate's sweetness. You can also mix in a bit of cinnamon for warmth.
For serving, try placing the clusters in small paper cups. They look nice and are easy to grab. You can also pair them with a glass of milk or coffee. Enjoy them as a snack or share them with friends!
Pro Tips
- Use Quality Chocolate: For the best flavor, choose high-quality chocolate chips. This will enhance the overall taste of your clusters.
- Keep Peanuts Dry: Ensure that the peanuts are completely dry before mixing them with chocolate to achieve a perfect coating.
- Experiment with Flavors: Try adding a dash of cinnamon or a splash of espresso powder to the chocolate for an interesting flavor twist.
- Storage Tips: Store the clusters in an airtight container to maintain their freshness and crispness for longer.
Variations
Chocolate Combinations
For chocolate lovers, there are many ways to mix it up. You can use dark chocolate instead of milk chocolate. Dark chocolate gives a rich and bold taste. It pairs well with the salty peanuts. White chocolate is another fun choice. It adds a sweet and creamy flavor. You can even mix different chocolates together for a unique treat.
Ingredient Swaps
If you want to try something new, swap out the nuts. Cashews or almonds work great too. They bring a different crunch and flavor. If you have dietary restrictions, consider using dairy-free chocolate. There are many brands available that taste amazing. You can also use unsalted peanuts if you prefer less salt.
Holiday and Seasonal Variations
Make your clusters festive for the holidays. Add colorful sprinkles on top for a fun look. You can use themed flavors, like peppermint for winter or pumpkin spice for fall. Try adding mini marshmallows for a s'mores twist. These small changes make each batch special for any season.
Storage Info
Best Ways to Store
To keep your chocolate covered peanut clusters fresh, store them at room temperature. Place them in an airtight container. This keeps them safe from air and moisture. If it’s hot in your kitchen, you might want to use the fridge. Just make sure to seal them well. Cold air can change the texture of the chocolate.
Shelf Life and Freshness
These clusters can last about two weeks if stored properly. You’ll know they are still good if they look shiny and smell sweet. If you see any white spots on the chocolate, that means it has started to spoil. It might still taste okay, but the texture could be off. If the peanuts start to taste stale, it’s time to toss them. Always check for signs before enjoying your treat!
FAQs
Common Questions About Chocolate Covered Peanut Clusters
Can I use unsalted peanuts? Yes, you can use unsalted peanuts. Just remember to adjust the salt. You may want to add a pinch of sea salt to enhance the taste.
How do I make these clusters vegan? To make these clusters vegan, swap the milk chocolate for dairy-free chocolate chips. Many brands offer great vegan options.
What chocolate works best for melting? Semi-sweet chocolate chips work best for melting. They blend nicely with the milk chocolate for a rich taste.
Ingredients and Substitutions
Can I use almond butter instead of chocolate? No, almond butter will not work as a substitute for chocolate. Chocolate gives the clusters their signature flavor and texture.
How can I make these gluten-free? The recipe is already gluten-free! All the ingredients used are naturally gluten-free. Just make sure your chocolate chips are certified gluten-free.
Serving Suggestions
What to serve with chocolate covered peanut clusters? These clusters pair well with coffee or tea. You can also serve them on a dessert platter with fruit.
Can I gift these clusters, and how should I package them? Yes! These clusters make great gifts. Package them in a clear cellophane bag or a decorative box. Add a ribbon for a nice touch.
You now have a simple guide for making chocolate-covered peanut clusters. We covered the ingredients you need, from roasted peanuts to chocolate chips. I shared easy steps for preparation, assembly, and storage. Remember the tips for melting chocolate properly and finding the right cluster size for the best results. You can also try fun variations for different flavors or special events. With this knowledge, you can create delicious treats at home. Enjoy the process and share your tasty clusters with others!