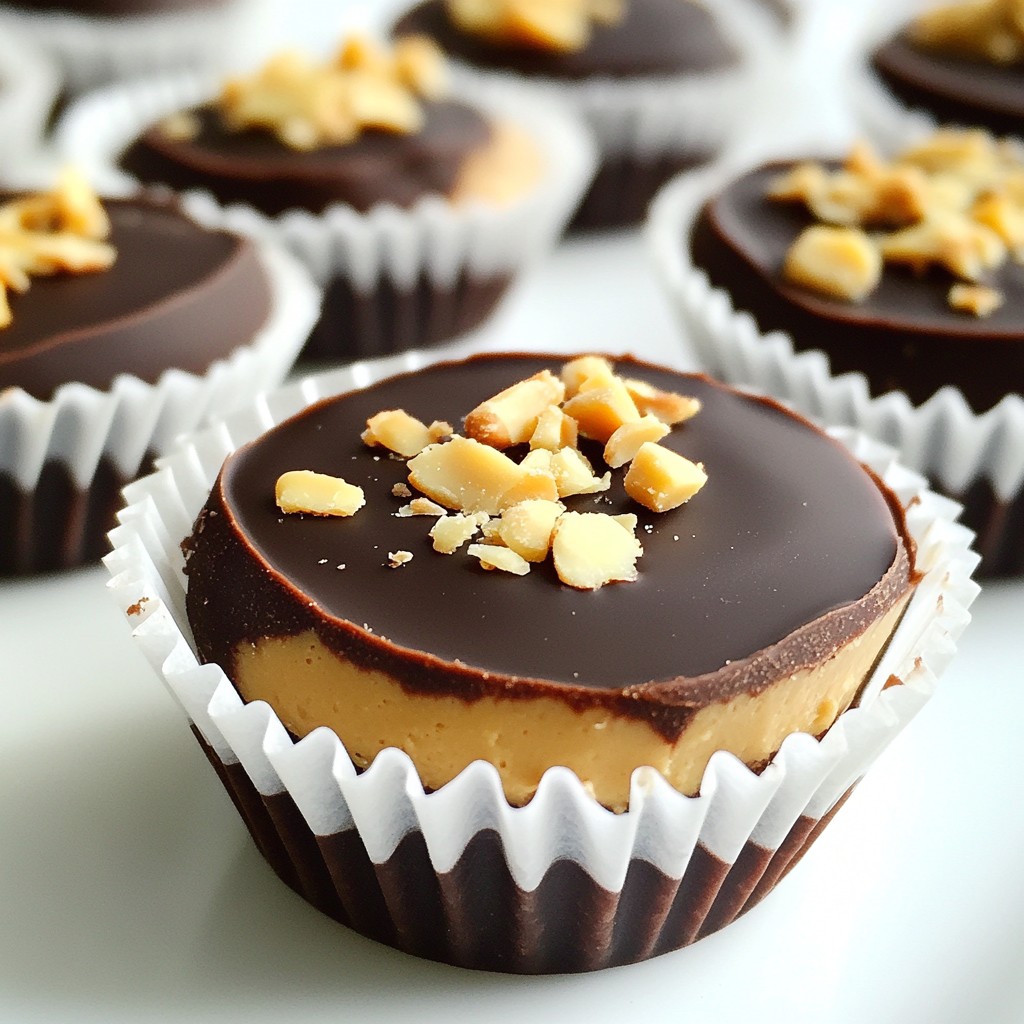
Are you ready to indulge in a sweet treat that’s both vegan and easy to make? These Vegan Chocolate Peanut Butter Cups are the perfect blend of rich chocolate and creamy nut butter. With just a few simple ingredients, you can whip up a delightful snack that satisfies your cravings. Join me as I guide you through each step, from melting chocolate to creating your own delicious flavors!
Why I Love This Recipe
- Decadent Flavor: The combination of rich dark chocolate and creamy peanut butter creates an indulgent treat that satisfies any sweet tooth.
- Simple Ingredients: Made with just a few wholesome ingredients, you can whip these up quickly without any complicated steps.
- Customizable: Add your favorite nuts for crunch or swap peanut butter for almond butter to suit your taste preferences.
- Vegan Delight: These chocolate peanut butter cups are completely vegan, making them a guilt-free dessert option everyone can enjoy!
Ingredients
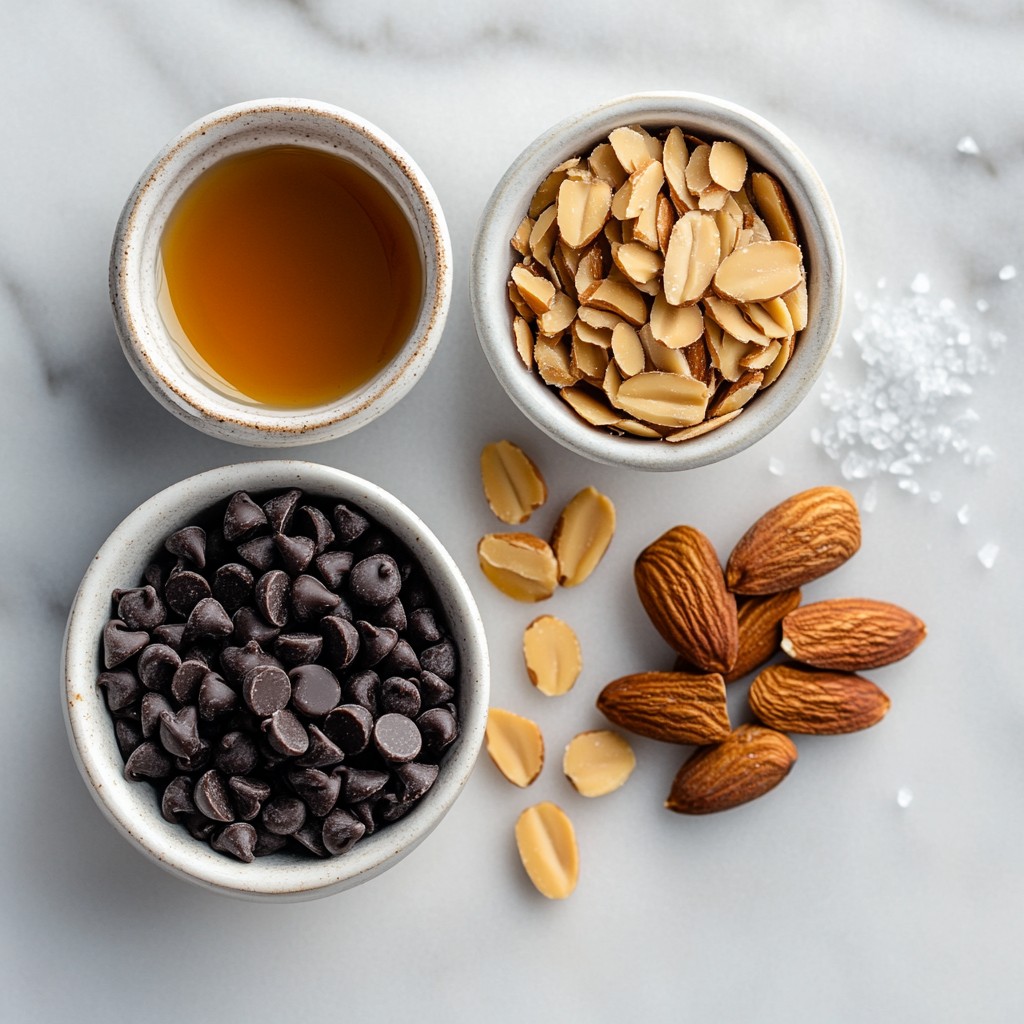
To make these Vegan Chocolate Peanut Butter Cups, you need a few simple ingredients. Each one adds flavor and texture to this tasty treat. Here’s what you will need:
- 1 cup dark vegan chocolate chips
- 1/2 cup natural peanut butter (or almond butter)
- 2 tablespoons maple syrup
- 1/4 cup crushed almonds or walnuts (optional for crunch)
- A pinch of sea salt
- 12 mini cupcake liners
These ingredients work together to create a rich, creamy treat. The dark vegan chocolate gives a deep flavor. The peanut butter adds creaminess and a touch of sweetness. Maple syrup enhances the taste without using refined sugar. If you like a little crunch, add crushed almonds or walnuts. The sea salt balances the sweetness perfectly. Finally, mini cupcake liners make serving easy and fun.
Step-by-Step Instructions
Melting the Chocolate
To start, I melt the dark vegan chocolate chips. You can use two methods. The first way is a double boiler. Fill a pot with water and let it simmer. Place a bowl on top with the chocolate. Stir until it melts. The second way is simple. Put the chocolate in a microwave-safe bowl. Heat it in 20-second bursts. Stir in between each burst. Stop when it is fully melted and smooth.
Preparing the Peanut Butter Mixture
Next, I prepare the peanut butter mixture. In a bowl, combine the natural peanut butter and maple syrup. Add a pinch of sea salt for flavor. If you like crunch, mix in the crushed almonds or walnuts. Stir until everything blends well. This mixture will add a creamy and rich taste to your cups.
Assembling the Cups
Now it is time to assemble the cups. First, take your mini cupcake tray and place the cupcake liners inside. Spoon about one tablespoon of the melted chocolate into each liner. Tilt the tray if needed to coat the bottom. Use about half of the melted chocolate for this layer. Then, add one tablespoon of the peanut butter mixture on top of the chocolate. Make sure it does not touch the sides of the liner. Finally, cover the peanut butter layer with the remaining melted chocolate. Smooth the top with a spoon for a nice finish.
Setting and Storing
Once you finish assembling, place the tray in the fridge. Let it chill for at least 30 minutes. This helps the cups set properly. After they are firm, carefully remove the cups from the liners. Store your vegan chocolate peanut butter cups in an airtight container in the fridge. Enjoy your tasty treats!
Tips & Tricks
Best Practices for Melting Chocolate
Melting chocolate can be tricky. To get it just right, use a double boiler. Place water in the bottom pot and simmer gently. The steam will melt the chocolate slowly. If using a microwave, heat in short bursts. Start with 20 seconds, then stir. Repeat until smooth. This way, you avoid burning the chocolate.
How to Achieve the Perfect Texture
The texture of your peanut butter cups matters. For a creamy filling, mix your peanut butter with maple syrup thoroughly. This makes it smooth. Adding a pinch of sea salt gives it a nice kick. If you want extra crunch, fold in crushed nuts. This adds a delightful texture contrast.
Suggestions for an Even Better Flavor
To enhance flavor, try using dark chocolate with at least 70% cocoa. This adds richness. You can also add a splash of vanilla extract to the peanut butter mix. It brightens the taste. For a fun twist, try mixing in a little cinnamon or a dash of sea salt on top before chilling. This small change can elevate your treat.
Pro Tips
- Use high-quality chocolate: The flavor of your chocolate will significantly affect the final taste of your peanut butter cups, so opt for high-quality dark vegan chocolate for the best results.
- Experiment with nut butters: While peanut butter is classic, try using almond butter, cashew butter, or even sunflower seed butter for a unique twist on this recipe.
- Chill your ingredients: For easier handling, consider chilling your peanut butter mixture in the fridge for a few minutes before layering it into the cups; this helps to keep it firm.
- Add a pinch of sea salt: A touch of sea salt on top of the melted chocolate before it sets enhances the flavor and creates a delightful sweet and salty contrast.
Variations
Gluten-Free Alternatives
For a gluten-free version, ensure your dark vegan chocolate chips are labeled gluten-free. Most dark chocolate is naturally gluten-free, but always check the label. You can use gluten-free cookies as a base layer for added crunch. Just crush them finely and sprinkle them between the chocolate layers.
Refined Sugar-Free Options
To make these cups without refined sugar, use a sugar substitute like stevia or monk fruit. Replace the maple syrup with a sugar-free syrup, which you can find in stores. This keeps the sweet flavor while staying healthy. Always taste as you go to find the right sweetness for your palate.
Nut-Free Substitutes
If you need a nut-free option, switch peanut butter for sun butter or soy nut butter. These alternatives offer a similar texture and flavor without nuts. You can also skip the nut toppings altogether. Just make sure to read labels to avoid any cross-contamination with nuts.
Storage Info
Best Practices for Storing Vegan Chocolate Peanut Butter Cups
To keep your vegan chocolate peanut butter cups fresh, use an airtight container. This helps stop air from getting in, which can change their taste. Store them in the fridge for the best results. If you stack them, place parchment paper between layers to avoid sticking.
Shelf Life and Freezing Tips
These treats stay fresh for about one week in the fridge. If you want to store them longer, freezing works well. Place them in a freezer-safe container. They can last for up to three months in the freezer. Just make sure to wrap each cup in plastic wrap before putting them in the container.
How to Serve for Maximum Freshness
When you're ready to enjoy your vegan chocolate peanut butter cups, take them out of the fridge. Let them sit for a few minutes to warm slightly. This makes them easier to bite into. If frozen, let them thaw in the fridge overnight. Enjoy them fresh for the best flavor and texture!
FAQs
Can I use different nut butters?
Yes, you can use other nut butters. Almond butter and cashew butter work well. Each nut butter gives a unique taste. Try them to find your favorite.
How do I make these sugar-free?
To make sugar-free cups, use sugar-free chocolate chips. You can also swap maple syrup for a sugar-free sweetener. Look for options like erythritol or stevia. Be careful with the amount to keep the taste right.
Are there any pre-made vegan options available?
Yes, many stores sell pre-made vegan chocolate peanut butter cups. Brands like Unreal and Justin’s offer tasty choices. Check the label to ensure they are vegan. Some may have added ingredients, so read carefully.
What is the best chocolate for vegan recipes?
The best chocolate for vegan recipes is dark chocolate. Look for vegan dark chocolate chips with minimal ingredients. Brands like Enjoy Life and Pascha are great options. They provide rich flavor and melt well.
Can I make these in different shapes or sizes?
Absolutely! You can use different molds for fun shapes. Silicone molds work great for this. Just adjust the filling amounts based on the size. Get creative and have fun with the shapes!
These vegan chocolate peanut butter cups are easy and fun to make. We covered ingredients, step-by-step instructions, and helpful tips. You can choose nut-free or sugar-free options if needed. Proper storage keeps them fresh and tasty.
In the end, these treats are a great way to satisfy your cravings. You’ll love the rich chocolate and creamy peanut butter flavor. Enjoy making and sharing them with others!