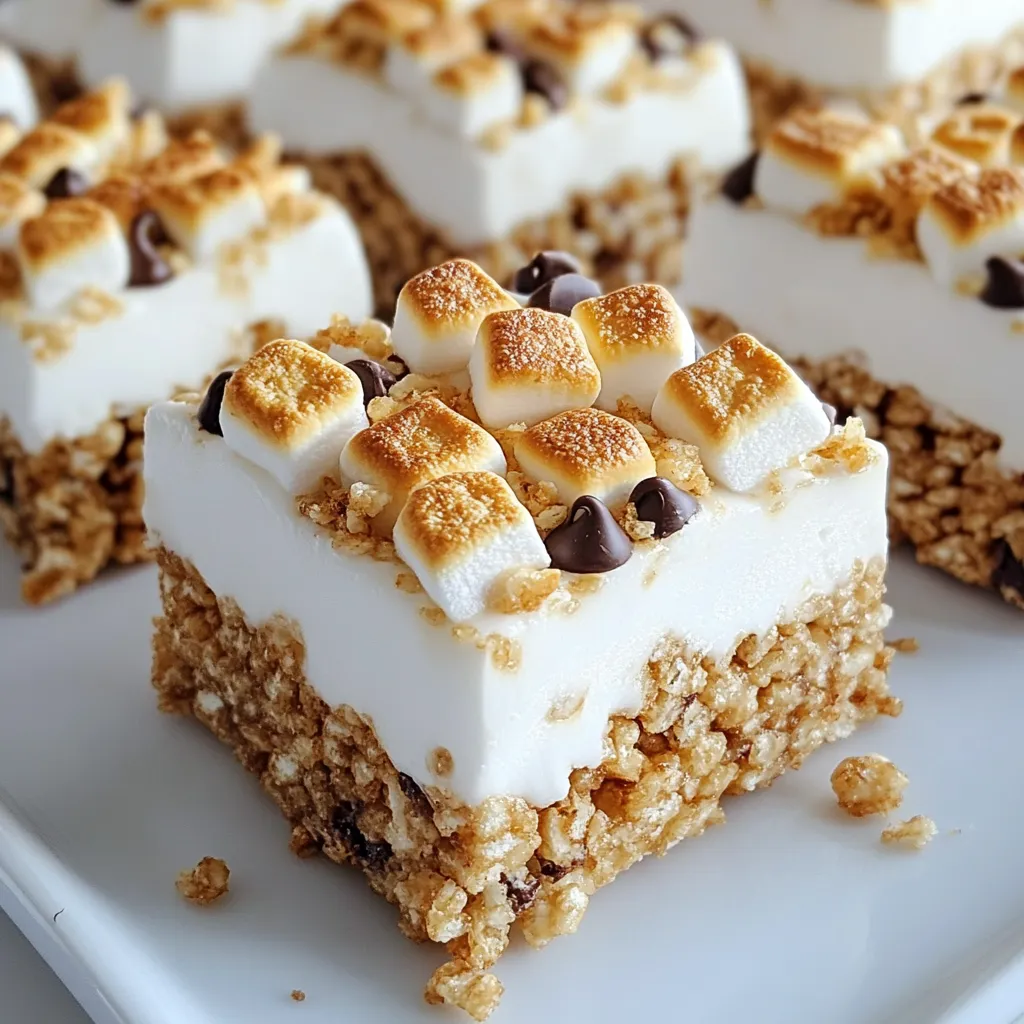
Get ready for a sweet treat that will delight your taste buds! My Toasted Marshmallow Rice Krispie Treats are a fun twist on a classic favorite. These gooey, crispy bites offer a satisfying crunch and a rich marshmallow flavor you won’t forget. Follow my simple recipe to create the perfect snack or dessert. Whether for a party or a family movie night, these treats are sure to impress! Let’s get cooking!
Why I Love This Recipe
- Unique Flavor Combination: The toasted marshmallows add a delightful depth of flavor that elevates the classic Rice Krispie treat.
- Fun Texture: The addition of crushed graham crackers gives a wonderful crunch that complements the chewy marshmallows.
- Easy to Make: This recipe comes together quickly and requires minimal ingredients, making it perfect for any occasion.
- Customizable: You can easily modify the recipe by adding your favorite mix-ins, like chocolate chips or nuts, for a personal touch.
Ingredients
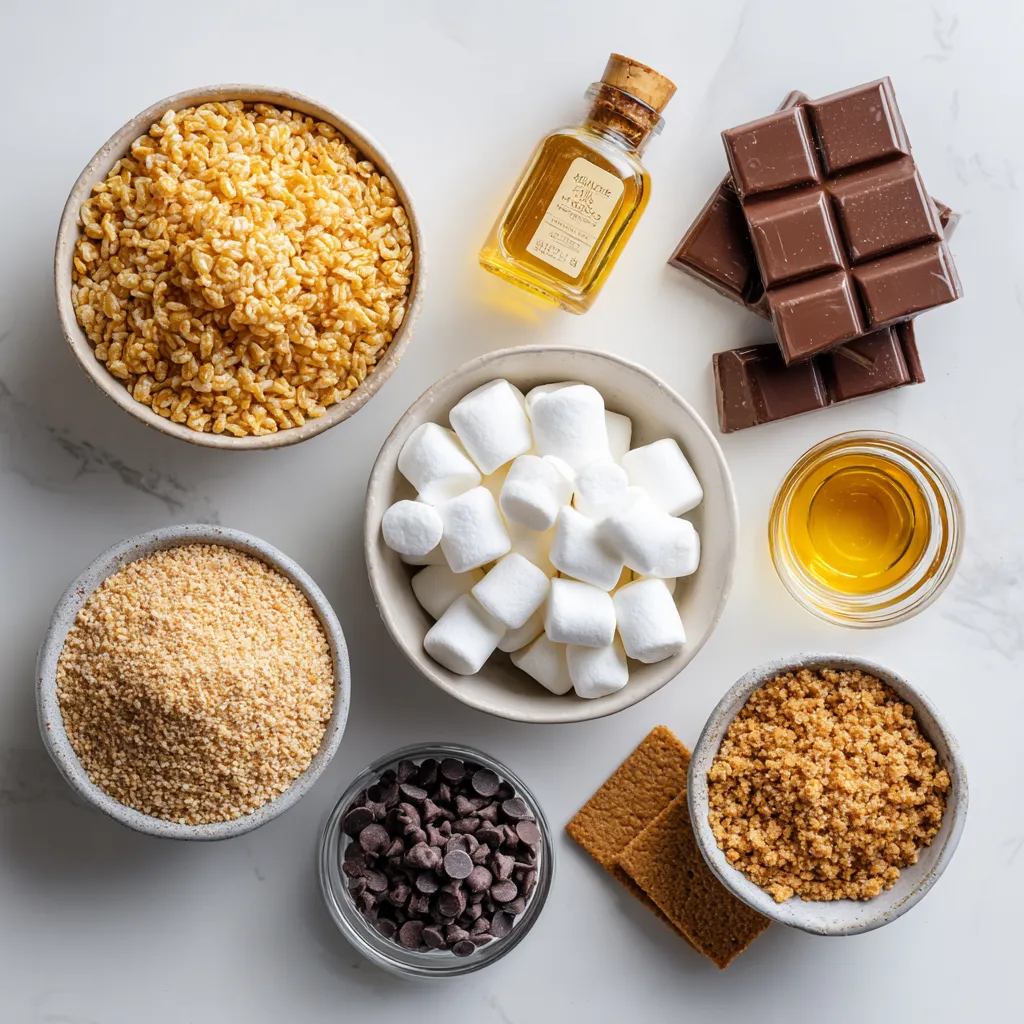
List of Ingredients
– 6 cups Rice Krispies cereal
– 4 cups mini marshmallows (divided)
– 1/2 cup unsalted butter
– 1/2 teaspoon vanilla extract
– 1/4 teaspoon salt
– 1/2 cup crushed graham crackers (optional)
– 1/2 cup chocolate chips (optional)
In this recipe, the key ingredients are simple and easy to find. Rice Krispies give the treats their signature crunch. Marshmallows provide sweetness and gooeyness. Butter helps bind the mix and adds flavor. Vanilla and salt enhance the taste. Optional ingredients like graham crackers and chocolate chips can take your treats to the next level.
Optional Ingredients for Variations
– Crushed graham crackers: They add a nice crunch and a s’mores vibe.
– Chocolate chips: They melt into the mix, adding rich chocolate flavor.
– Nuts: Chopped walnuts or almonds give a nice bite.
– Sprinkles: Colorful sprinkles make treats fun for kids.
Feel free to mix and match these optional ingredients. They let you get creative and tailor the treats to your taste.
Equipment Needed
– Baking dish (9×13 inches)
– Parchment paper
– Large pot
– Baking sheet
– Spatula
– Oven
Using the right equipment makes cooking easier. The baking dish holds the treats while they cool. Parchment paper helps with easy removal. A large pot is perfect for melting and mixing. A baking sheet is used for toasting marshmallows. A spatula helps you combine the ingredients well. Make sure to have everything ready before you start!
Step-by-Step Instructions
Preheating the Oven
Start by preheating your oven to 350°F (175°C). This step is key to making perfect toasted marshmallows. Line a 9×13 inch baking dish with parchment paper. Leave some paper over the edges. This helps you remove the treats later.
Toasting the Marshmallows
Next, spread 2 cups of mini marshmallows evenly on a baking sheet. Place the sheet in the oven for about 5-7 minutes. Watch them closely. You want them golden brown, not burnt. This toasting adds great flavor and texture.
Melting the Butter and Marshmallow Mixture
In a large pot, melt 1/2 cup of unsalted butter on low heat. Once melted, add the remaining 2 cups of mini marshmallows. Stir in 1/4 teaspoon of salt and 1/2 teaspoon of vanilla extract. Keep stirring until the mixture is smooth and all the marshmallows melt.
Combining Ingredients
Take the pot off the heat. Add the toasted marshmallows to the melted mixture. Gently fold in 6 cups of Rice Krispies cereal. If you want, add 1/2 cup of crushed graham crackers and 1/2 cup of chocolate chips. Mix until everything is well coated.
Transferring to the Baking Dish
Pour your mixture into the prepared baking dish. Use a spatula or your hands (greased with butter) to spread it evenly. Press down gently. You don’t want to squish it too much, but it needs to be firm.
Cooling and Cutting
Let the treats cool at room temperature for about 30 minutes. Once set, lift them out of the dish using the parchment paper. Cut them into squares or rectangles. Enjoy your delicious toasted marshmallow Rice Krispie treats!
Tips & Tricks
How to Achieve Perfectly Toasted Marshmallows
Toasting marshmallows gives a great flavor and texture. Spread 2 cups of mini marshmallows on a baking sheet. Bake them at 350°F for 5-7 minutes. Watch them carefully to avoid burning. You want them golden and fluffy. If you have a broiler, you can use that, too. Just keep a close eye on them.
Best Practices for Mixing Ingredients
When mixing, work quickly to keep the marshmallows warm. First, melt the butter and add the other marshmallows. Stir until smooth. Then, fold in the toasted marshmallows gently. This keeps them fluffy. Add the Rice Krispies and any extras like graham crackers or chocolate chips last. Mix until everything is coated but don’t overmix.
Common Mistakes to Avoid
A few common mistakes can ruin your treats. Avoid using too many marshmallows; stick to the recipe. If you melt the marshmallows too fast, they can turn hard. Don’t press the mixture too hard in the baking dish; this makes them tough. Lastly, let them cool fully before cutting to keep them from falling apart.
Pro Tips
- Use Fresh Ingredients: Always opt for fresh mini marshmallows and unsalted butter for the best flavor and texture in your treats.
- Press Gently: When pressing the mixture into the baking dish, do it gently to avoid compacting the treats too much, ensuring they remain chewy.
- Experiment with Flavors: Feel free to customize your Rice Krispie treats by adding different mix-ins like nuts, dried fruit, or flavored extracts.
- Store Properly: Keep your treats in an airtight container at room temperature to maintain their freshness and prevent them from becoming hard.
Variations
Adding Chocolate Chips
You can add chocolate chips to your Rice Krispie treats for a sweet twist. Mix in 1/2 cup of chocolate chips with the marshmallow mixture. The warm mix will melt the chips slightly, creating gooey pockets of chocolate. This adds a rich flavor that everyone loves.
Incorporating Additional Mix-Ins (like nuts or sprinkles)
Want to jazz up your treats? Consider adding nuts or sprinkles. For a crunchy touch, mix in 1/2 cup of chopped nuts like almonds or pecans. If you want color, toss in 1/2 cup of colorful sprinkles. Both options add fun and taste.
Gluten-Free Alternatives
If you’re gluten-free, use certified gluten-free Rice Krispies. They work just as well in this recipe. You can also check that your marshmallows are gluten-free. Most brands are, but it’s good to verify. This way, everyone can enjoy your tasty treats!
Storage Info
How to Store Leftover Treats
To keep your toasted marshmallow Rice Krispie treats fresh, store them in an airtight container. Make sure the treats are completely cool before sealing the container. You can place a piece of parchment paper between layers, so they do not stick together.
Freezing Instructions
You can freeze these treats for longer storage. Wrap them tightly in plastic wrap or aluminum foil. Place the wrapped treats in a freezer-safe container. They should freeze well for up to three months. When you’re ready to eat them, let them thaw in the fridge overnight.
How Long They Last
When stored properly, these treats last about one week at room temperature. If you freeze them, they can last for up to three months. Always check for any signs of spoilage before enjoying them.
FAQs
Can I use regular marshmallows instead of mini marshmallows?
Yes, you can use regular marshmallows. They will work fine in this recipe. Just remember, they take longer to melt. I suggest cutting them into smaller pieces for easier mixing. This helps the melted marshmallows coat the Rice Krispies evenly.
How do I make these treats less sticky?
To reduce stickiness, use a bit more butter. You can also lightly grease your hands and the spatula. Pressing the mixture firmly helps, but don’t squish it too much. If you find it sticky after cooling, try dusting with powdered sugar. This adds a nice touch and can help with the stickiness.
Can I make these in advance for a party?
Yes, you can prepare these treats a day ahead. Store them in an airtight container to keep them fresh. Make sure they are completely cool before sealing. This keeps them from getting too soft. You can cut them into squares just before the party for a fresh look.
This blog covered the essential ingredients and step-by-step instructions for your treat. We explored how to toast marshmallows and combine different flavors for the best result. You learned helpful tips to avoid common mistakes and how to store your delicious creations.
Remember, you can customize this treat to fit your taste. Whether you add chocolate chips, nuts, or keep it simple, the choice is yours. Enjoy every sweet bit