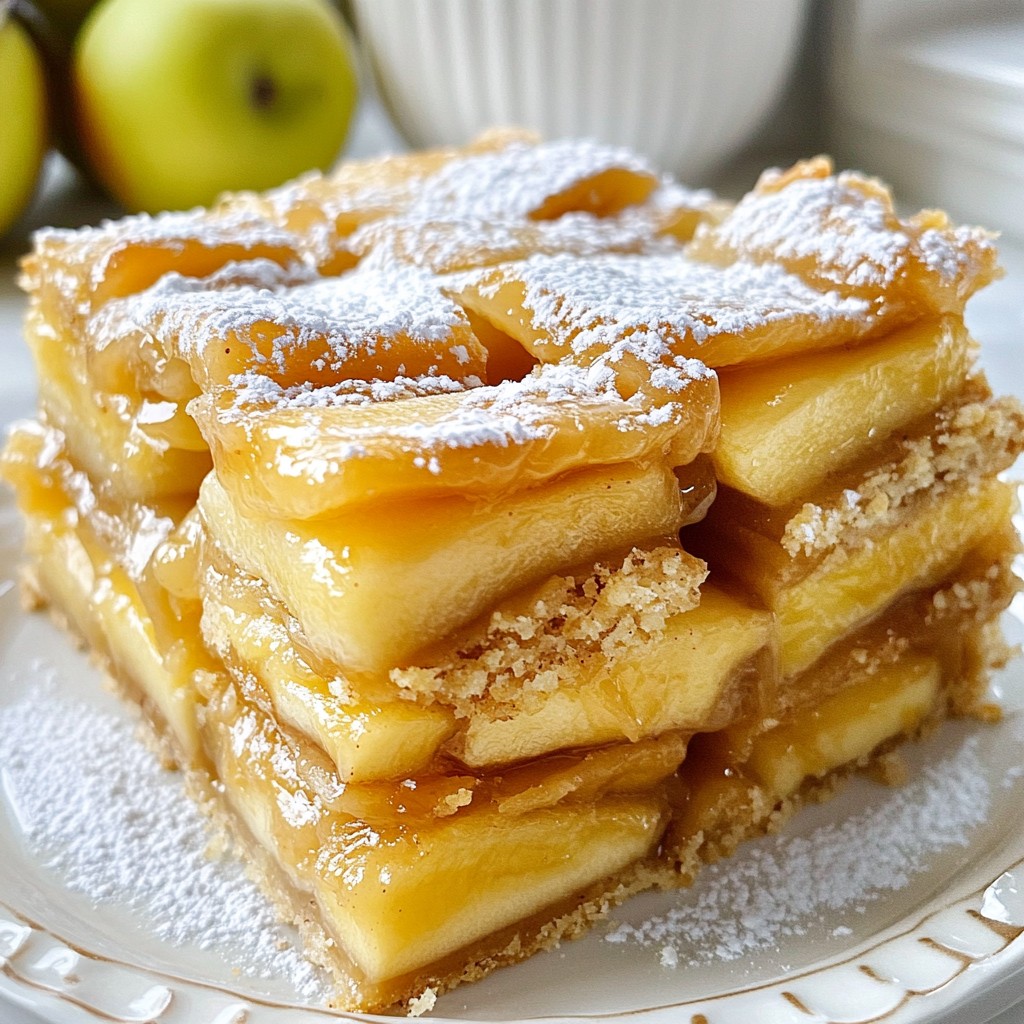
Craving a dessert that combines sweet apples, flaky crust, and rich salted caramel? Look no further! My Salted Caramel Apple Pie Bars are the perfect treat for any occasion. With a few simple ingredients, you can create a warm, gooey delight that will impress your friends and family. Get ready to dive into the easy steps and tips that will make your baking experience a breeze!
Why I Love This Recipe
- Delicious Flavor Combination: The tartness of Granny Smith apples paired with rich salted caramel creates a perfect balance of sweet and savory.
- Easy to Prepare: This recipe simplifies making pie bars, allowing you to enjoy the flavors of apple pie without the fuss of a traditional crust.
- Perfect for Any Occasion: These bars are great for gatherings, holidays, or even a cozy night in, satisfying everyone’s sweet tooth.
- Customizable Delight: Feel free to add nuts, raisins, or even a scoop of ice cream on the side for a personalized touch!
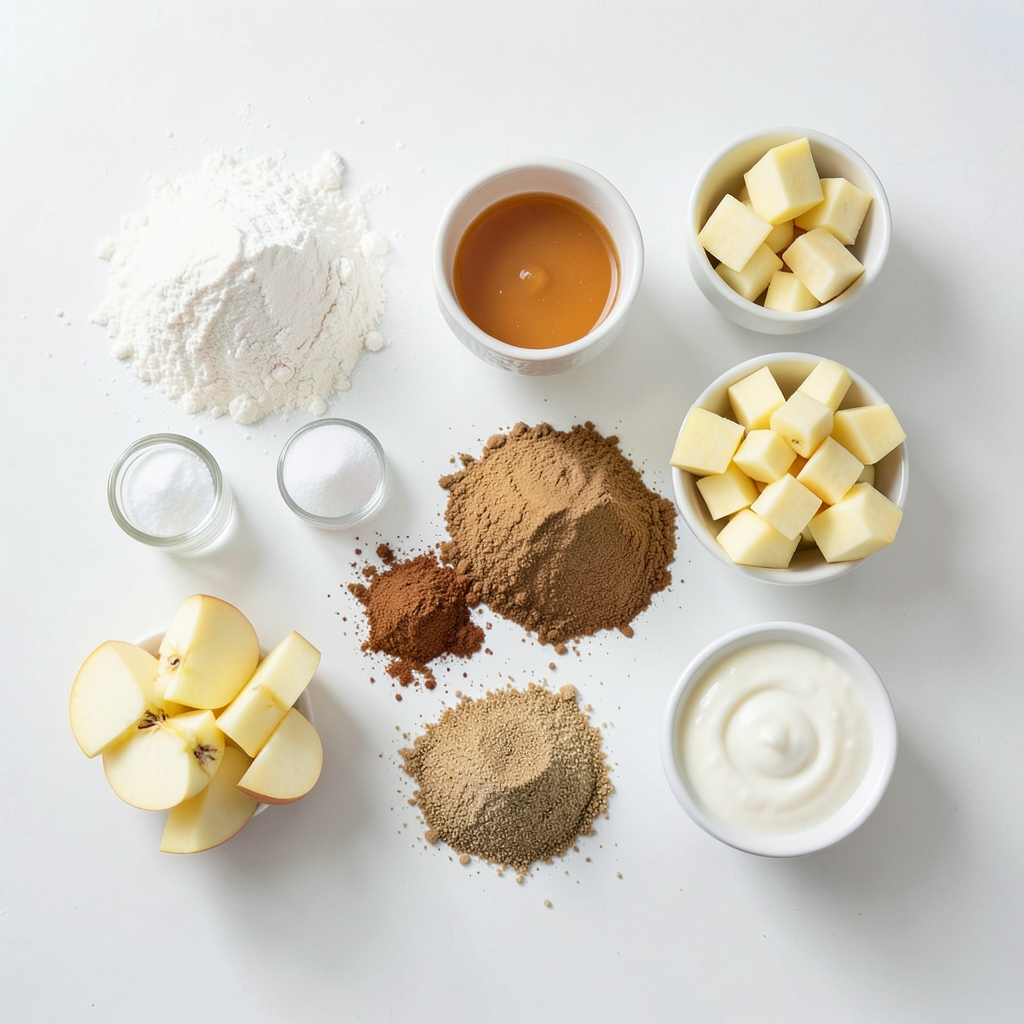
Ingredients
Crust Ingredients
- 2 cups all-purpose flour
- 1/2 cup powdered sugar
- 1/2 teaspoon salt
- 1 cup unsalted butter, cold and cubed
- 1 large egg (for egg wash)
Apple Filling Ingredients
- 4 medium apples (preferably Granny Smith)
- 1/2 cup granulated sugar
- 1 teaspoon cinnamon
- 1/4 teaspoon nutmeg
- 1 tablespoon lemon juice
Salted Caramel Ingredients
- 1 cup granulated sugar
- 6 tablespoons unsalted butter, cubed
- 1/2 cup heavy cream
- 1 teaspoon sea salt
The crust starts with two cups of all-purpose flour. I add half a cup of powdered sugar for sweetness. A half teaspoon of salt balances the flavor. I use one cup of cold, cubed unsalted butter to create a flaky texture. I always brush the crust with one beaten egg before baking.
For the apple filling, I choose four medium Granny Smith apples. Their tartness shines through. I mix them with half a cup of granulated sugar, one teaspoon of cinnamon, a quarter teaspoon of nutmeg, and one tablespoon of lemon juice. This blend gives the apples a warm, spiced flavor.
The salted caramel is a key element. I start with one cup of granulated sugar. I melt it in a pan until it turns golden. Then, I add six tablespoons of cubed unsalted butter. After it melts, I slowly pour in half a cup of heavy cream. Finally, I mix in one teaspoon of sea salt. This caramel adds depth and richness to the bars.
Every ingredient plays a role in creating these delicious salted caramel apple pie bars. You will love how they combine!
Step-by-Step Instructions
Preparing the Crust
- Preheat the oven to 350°F (175°C). Line a 9x13 inch baking pan with parchment paper.
- In a large bowl, whisk together 2 cups of flour, 1/2 cup powdered sugar, and 1/2 teaspoon salt.
- Add 1 cup of cold, cubed unsalted butter to the dry mix. Use your hands to mix until it looks like coarse crumbs.
- Press the mixture evenly into the prepared pan. Prick the crust with a fork. Brush with a beaten egg.
- Bake for 15-20 minutes until it turns lightly golden. Remove from the oven and let it cool.
Making the Apple Filling
- Peel, core, and dice 4 medium apples. I prefer Granny Smith for their tart flavor.
- In a separate bowl, mix the diced apples with 1/2 cup sugar, 1 teaspoon cinnamon, 1/4 teaspoon nutmeg, and 1 tablespoon lemon juice.
- Stir well to coat the apples evenly in the mixture.
Preparing the Salted Caramel
- In a saucepan, melt 1 cup of granulated sugar over medium heat. Stir constantly until it turns golden.
- Once golden, add 6 tablespoons of cubed butter. Stir until well combined.
- Carefully pour in 1/2 cup of heavy cream. It will bubble, so watch out! Stir until smooth.
- Finally, mix in 1 teaspoon of sea salt, then let it cool slightly.
Assembling the Bars
- Spread the apple mixture evenly over the cooled crust in the baking pan.
- Drizzle half of the salted caramel over the apples.
- Bake for an additional 25-30 minutes until the apples are tender.
Cooling and Serving
- Once baked, remove the pan from the oven. Let the bars cool for at least 30 minutes in the pan.
- Drizzle the remaining salted caramel on top while the bars are still warm.
- Lift the bars from the pan using the parchment. Cut into squares or rectangles and serve warm.
Tips & Tricks
Baking Success
- Use cold butter for a flaky crust. This keeps the dough from getting tough.
- Don’t overmix the crust dough. This helps keep it tender and light.
- Check apples for tenderness before removing from the oven. They should be soft but not mushy.
Presentation Enhancements
- Dust with powdered sugar before serving. This adds a nice touch.
- Add a sprinkle of flaky sea salt for flavor. It brings out the sweetness in the caramel.
Serving Suggestions
- Pair with a scoop of vanilla ice cream. The cold creaminess complements the warm bars.
- Serve with whipped cream or caramel sauce. This makes each bite even more delicious.
Pro Tips
- Use Cold Ingredients: Ensure your butter is cold when making the crust. This helps achieve a flaky texture by preventing the butter from melting before baking.
- Choose the Right Apples: For the best flavor and texture, use a mix of tart and sweet apples. Granny Smith and Honeycrisp work wonderfully together.
- Let the Caramel Cool: After making the salted caramel, allow it to cool slightly before drizzling it over the apples to prevent it from melting into the filling.
- Cool Before Cutting: Allow the bars to cool completely in the pan before slicing. This helps them set and makes for cleaner cuts.
Variations
Flavor Enhancements
You can make these bars even more fun. Try adding nuts or oats to the crust. This gives a nice crunch and extra flavor. You can also mix in other fruits, like pears. They add a sweet twist and pair well with apples.
Dietary Adjustments
Need a gluten-free option? Substitute gluten-free flour for regular flour. This makes the crust just as tasty. If you want a dairy-free version, use vegan butter. It works great in this recipe and keeps the bars rich and yummy.
Different Caramel Techniques
You can play with the caramel too. Try making homemade caramel with unique flavors. Adding vanilla or bourbon can really change the taste. If you're short on time, store-bought caramel sauce works well. It cuts down on prep time and still tastes delicious.
Storage Info
Short-term Storage
Keep your salted caramel apple pie bars in an airtight container in the refrigerator. They will stay fresh for up to 5 days. Make sure to seal them well to maintain their yummy taste.
Freezing Instructions
You can freeze the uncut bars for up to 3 months. This is great for saving some for later! When you're ready to enjoy them, thaw the bars overnight in the refrigerator. This helps them regain their soft texture.
Reheating Tips
For a fresh taste, warm the bars in the microwave or oven. Just a few seconds in the microwave will do! When you reheat, drizzle some extra caramel on top for that delicious touch. This makes them even more tempting!
FAQs
Can I use other types of apples for this recipe?
Yes, but Granny Smith apples provide the best balance of sweetness and tartness. They are firm and hold their shape well during baking. Other apples, like Honeycrisp or Fuji, can work too, but they may change the taste.
How do I know when the apple pie bars are done?
The apples should be tender, and the crust should be lightly golden. A fork can pierce the apples easily. If the crust is golden brown, you can take them out.
What's the difference between salted caramel and regular caramel?
Salted caramel has added sea salt, enhancing the sweetness and flavor complexity. The salt cuts through the sweetness, making each bite richer. It brings a unique twist to your dessert.
Can I make the caramel in advance?
Yes, salted caramel can be made ahead of time and stored in the refrigerator. Just let it cool and pour it into a jar. When ready to use, warm it slightly to make it pourable again.
This recipe combines simple ingredients to create a delicious treat. You learned how to prepare a flaky crust, a sweet apple filling, and rich salted caramel. Each step leads to tasty apple pie bars that everyone will love. Don't forget to check your apples and serve with ice cream for a special touch. Enjoy your baking and share these bars with friends and family. You'll be proud of your tasty creation!