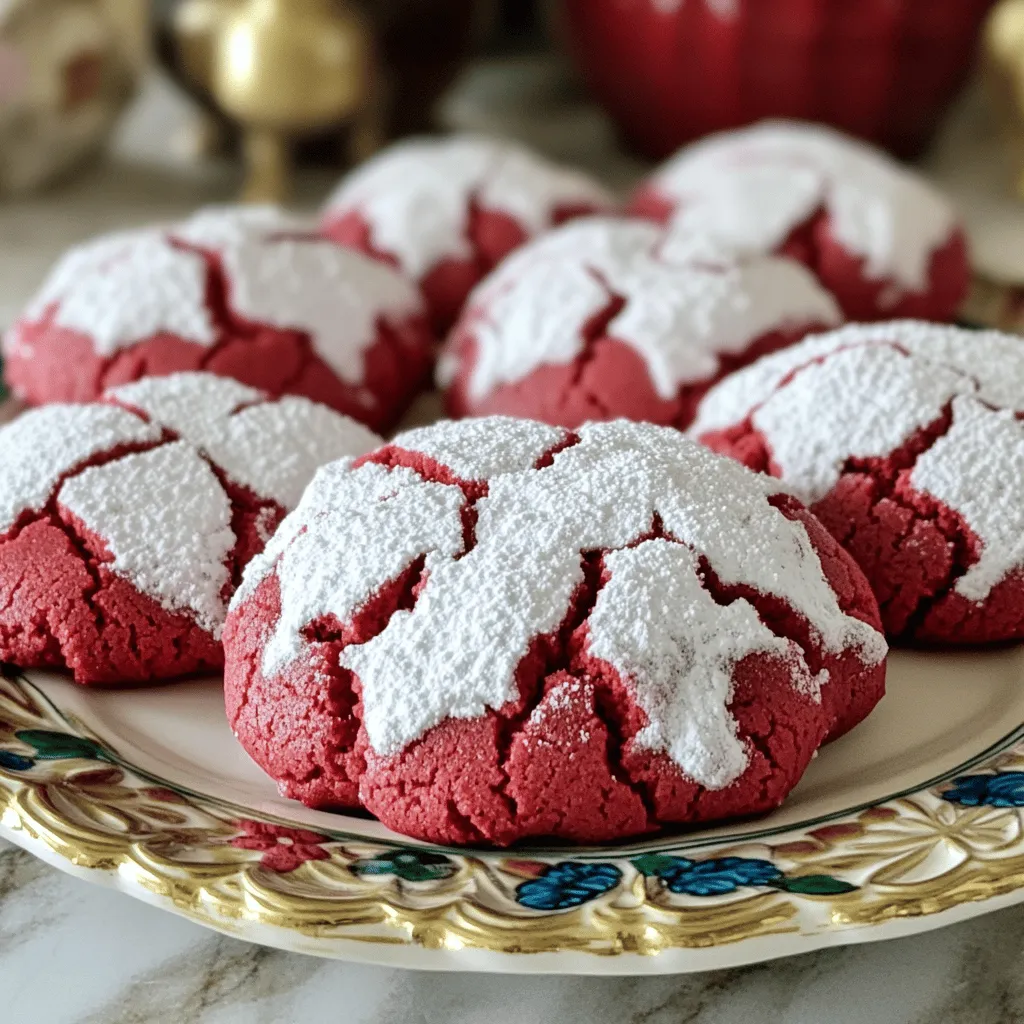
Get ready to indulge in a sweet treat with my Red Velvet Crinkle Cookies! This recipe is simple and fun, perfect for baking with kids or impressing guests. With deep red color and soft, chewy centers, these cookies will have everyone coming back for more. Plus, I’ll share tips, variations, and storage secrets to ensure your cookies taste amazing every time. Let’s dive into making these irresistible delights!
Ingredients
List of Ingredients
– 2 cups all-purpose flour
– 1 tablespoon unsweetened cocoa powder
– 1 teaspoon baking powder
– 1/2 teaspoon baking soda
– 1/2 teaspoon salt
– 1/2 cup unsalted butter, softened
– 1 cup granulated sugar
– 1 large egg
– 1 teaspoon vanilla extract
– 1 tablespoon red food coloring
– 1/2 cup powdered sugar (for coating)
Ingredient Substitutions
You might want to switch some ingredients. Here are great options:
– Gluten-free flour options: You can use a 1:1 gluten-free flour blend. This will keep the cookies soft and chewy.
– Vegan butter alternatives: Try using coconut oil or a plant-based butter. These options work well and taste great.
– Natural food coloring suggestions: If you prefer, use beet juice or pomegranate juice. These give a nice red hue without any artificial dyes.
This list of ingredients sets the stage for making red velvet crinkle cookies. Each item plays a key role in creating the right flavor and texture. You can easily modify the recipe to fit your needs.
Step-by-Step Instructions
Preparation Steps
1. Preheat the oven and prep the baking sheet: Start by preheating your oven to 350°F (175°C). Line a baking sheet with parchment paper. This helps the cookies not stick and makes cleanup easy.
2. Whisking the dry ingredients: In a medium bowl, whisk together 2 cups of all-purpose flour, 1 tablespoon of unsweetened cocoa powder, 1 teaspoon of baking powder, 1/2 teaspoon of baking soda, and 1/2 teaspoon of salt. Make sure it’s well mixed. This blend gives the cookies their structure and flavor.
Mixing the Batter
1. Creaming butter and sugar: In a large bowl, use a mixer to cream 1/2 cup of softened unsalted butter and 1 cup of granulated sugar. Mix until the mixture is light and fluffy, about 3-5 minutes. This step adds air, making cookies soft.
2. Combining wet and dry ingredients: Add 1 large egg, 1 teaspoon of vanilla extract, and 1 tablespoon of red food coloring to the butter and sugar mix. Stir until it’s well blended. Gradually add the dry ingredients, mixing until just combined. The dough should be thick and a bit sticky.
Forming the Cookies
1. Chilling the dough: Chill the dough in the refrigerator for about 30 minutes. This helps it firm up, making it easier to roll.
2. Rolling and coating the cookie balls: Once chilled, scoop out a tablespoon of dough. Roll it into a ball, then roll it in 1/2 cup of powdered sugar until fully coated. This sugar will create that crinkle effect as they bake.
Baking the Cookies
1. Timing and technique for perfect chewy centers: Place the coated dough balls on the prepared baking sheet, spacing them about 2 inches apart. Bake for 10-12 minutes. The edges should be set, but the centers need to be soft. After baking, let them cool on the sheet for 5 minutes before moving to a wire rack. This helps keep them chewy.
Tips & Tricks
Baking Tips
To get the perfect texture in your Red Velvet Crinkle Cookies, focus on a few key steps. First, cream the butter and sugar well. This makes your cookies light and fluffy. Mix for three to five minutes until it looks pale and fluffy. Second, do not overmix the dough after adding the dry ingredients. Just stir until combined. This keeps the cookies soft and chewy.
Chilling the dough is very important. After mixing, place the dough in the fridge for about thirty minutes. Chilling makes the dough easier to handle and helps the cookies keep their shape. It also enhances the flavors.
Serving Suggestions
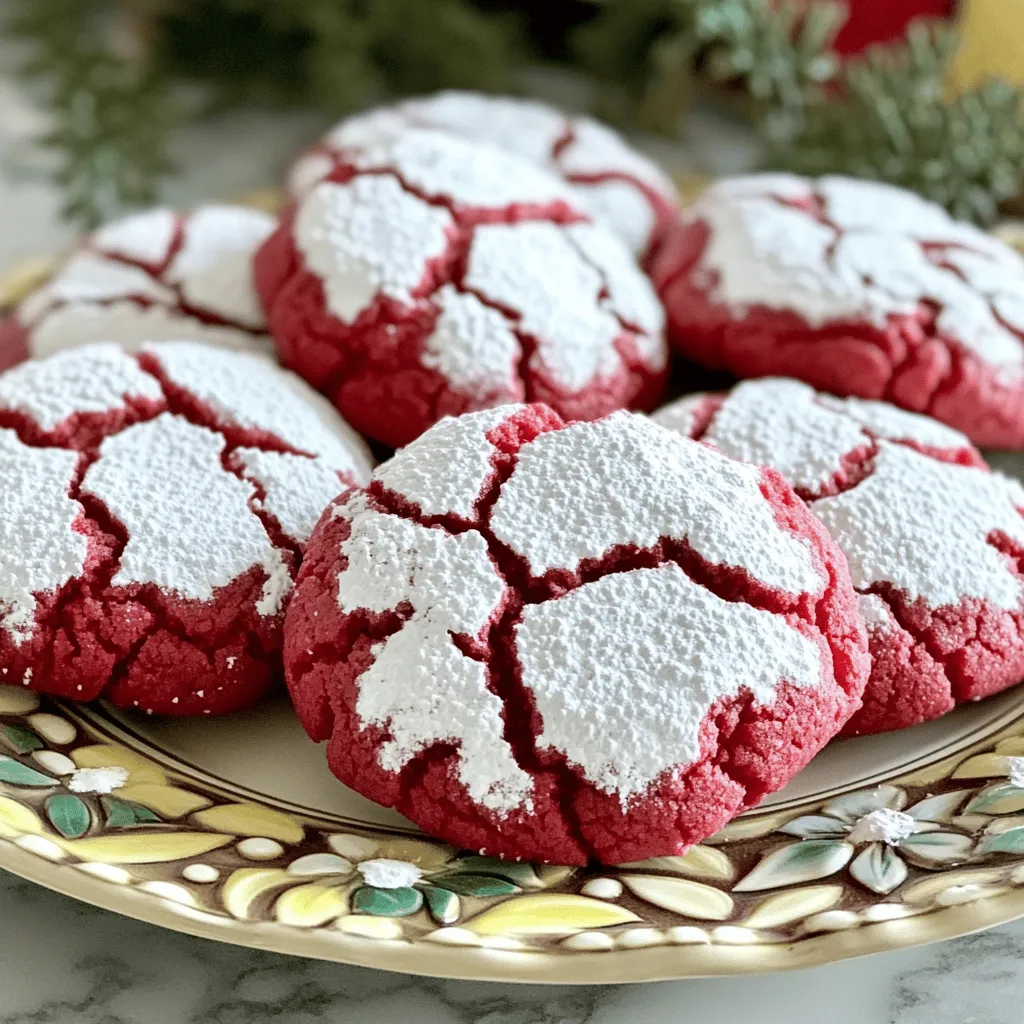
When serving your cookies, presentation matters. Arrange the cookies on a nice plate. You could dust them lightly with extra powdered sugar for a beautiful look. For a classic touch, serve them with a tall glass of cold milk. The creaminess of the milk pairs perfectly with the rich flavor of the cookies.
Common Mistakes to Avoid
One common mistake is overmixing the batter. This can make the cookies tough. Mix just until combined to keep them soft. Another mistake is skipping the chilling step. If you don’t chill the dough, your cookies may spread too much while baking. Always remember to chill your dough for the best results.
Variations
Flavor Variations
You can make red velvet crinkle cookies even more fun. Try adding chocolate chips for a rich twist. The chips melt and create gooey pockets of chocolate. You can also mix in nuts or dried fruits. Walnuts add crunch, while dried cherries bring a sweet touch. These changes create new flavors and textures. Experiment to find your favorite combo!
Themed Decor
Decorating your cookies can make them stand out. For holidays, use themed sprinkles or edible glitter. Red and green sprinkles for Christmas look festive. You can also try unique icing options. A cream cheese glaze adds a tangy flavor. You can use a piping bag to create fun designs. Personalizing your cookies makes them even more special!
Dietary Variations
You can enjoy these cookies even if you have dietary needs. For gluten-free crinkle cookies, swap all-purpose flour for a gluten-free blend. Look for blends that work in baking, and they will hold up well. If you’re vegan, use a plant-based butter and a flax egg. Just mix one tablespoon of flaxseed with three tablespoons of water and let it sit. These swaps keep the taste and texture delicious!
Storage Info
How to Store
To keep your Red Velvet Crinkle Cookies fresh, use airtight containers. Glass jars work great, but plastic containers also do the job. For short-term storage, keep them at room temperature. They stay soft and tasty for about three days. For long-term storage, place them in the fridge. This helps them last for up to a week.
Freezing Instructions
You can freeze the cookie dough for later use. First, scoop the dough into balls and roll them in powdered sugar. Place the balls on a baking sheet and freeze them until firm. Then, transfer the frozen dough into a zip-top bag. When you’re ready to bake, pull out the dough. You can bake them straight from the freezer. Just add a minute or two to the baking time.
Shelf Life
These cookies are best when fresh, but they last a while! If stored properly, they stay good for about a week at room temperature. In the fridge, they can last up to two weeks. If you freeze them, they can last up to three months. Always check for any signs of spoilage before eating. Enjoy your delicious treats!
FAQs
What is the best way to prevent cookies from spreading?
To stop your cookies from spreading, chill the dough before baking. A colder dough holds its shape better. Also, use parchment paper on your baking sheet. This helps create a non-stick surface. Finally, do not overmix the dough. Overmixing can add air and make cookies spread.
Can I use cake flour instead of all-purpose flour in this recipe?
Yes, you can use cake flour. Cake flour has less protein. This makes cookies softer and lighter. Keep in mind, your cookies may not rise as much. If you choose cake flour, use the same amount as all-purpose flour.
How do I know when red velvet crinkle cookies are done baking?
Check the edges of your cookies. They should look set and slightly firm. The centers might seem soft and puffy. This is normal. The cookies will firm up as they cool. Aim for 10-12 minutes in the oven for the best results.
Can I use cocoa powder to make the cookies more chocolatey?
Absolutely! You can add more cocoa powder. Just remember to adjust the flour. If you add an extra tablespoon of cocoa, add a tablespoon less of flour. This way, the dough stays balanced. Enjoy the richer chocolate flavor in your cookies!
We covered red velvet crinkle cookies, their key ingredients, and step-by-step instructions to bake them. We discussed tips, variations, and storage methods that keep them fresh. Remember the importance of chilling the dough for the best texture. Explore flavors and themes to make them your own. This recipe and its insights open up a world of tasty fun. Enjoy baking and sharing your delicious creations!