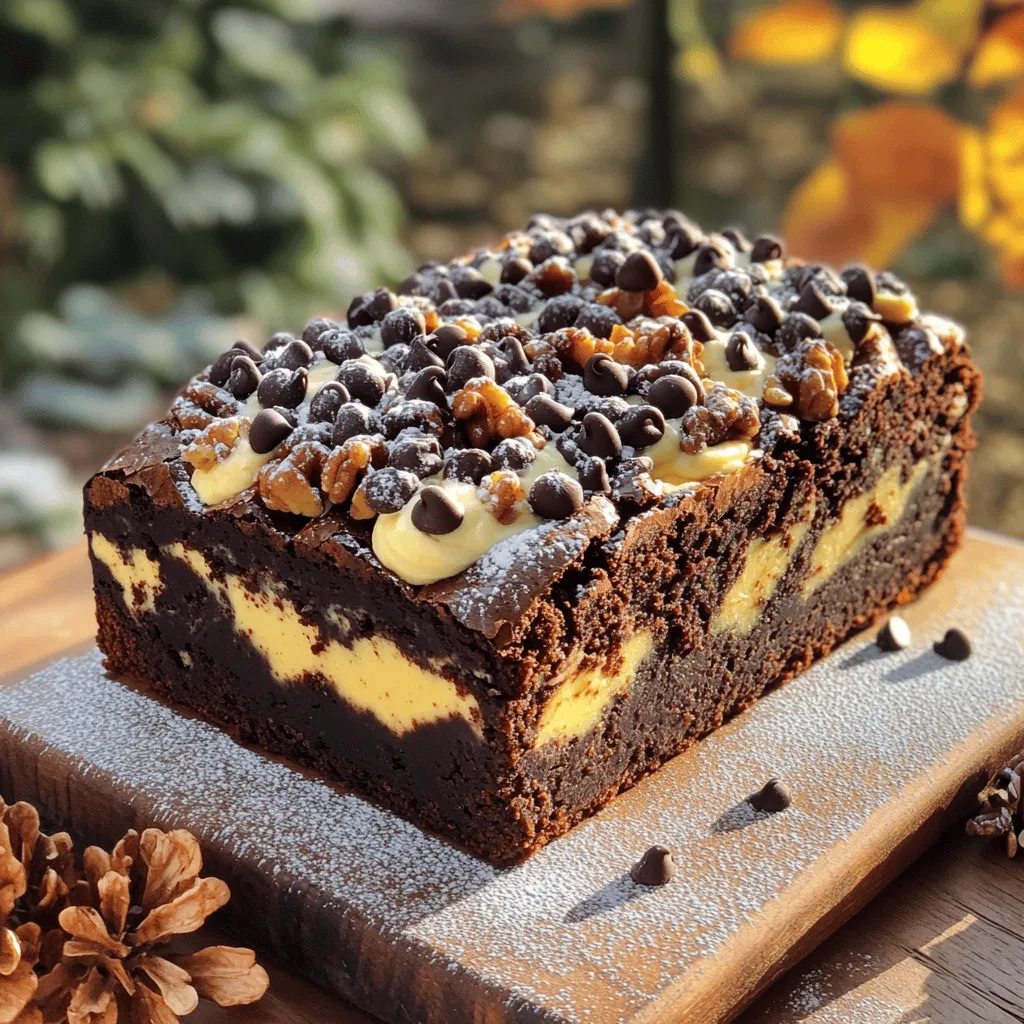
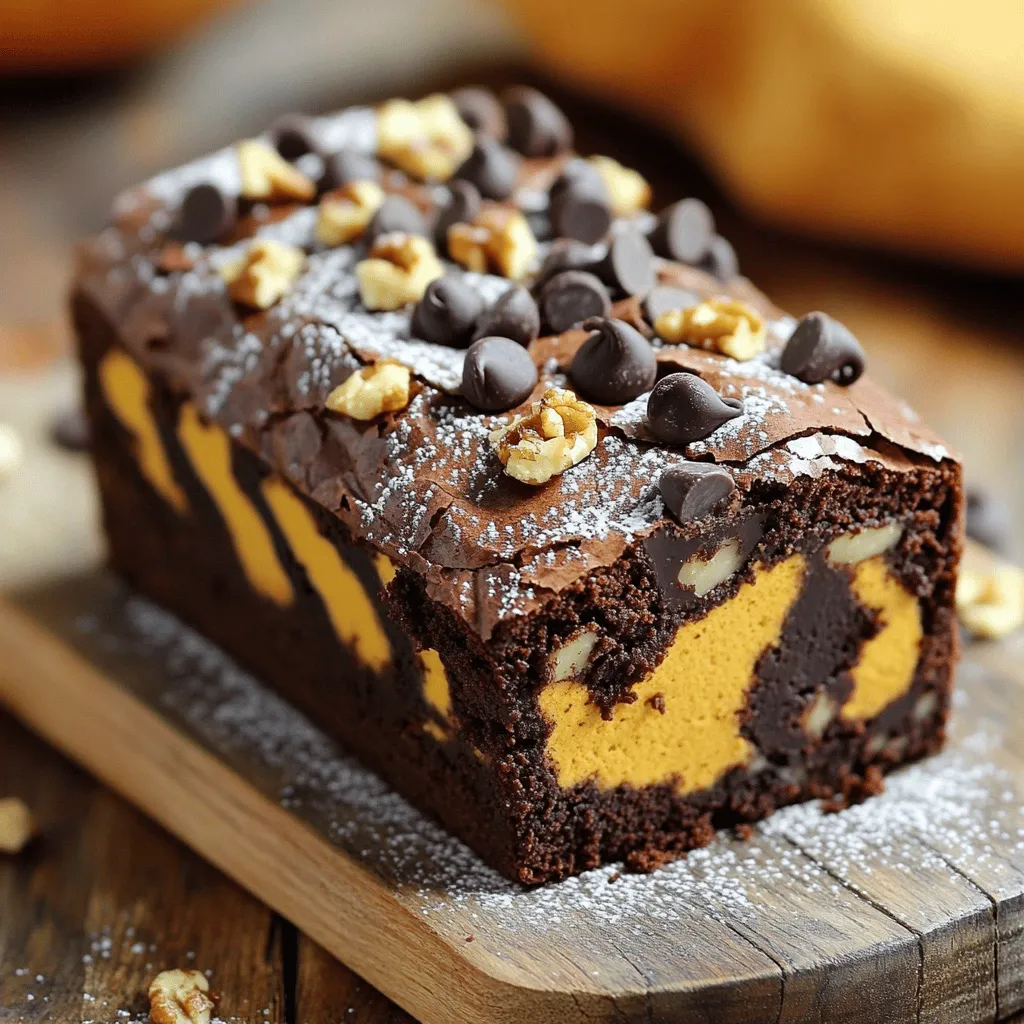
Get ready to indulge in a luscious blend of pumpkin and cream cheese with my Pumpkin Cream Cheese Brownie Loaf. This delightful treat combines rich brownie flavors with a smooth cream cheese swirl, creating a dessert that feels special yet simple. In this post, I’ll share easy steps, helpful tips, and delicious variations to make your baking experience a breeze. Let’s dive in and bake something amazing together!
Ingredients
List of Ingredients
To make a Pumpkin Cream Cheese Brownie Loaf, you will need:
– 1 cup all-purpose flour
– 1/2 cup unsweetened cocoa powder
– 1 teaspoon baking powder
– 1/2 teaspoon salt
– 1/2 cup unsalted butter, melted
– 1 cup granulated sugar
– 1/2 cup brown sugar, packed
– 3 large eggs
– 1 teaspoon vanilla extract
– 1 cup pumpkin puree
– 1 teaspoon ground cinnamon
– 1/2 teaspoon ground nutmeg
– 8 ounces cream cheese, softened
– 1/4 cup powdered sugar
– 1 tablespoon lemon juice
– Optional: Chocolate chips and chopped walnuts for topping
Ingredient Substitutions
You can swap some ingredients if needed:
– Use whole wheat flour for a healthier option.
– Swap cocoa powder with carob powder for a caffeine-free version.
– If you want a lower sugar option, use a sugar substitute.
– You can replace cream cheese with Greek yogurt for a lighter taste.
– Applesauce can work in place of butter for a vegan twist.
Importance of Fresh Ingredients
Fresh ingredients make a big difference in your baking. Using fresh pumpkin puree gives a rich flavor. Older ingredients may not provide the same taste or texture. Always check the expiration dates on your baking items. Fresh eggs help your batter rise better. This care leads to a moist and flavorful loaf. Trust me, using fresh ingredients will enhance your baking experience!
Step-by-Step Instructions
Preparation Overview
Start by gathering all your ingredients. You will need flour, cocoa powder, baking powder, salt, butter, granulated sugar, brown sugar, eggs, vanilla extract, pumpkin puree, cinnamon, nutmeg, cream cheese, powdered sugar, and lemon juice. Preheat your oven to 350°F (175°C). Grease a 9×5-inch loaf pan or line it with parchment paper. This makes it easy to take out your loaf later.
Detailed Mixing and Baking Steps
1. In a medium bowl, whisk together the flour, cocoa powder, baking powder, and salt. Set this bowl aside.
2. In a large mixing bowl, combine the melted butter with the granulated and brown sugars. Mix until smooth.
3. Add the eggs one at a time to the sugar mixture. Mix well after each egg. Then stir in the vanilla extract and pumpkin puree until everything is mixed well.
4. Gradually fold the dry ingredients into the wet mixture. Be careful not to overmix; mix until just combined.
5. In another bowl, mix the cream cheese with powdered sugar and lemon juice until it is creamy and smooth.
6. Pour half of the brownie batter into the prepared loaf pan. Spread it evenly.
7. Spoon the cream cheese mixture over the brownie layer. Then, add the remaining brownie batter on top. Use a knife to swirl the cream cheese into the brownie batter for a marbled look.
8. If you like, sprinkle chocolate chips and chopped walnuts on top for a tasty crunch.
9. Bake in the oven for 50-60 minutes. A toothpick should come out with a few moist crumbs when it is done.
10. After baking, let it cool in the pan for 10 minutes. Then, transfer it to a wire rack to cool completely before slicing.
Tips for a Successful Bake
– Make sure all ingredients are at room temperature for the best texture.
– Don’t skip the swirling step! It makes the loaf look beautiful.
– Check your oven’s temperature with an oven thermometer. This ensures even baking.
– Let the loaf cool fully before slicing to get neat pieces.
– Enjoy each slice with whipped cream or vanilla ice cream for extra delight.
Tips & Tricks
How to Swirl Cream Cheese
Swirling cream cheese is easy and fun. First, mix the cream cheese with powdered sugar and lemon juice until smooth. After pouring half the brownie batter in the pan, add dollops of the cream cheese mixture on top. Then, use a knife or a skewer to gently swirl it in. Aim for a marbled look, but don’t overdo it. You want some chunks of cream cheese to show through.
Baking Tips for Moistness
To keep your brownie loaf moist, pay attention to baking time. Start checking for doneness at 50 minutes. Use a toothpick; if it comes out with a few moist crumbs, it’s ready. Overbaking will lead to a dry loaf. Also, using pumpkin puree adds moisture and flavor. It helps create a rich, tender texture that makes each bite delightful.
Serving Suggestions
Serving this brownie loaf can be a treat in itself. Slice it while still slightly warm for a gooey texture. Dust with powdered sugar for a sweet finish. Pair it with whipped cream or vanilla ice cream for a special touch. For a crunchy contrast, sprinkle chopped walnuts or chocolate chips on top before baking. Enjoy with a cup of coffee or tea for the perfect snack!
Variations
Gluten-Free Option
You can make a gluten-free version of this loaf. Use a gluten-free flour mix instead of all-purpose flour. Look for a blend that includes xanthan gum. This will help keep the loaf moist and fluffy. Follow the same steps in the recipe for mixing and baking.
Dairy-Free Substitutes
To make this loaf dairy-free, replace butter with coconut oil or a dairy-free spread. For the cream cheese layer, use a dairy-free cream cheese. Brands like Tofutti or Kite Hill work great. You can also swap the eggs for flax eggs to keep it dairy-free.
Flavor Additions & Enhancements
Want to boost the flavor? Add a cup of chocolate chips to the batter for a richer taste. Chopped walnuts add crunch and flavor, too. If you like spice, try adding a pinch of ginger or cloves. For a fun twist, mix in some orange zest for a bright, citrus note.
Storage Info
How to Store Leftovers
To keep your Pumpkin Cream Cheese Brownie Loaf fresh, place it in an airtight container. This helps keep moisture in and prevents it from drying out. You can store it at room temperature for up to three days. If you want to keep it longer, refrigeration is a good option.
Freezing the Brownie Loaf
If you have extra slices or want to save some for later, freezing is easy. Wrap each slice tightly in plastic wrap, then place them in a freezer bag. Be sure to remove as much air as possible. This loaf can last in the freezer for up to three months. Just remember to label the bag with the date!
Reheating Tips
When you’re ready to enjoy your loaf again, here’s how to reheat it. If you thawed it in the fridge, you can simply slice it and warm it in the microwave for 10-15 seconds. For a crispier texture, place slices in a toaster oven for a few minutes. This brings back that fresh-baked taste!
FAQs
Can I make this recipe in advance?
Yes, you can make this recipe in advance. The brownie loaf tastes great after a day or two. Make it a day ahead for a richer flavor. Store it in an airtight container to keep it fresh. You can also freeze it for later. Just wrap it well and store it in the freezer. When you’re ready, let it thaw in the fridge overnight before serving.
What can I substitute for pumpkin puree?
You can use applesauce as a substitute for pumpkin puree. It will keep the loaf moist and add a slight sweetness. Mashed bananas or sweet potato puree can also work well. Each substitute will change the flavor a bit but will still taste delicious. If you want to keep it pumpkin-flavored, you can also try canned butternut squash puree.
How do I know when the brownie loaf is done baking?
Check the loaf after 50 minutes of baking. Insert a toothpick into the center. If it comes out with a few moist crumbs, it’s done. If it’s wet with batter, give it more time. The loaf should spring back when gently pressed. The edges will pull away slightly from the pan. This means you have a perfectly baked brownie loaf.
In this blog post, we explored key ingredients and their substitutions, ensuring freshness matters. You learned step-by-step instructions for mixing and baking, plus useful tips for success. We also shared tips and tricks to enhance your brownie loaf experience with special variations. Lastly, storage info showed how to keep leftovers fresh and tasty.
Remember, understanding each step leads to a great bake. Enjoy every slice of your delicious brownie loaf!