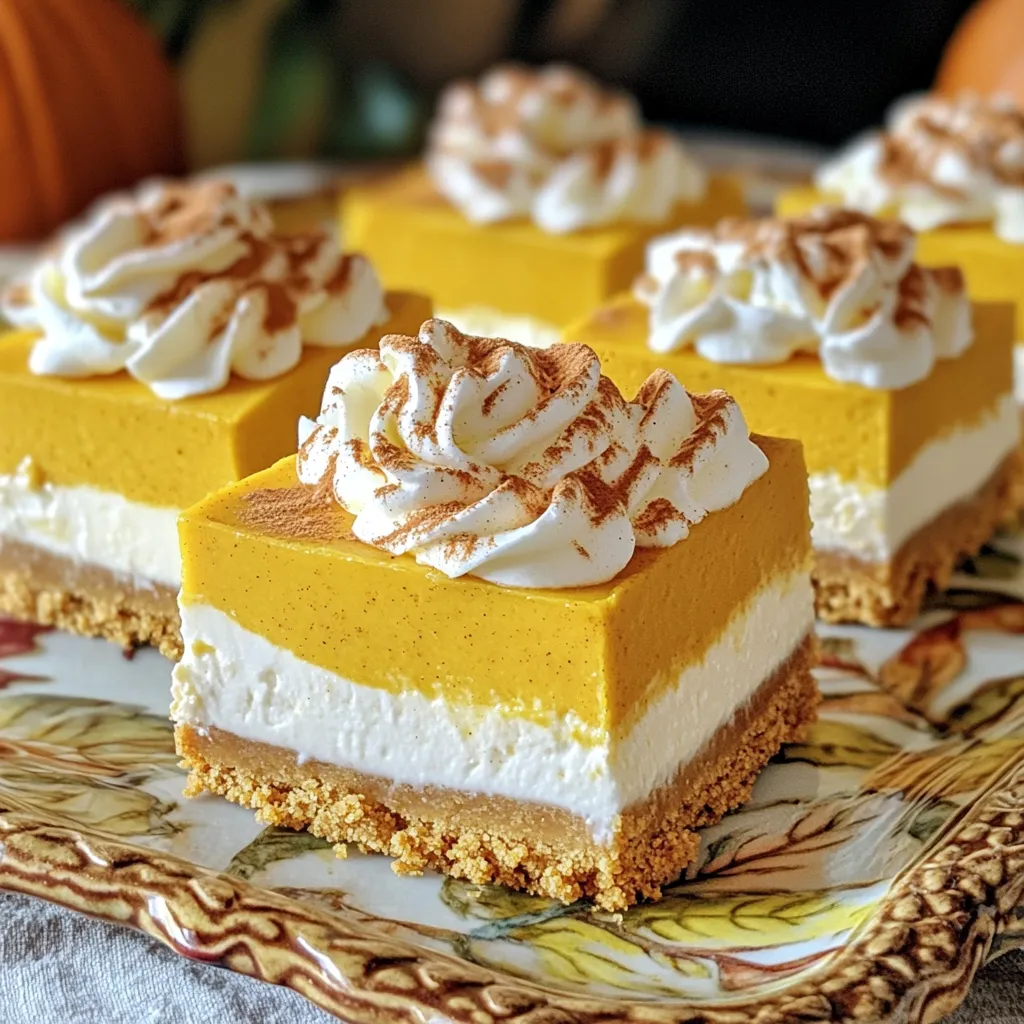
Are you ready for a treat that’s easy to make and hard to resist? These Pumpkin Cheesecake Icebox Bars bring the cozy taste of fall right to your kitchen without the fuss of baking. Perfect for gatherings or a sweet snack at home, they mix creamy pumpkin and crunchy crust in every bite. Let’s dive into this no-bake delight and get started on making your new favorite dessert!
Ingredients
List of Ingredients
– 1 ½ cups graham cracker crumbs
– ½ cup unsalted butter, melted
– 2 tablespoons sugar
– 1 (8 oz) package cream cheese, softened
– 1 cup canned pumpkin puree
– ½ cup powdered sugar
– 1 teaspoon vanilla extract
– 1 teaspoon ground cinnamon
– ½ teaspoon ground nutmeg
– 1 teaspoon pumpkin pie spice
– 1 cup heavy whipping cream
– ¼ cup granulated sugar
Measurements Needed
For this recipe, you need precise measurements. Each ingredient adds to the bars’ taste and texture. Here’s what to keep in mind:
– Use a dry measuring cup for the graham cracker crumbs.
– Measure butter in a liquid measuring cup.
– Use a kitchen scale for the powdered sugar if you have one for more accuracy.
Recommended Brands for Ingredients
Choosing the right brands can enhance flavor. Here are my top picks:
– Graham Crackers: I like Honey Maid for its sweetness and crunch.
– Cream Cheese: Philadelphia is a classic choice for a creamy texture.
– Pumpkin Puree: Libby’s offers a rich, fresh taste.
– Heavy Whipping Cream: I recommend Land O’Lakes for its high fat content, giving more volume when whipped.
Using quality ingredients makes a big difference in your Pumpkin Cheesecake Icebox Bars. Enjoy the process and the taste!
Step-by-Step Instructions
Preparing the Graham Cracker Crust
To start, gather your graham cracker crumbs, melted butter, and sugar in a bowl. Combine the crumbs, butter, and sugar until everything sticks together. I like to use my hands for this part; it helps me feel the texture. Next, press the crumb mixture firmly into the bottom of an 8×8 inch baking dish. Make sure it is even and flat. Once done, place this dish in the fridge to chill while we make the filling.
Making the Pumpkin Cheesecake Filling
Now for the fun part! In a large bowl, take your softened cream cheese and beat it until smooth. I recommend using an electric mixer for this step to save your arm. After it’s creamy, add in the canned pumpkin puree. Then, mix in the powdered sugar, vanilla extract, ground cinnamon, nutmeg, and pumpkin pie spice. This mix of flavors is what makes these bars special. Keep mixing until it’s all blended and creamy.
Next, in a separate bowl, whip the heavy cream with granulated sugar until you see stiff peaks. This step is crucial for a light texture. Once stiff peaks form, gently fold the whipped cream into your pumpkin mixture. Be careful here; you don’t want to deflate the whipped cream. Keep folding until you don’t see any white streaks.
Final Assembly and Chilling Process
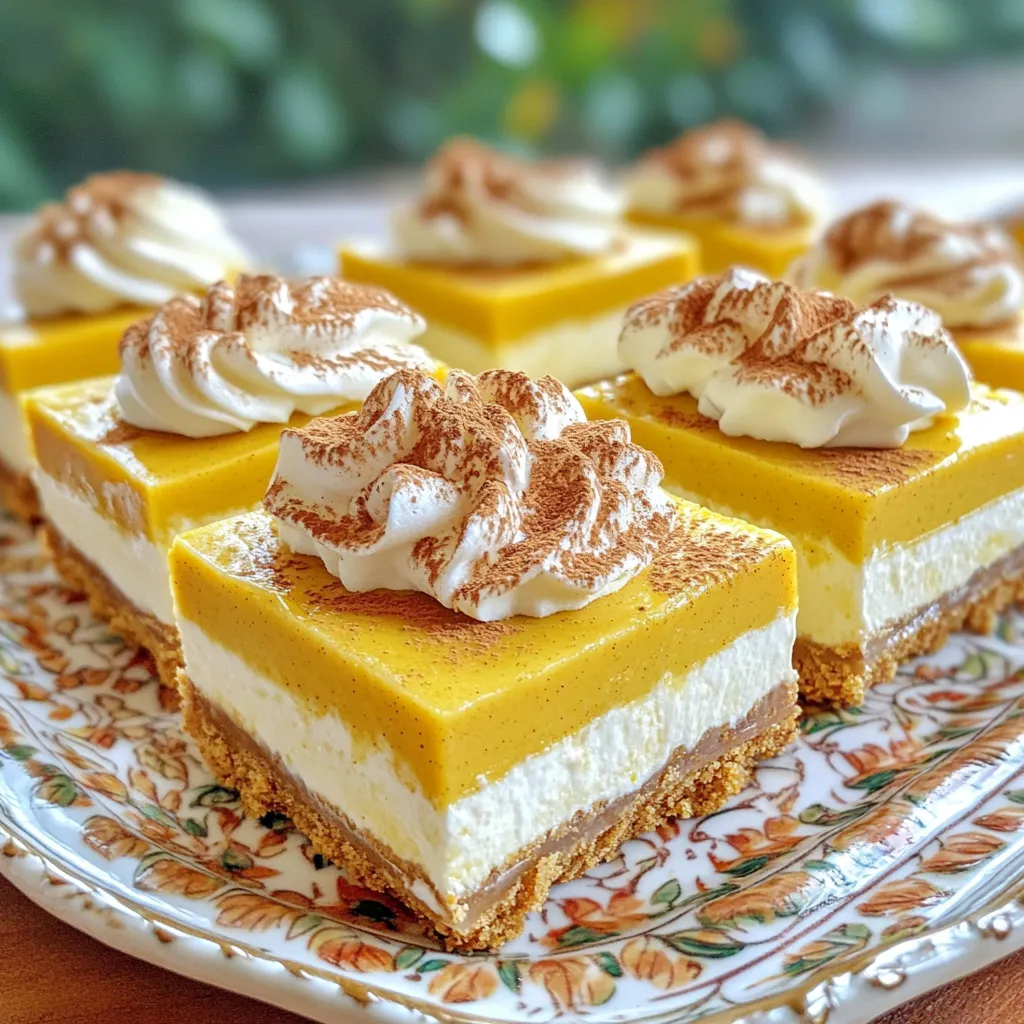
Now it’s time to layer the filling. Pour the creamy pumpkin cheesecake filling over your chilled graham cracker crust. Use a spatula to spread it out evenly. Cover the dish with plastic wrap and place it back in the fridge. Let it chill for at least 4 hours, or until the filling sets up nicely.
After it’s set, remove the bars from the dish and cut them into squares. Serve these chilled and enjoy the deliciousness of your pumpkin cheesecake icebox bars!
Tips & Tricks
How to Achieve the Best Texture
To get the best texture, make sure your cream cheese is very soft. I leave it out for at least 30 minutes before mixing. This helps it blend smoothly with the pumpkin. When you whip the heavy cream, beat it until you see stiff peaks. This adds lightness to the bars. Be gentle when you fold the whipped cream into the pumpkin mixture. This keeps the bars fluffy and creamy.
Making Ahead and Freezing Options
You can make these bars a day before you plan to serve them. Just cover the dish with plastic wrap and chill it in the fridge. If you want to freeze them, cut them into squares first. Wrap each square tightly in plastic wrap. Then, put them in a freezer-safe bag. They will stay good for up to two months. When ready to eat, thaw them in the fridge overnight.
Common Mistakes to Avoid
One common mistake is not pressing the crust firmly enough. A loose crust can crumble when you cut the bars. Make sure to press it down well into the dish. Another mistake is overmixing the pumpkin filling. Once you fold in the whipped cream, stop mixing as soon as you see no streaks. Overmixing can make the filling dense and heavy. Lastly, don’t skip the chilling time. If you cut the bars too soon, they won’t hold their shape.
Variations
Gluten-Free Options
You can make these bars gluten-free. Simply swap graham cracker crumbs with gluten-free crumbs. Look for brands that use rice or almond flour. You can also check if the butter is gluten-free. This way, everyone can enjoy the treat!
Adding Chocolate or Caramel Swirls
Want to make your bars even richer? Try adding chocolate or caramel swirls. You can melt chocolate chips or use store-bought caramel sauce. Drizzle them over the cheesecake layer before chilling. Use a knife to swirl them into the filling for a fun look!
Alternative Spices and Flavorings
Feel free to play with spices in this recipe. If you prefer a bolder flavor, add more cinnamon or nutmeg. You can also try using ginger or allspice for a warm twist. For a different taste, mix in some maple syrup instead of sugar. This change adds a nice depth to the pumpkin flavor!
Storage Info
How to Store Pumpkin Cheesecake Icebox Bars
To keep your Pumpkin Cheesecake Icebox Bars fresh, place them in an airtight container. Make sure the bars are completely cool before storing them. This helps keep the texture just right. You can also cover the dish with plastic wrap if you don’t have a container.
Shelf Life and Best Practices
These bars stay fresh in the fridge for up to five days. I suggest enjoying them within the first three days for the best taste. If you want to freeze them, cut the bars into squares first. Wrap each square in plastic wrap, then store them in a freezer bag. They can last up to three months in the freezer. Just remember to label the bag with the date.
Reheating Instructions (if applicable)
You don’t need to reheat these bars. They taste best served cold. If they have been frozen, let them thaw in the fridge overnight before enjoying. This way, they regain their creamy texture without losing any flavor.
FAQs
Can I use fresh pumpkin instead of canned?
Yes, you can use fresh pumpkin. Just make sure to cook and mash the pumpkin first. This gives a nice flavor. Fresh pumpkin may have more water. So, drain it well before using. This helps keep your bars from getting too soggy.
How do I know when the bars are set?
You know the bars are set when they are firm to the touch. After chilling for at least four hours, gently press the top. If it bounces back, they are ready. They should not feel jiggly. For best results, chill them overnight if you can. This makes the flavors mix well and the texture perfect.
Can I substitute ingredients, and if so, which ones?
You can make some easy swaps! Use a gluten-free graham cracker for a gluten-free option. Swap cream cheese with a vegan cream cheese for a dairy-free treat. You can use coconut whipped cream instead of heavy cream if you want a lighter option. Just note that swaps may change the taste or texture a bit.
This blog post covered how to make delicious pumpkin cheesecake icebox bars. You learned about ingredients, measurements, and trusted brands. I shared step-by-step instructions for the crust and filling. You also discovered tips for the best texture and how to avoid common mistakes. Variations like gluten-free options and added flavors can take your bars to the next level. Lastly, I provided storage info and answers to common questions. Enjoy your tasty creation, and remember, practice makes perfect!