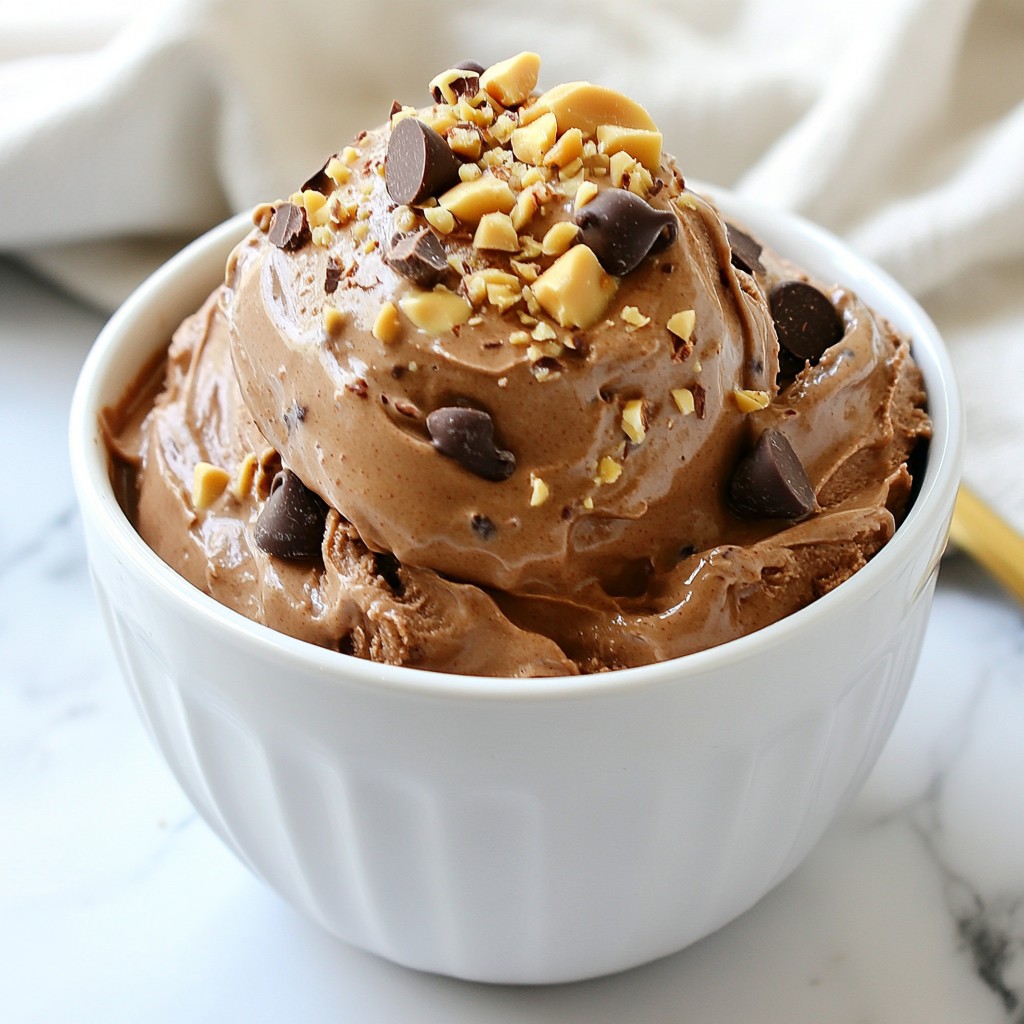
If you're craving a delicious, healthy treat, look no further than this Peanut Butter Chocolate Nice Cream! Made with just a few simple ingredients, this frozen delight blends the rich flavors of peanut butter and cocoa. It's easy to whip up, and perfect for hot days or satisfying sweet cravings. Stick around to learn how to make this guilt-free dessert that you and your family will love!
Why I Love This Recipe
- Deliciously Creamy: This Nice Cream has a rich and creamy texture that's reminiscent of traditional ice cream, making it a perfect guilt-free dessert.
- Nutritious Ingredients: With bananas, peanut butter, and cocoa, this recipe is loaded with nutrients and healthy fats, providing both energy and satisfaction.
- Customizable Toppings: You can personalize your Nice Cream with your favorite toppings, such as chopped peanuts or berries, adding both flavor and crunch.
- Quick and Easy: With just a few simple steps and minimal prep time, you can whip up this delightful treat in no time.
```markdown H2 - Ingredients
H3 - List of Required Ingredients
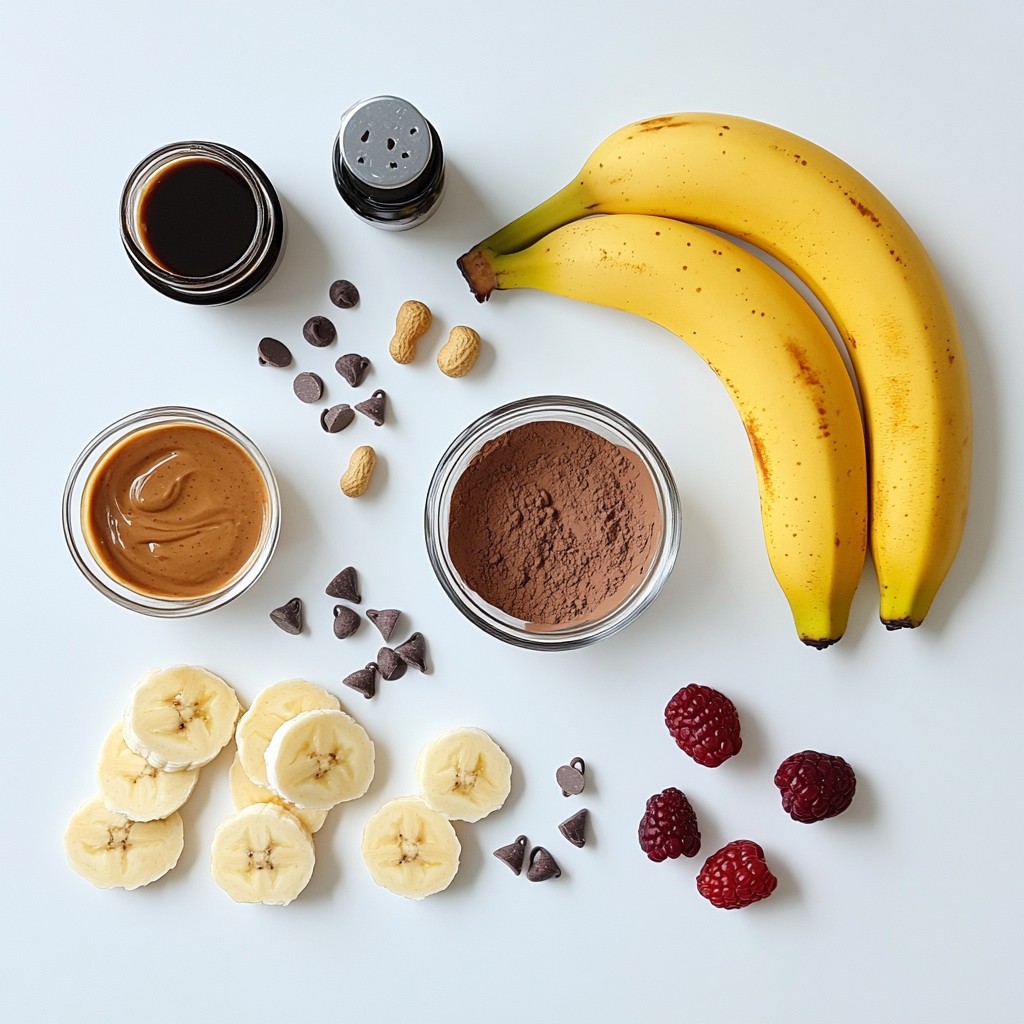
- 3 ripe bananas, sliced and frozen
- 1/2 cup natural peanut butter
- 1/4 cup unsweetened cocoa powder
- 1/4 cup maple syrup (or honey)
- 1 teaspoon vanilla extract
- A pinch of sea salt
- Optional toppings: chopped peanuts, dark chocolate chips, or fresh berries
To create Peanut Butter Chocolate Nice Cream, you need simple and wholesome ingredients. Start with three ripe bananas. They should be yellow with a few brown spots. These spots mean they are sweet and ready to freeze. Slice the bananas and place them in your freezer for a few hours.
Next, grab half a cup of natural peanut butter. Look for a brand with just peanuts and salt. Artificial ingredients can change the flavor. Then, you'll need a quarter cup of unsweetened cocoa powder. This adds a rich chocolate taste that pairs well with the peanut butter.
For sweetness, use a quarter cup of maple syrup or honey. If you like it sweeter, add more later. Don’t forget one teaspoon of vanilla extract. This will enhance the overall flavor. Finally, add a pinch of sea salt. It balances the sweetness and boosts the flavors.
You can also have fun with toppings! Consider adding chopped peanuts for crunch, dark chocolate chips for extra chocolate, or fresh berries for a fruity kick. These add-ons will make your nice cream even more delicious and fun to eat. ```
Step-by-Step Instructions
Preparation of Ingredients
To make this Nice Cream, start with ripe bananas. Ripe bananas are sweet and creamy. Here’s how to freeze them properly:
- Peel the bananas.
- Slice them into small pieces.
- Place the slices on a baking sheet.
- Freeze for about 1-2 hours until solid.
You will need a good food processor or a high-power blender. These tools will help blend the bananas into a smooth texture. Make sure your tools are clean and ready for use.
Blending the Nice Cream
Now it's time to blend! Begin by adding the frozen banana slices to your food processor. Pulse until they break down. You want a fluffy texture, similar to soft-serve ice cream.
Next, add the following ingredients:
- 1/2 cup natural peanut butter
- 1/4 cup unsweetened cocoa powder
- 1/4 cup maple syrup or honey
- 1 teaspoon vanilla extract
- A pinch of sea salt
Blend everything together until it’s smooth and creamy. This may take a minute or two. Taste the mixture, and if you want it sweeter, add more maple syrup. Blend again after each addition to mix well.
Freezing and Serving
After blending, transfer the Nice Cream to an airtight container. Use a spatula to smooth the top. Cover it with a lid and freeze for at least 2-3 hours. This time helps the Nice Cream firm up.
When you're ready to serve, scoop it into bowls. You can add toppings like chopped peanuts, dark chocolate chips, or fresh berries. This adds flavor and a nice crunch. Enjoy your treat!
Tips & Tricks
Achieving the Best Texture
To get the best texture in your nice cream, start with ripe bananas. Ripe bananas are sweeter and creamier. They also blend better. Look for bananas with brown spots; this is a sign they are ready to use.
To avoid ice crystals, freeze the nice cream for just the right time. If you freeze it too long, it can become hard. I recommend freezing for 2 to 3 hours. This gives it a soft-serve texture.
Customizing the Flavor
To boost the chocolate flavor, add more cocoa powder. You can also try using dark chocolate cocoa for a richer taste. For different dietary needs, swap ingredients easily. For a nut-free version, use sun butter instead of peanut butter. If you want to avoid sugar, you can use a sugar substitute like agave nectar.
Serving Suggestions
Pair this nice cream with crunchy toppings. Chopped peanuts or dark chocolate chips add nice texture. Fresh berries also make a great addition. When serving, a scoop or two per person works well. This keeps it fun and light!
Pro Tips
- Use Ripe Bananas: The riper the bananas, the sweeter and creamier your Nice Cream will be. Look for bananas with brown spots for optimal flavor.
- Chill Your Ingredients: For an even creamier texture, chill your peanut butter and other ingredients in the refrigerator before blending.
- Experiment with Flavors: Feel free to add other ingredients like a scoop of protein powder, a splash of almond milk, or even a spoonful of your favorite nut butter for a unique twist.
- Store Properly: To maintain the best texture, store the Nice Cream in a flat, shallow container, which helps it freeze evenly and makes scooping easier.
Variations
Vegan Options
For a vegan twist, you can swap honey with maple syrup or agave nectar. Both options keep the Nice Cream sweet without animal products. If you want toppings, choose dairy-free options like coconut whipped cream or vegan chocolate chips. These toppings add a nice crunch and taste.
Sugar-Free and Healthier Versions
If you want a sugar-free Nice Cream, try using stevia or monk fruit sweetener. Both are great for keeping sweetness with fewer calories. You can also use unsweetened cocoa powder to keep the chocolate flavor while cutting calories. You’ll still enjoy a tasty treat without feeling guilty.
Mix-Ins and Extras
Feel free to get creative! Add peanut butter chips, shredded coconut, or even crushed cookies for more flavor. You can also mix in fruits like strawberries or raspberries for a fruity twist. This makes the Nice Cream more exciting and fun to eat.
Storage Info
How to Store Nice Cream
To keep your Peanut Butter Chocolate Nice Cream fresh, use airtight containers. Glass or plastic containers work well. Ensure they seal tightly to keep out air. This helps prevent ice crystals from forming.
When freezing, spread the Nice Cream evenly in the container. Leave a little space at the top for expansion. Cover the top with plastic wrap before sealing the lid. This extra layer adds protection against freezer burn.
Shelf Life and Tips
Your Nice Cream can last up to two weeks in the freezer. After that, the taste may change.
You can tell if it has gone bad by looking for ice crystals. If you see a lot, it's best to toss it. Also, if it smells off or has an unusual texture, don't eat it. Always trust your senses!
FAQs
Common Questions About Peanut Butter Chocolate Nice Cream
Can I use other nut butters? Yes, you can use other nut butters! Almond butter or cashew butter work great too. Each nut butter gives a unique taste. Just make sure it is smooth and natural for the best texture.
How do I make this recipe without a food processor? If you do not have a food processor, no problem! You can use a high-powered blender. Blend the frozen bananas first. Stop and scrape the sides as needed. Add the other ingredients and blend until smooth.
Is it possible to make this Nice Cream without bananas? You can make Nice Cream without bananas, but it will change the texture. Use frozen mango or avocado instead. Both options will give you a creamy base. Just keep in mind the flavor will be different!
You learned how to make delicious Peanut Butter Chocolate Nice Cream. This treat uses simple, healthy ingredients. We covered each step from preparation to freezing. You now know tips for a creamy texture and customizing flavors. Remember to store it right to keep it fresh. This dessert is fun and can be made in many ways. Enjoy making your own version, and share it with friends. Eating healthy can be tasty and simple!