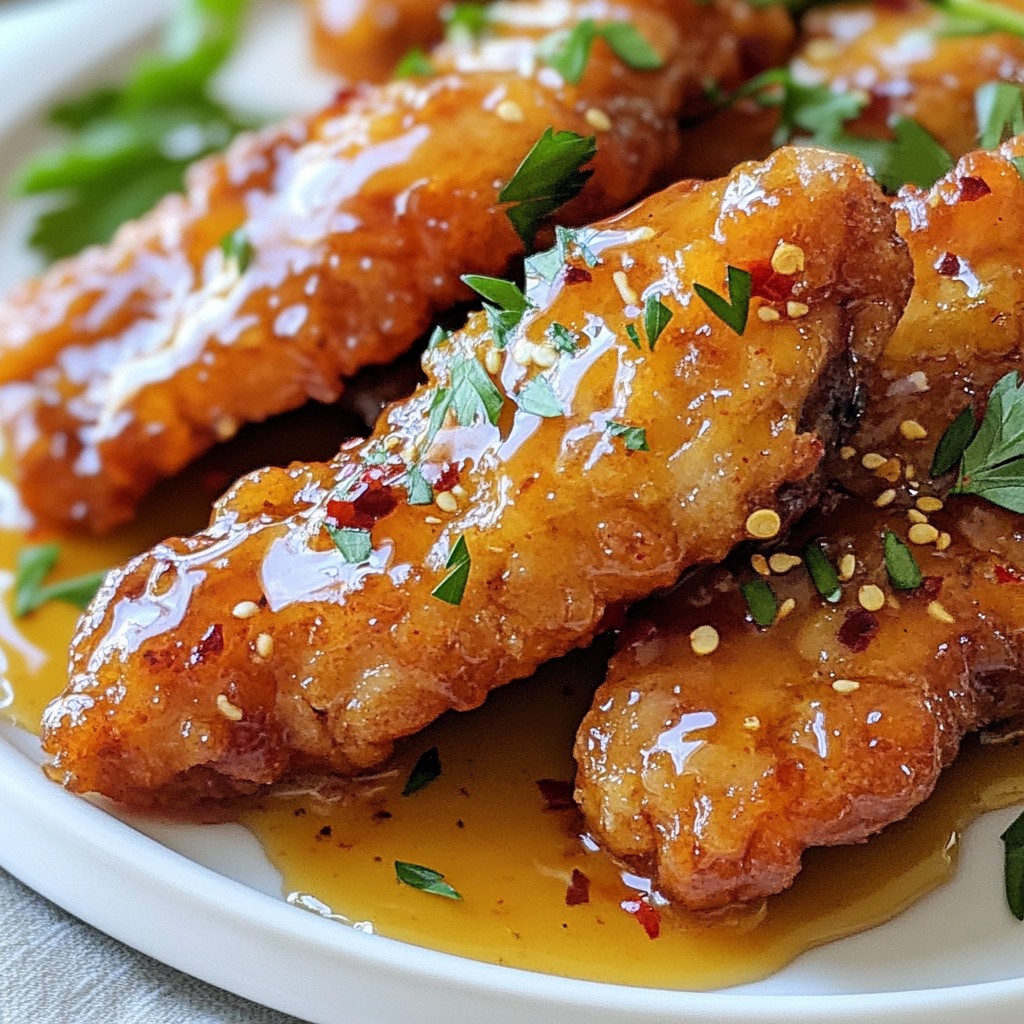
Looking for an easy and tasty dinner? You’ve found it! This One Pan Honey Garlic Chicken has everything you need for a quick, fuss-free meal. With just the right balance of sweet and savory, it’s a delight for your taste buds. Plus, using only one pan means less fuss and more time to enjoy. Let’s dive into this simple recipe that will become a family favorite!
Ingredients
To make One Pan Honey Garlic Chicken, you need a few key ingredients. Here’s the list:
– Chicken: bone-in and skin-on chicken thighs
– Oils & Seasonings: olive oil, salt, and pepper
– Honey & Sauces: honey, soy sauce (or coconut aminos), apple cider vinegar
– Aromatics: minced garlic, grated fresh ginger
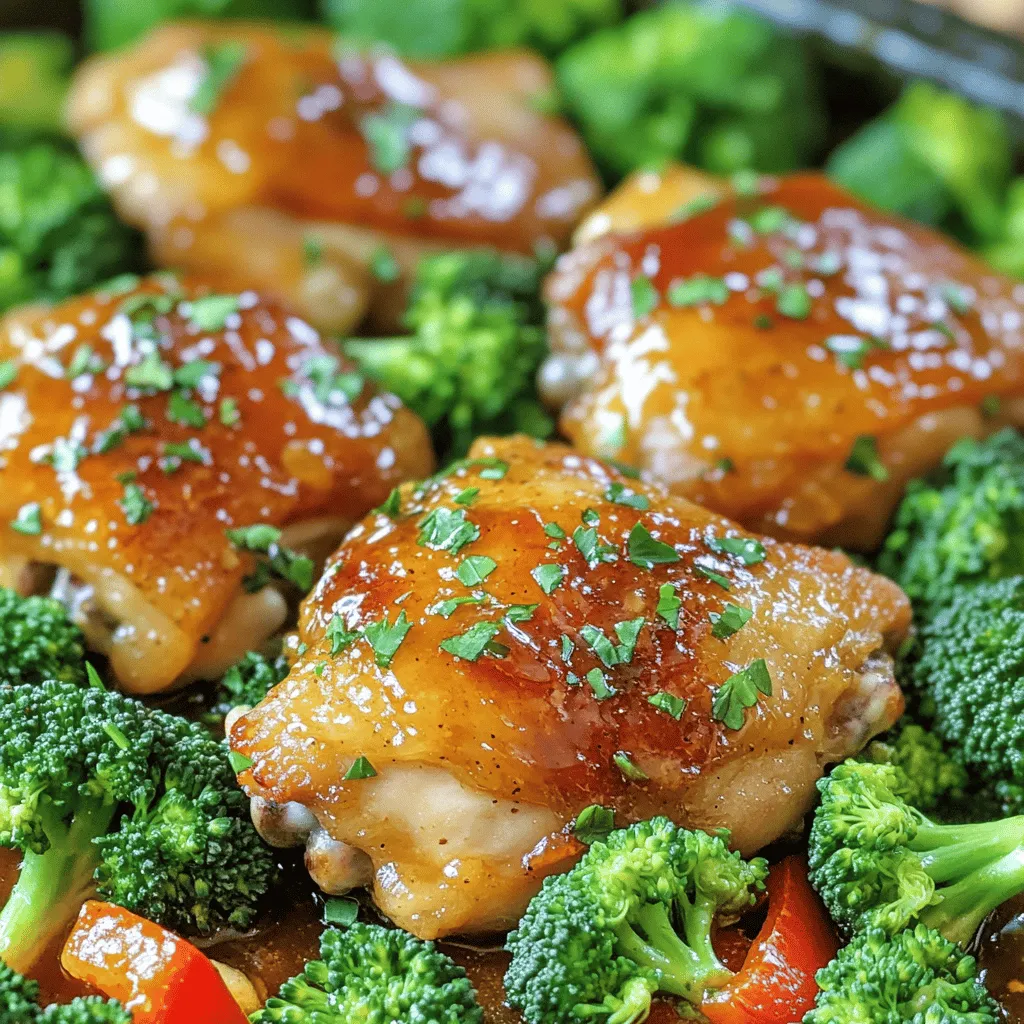
– Vegetables: broccoli florets, red bell pepper, additional options for variety
– Garnish: fresh parsley, optional red pepper flakes
These ingredients blend to create a dish that sings with flavor. The chicken brings protein, while honey adds sweetness. Garlic and ginger give it a warm kick. The vegetables make it bright and nutritious. This recipe is all about balance. Using fresh veggies not only enhances the taste but adds color to your plate.Cooking should be fun and easy, and this dish is a great example of that!
Step-by-Step Instructions
Preparation Steps
1. Preheat the oven and prepare the skillet
Start by preheating your oven to 400°F (200°C). While it warms, grab a large oven-safe skillet. Pour in 2 tablespoons of olive oil and heat it over medium-high heat.
2. Seasoning the chicken thighs
Take 4 chicken thighs, bone-in and skin-on. Sprinkle salt and pepper on both sides. This simple step adds great flavor to your chicken.
Cooking Instructions
1. Searing the chicken thighs
Once the oil is hot, place the chicken thighs skin-side down in the skillet. Sear them for about 5 to 7 minutes. You want the skin to turn crispy and golden brown. Then, flip the chicken thighs over and lower the heat to medium.
2. Whisking together the honey garlic sauce
In a small bowl, mix together 1/2 cup of honey, 4 cloves of minced garlic, 2 tablespoons of soy sauce, 1 tablespoon of apple cider vinegar, and 1 teaspoon of grated fresh ginger. If you like a little heat, add 1/4 teaspoon of red pepper flakes. Drizzle this sauce over the chicken in the skillet.
3. Baking in the oven
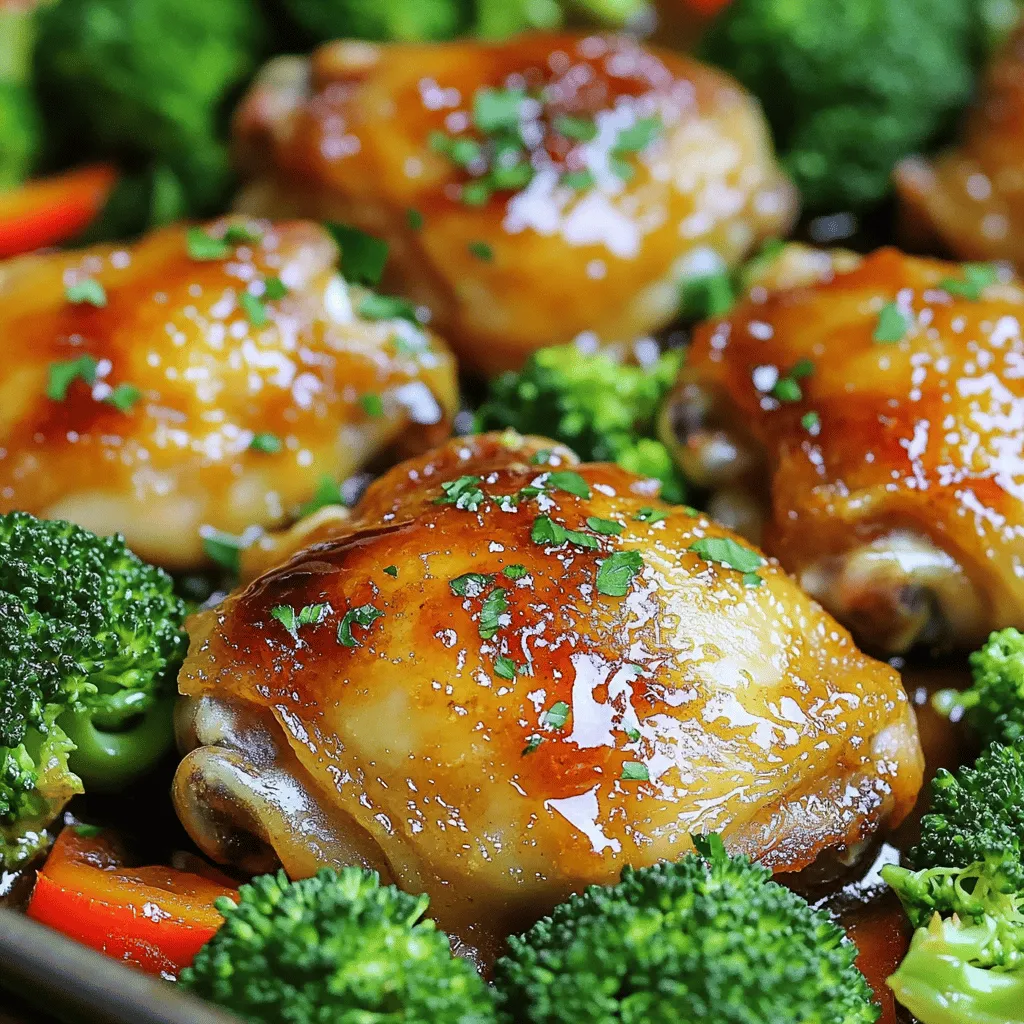
Add 1 cup of broccoli florets and 1 sliced red bell pepper around the chicken. Make sure the veggies get coated in the sauce. Now, transfer the skillet to your preheated oven. Bake for 20 to 25 minutes. The chicken should reach an internal temperature of 165°F (75°C), and the veggies should be tender.
Finishing Touches
1. Garnishing and serving suggestions
Once the chicken is cooked, take the skillet out of the oven. Let it rest for a few minutes. Spoon some of the sauce over the chicken and veggies. For a fresh touch, sprinkle chopped fresh parsley on top before serving.
2. Adjusting rest time for optimal flavor
Letting the chicken rest allows the juices to settle. This makes each bite juicy and full of flavor. Enjoy your delicious, easy dish!
Tips & Tricks
Perfecting the Chicken
To get crispy skin, start by drying the chicken with paper towels. This helps the skin crisp up when searing. Season both sides with salt and pepper. A hot skillet is key. Sear the chicken skin-side down for 5-7 minutes. Flip to cook the other side. Always check the internal temperature; it should reach 165°F (75°C) for safety.
Enhancing Flavor
You can boost the flavor by adding fresh herbs. Try thyme or rosemary for a fragrant touch. If you want a kick, consider adding a pinch of smoked paprika. For personal taste, swap the soy sauce for coconut aminos. This makes the dish gluten-free and adds a sweet note.
Cooking Techniques
Using one pan makes clean-up a breeze. It also lets the flavors mix well. The chicken absorbs the sauce, and the veggies soak up all that goodness. Make sure to use an oven-safe skillet. This way, you can start on the stove and finish in the oven. It’s efficient and keeps everything warm until serving.
Variations
Ingredient Substitutions
To make this dish fit your needs, feel free to swap ingredients. If you need a gluten-free option, use coconut aminos instead of soy sauce. This alternative gives a similar flavor without gluten.
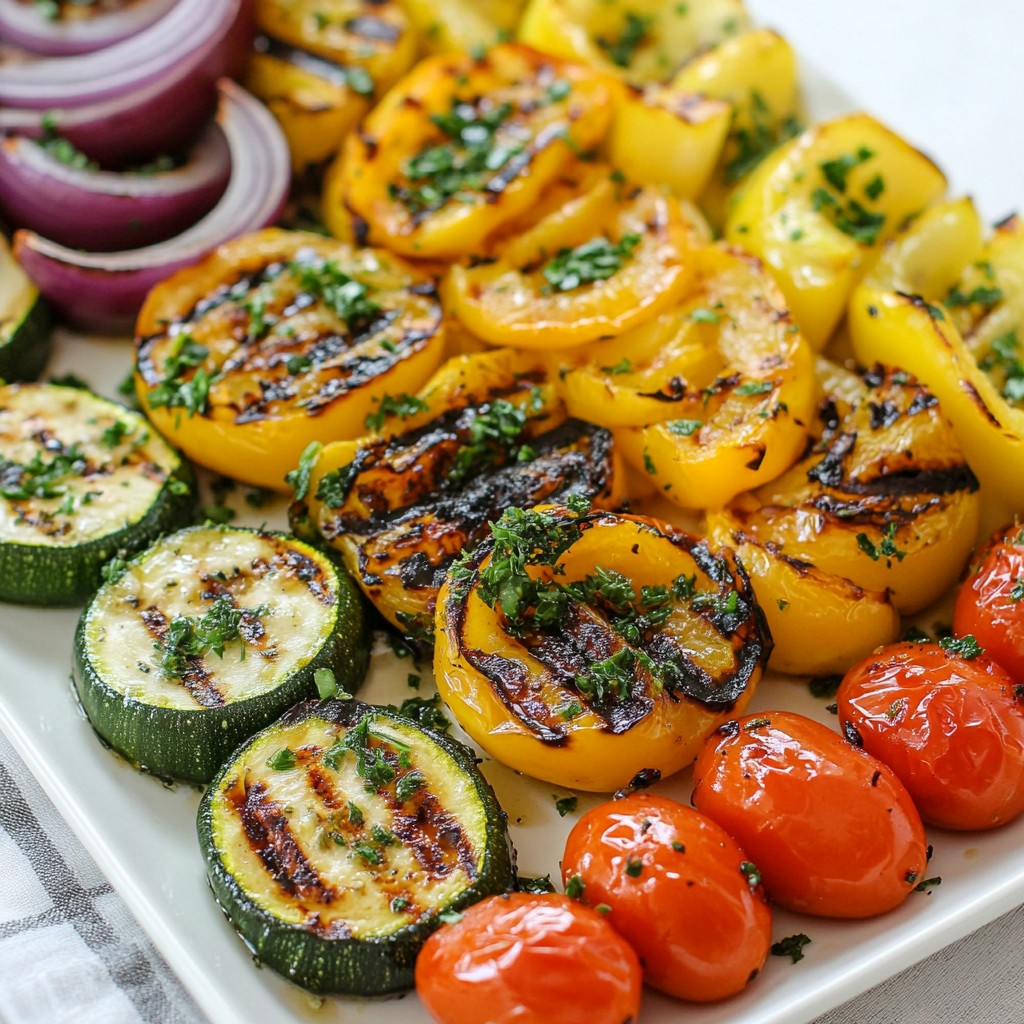
For vegetables, you can mix and match based on what you have. Try snap peas, carrots, or asparagus. Each adds a unique taste and color to your meal. Seasonal veggies like zucchini or bell peppers also work well.
Alternative Cooking Methods
You can use a slow cooker to make honey garlic chicken. Simply place the chicken and sauce ingredients in the cooker. Set it on low for 6-8 hours or high for 3-4 hours. This method gives you tender chicken with a rich flavor.
If you’re short on time, an Instant Pot is a great choice. Cook the chicken on high pressure for about 10-12 minutes. Make sure to let the steam release naturally for a juicy result.
Serving Suggestions
Pair honey garlic chicken with rice, quinoa, or noodles for a complete meal. These starches soak up the tasty sauce, making each bite delightful. You can also serve it with a simple green salad for a fresh contrast.
For meal prep, this dish is a winner. Cook a big batch and divide it into containers. It keeps well in the fridge and is easy to reheat on busy nights. You’ll have a delicious dinner ready in no time!
Storage Info
Proper Storage Techniques
To keep your leftover honey garlic chicken fresh, follow these steps:
– Refrigeration: Place the chicken in an airtight container. Store it in the fridge for up to 3 days.
– Freezing: For long-term storage, wrap the chicken in plastic wrap and foil. Store it in the freezer for up to 3 months.
Reheating Recommendations
Reheating chicken can be tricky. Here are some tips:
– Oven Method: Preheat your oven to 350°F (175°C). Place the chicken in a baking dish. Cover it with foil to keep it moist. Heat for about 15-20 minutes.
– Stovetop Method: Heat a skillet over medium heat. Add a splash of water or broth. Cover the skillet and heat for about 8-10 minutes. This helps keep the chicken juicy.
– Vegetable Texture: To maintain the crispness of the veggies, add them back to the pan for the last few minutes of reheating.
Longevity of Leftovers
It’s important to know how long your food lasts:
– Refrigerator Shelf Life: Keep leftover honey garlic chicken in the fridge for no more than 3 days.
– Freezer Shelf Life: If frozen, use it within 3 months for the best taste.
– Signs of Spoilage: Look for changes in color, smell, or texture. If it smells off or feels slimy, discard it.
FAQs
Common Questions About One Pan Honey Garlic Chicken
How do I know when chicken is fully cooked?
Chicken is fully cooked when it reaches an internal temperature of 165°F (75°C). Use a meat thermometer to check the thickest part of the chicken. This ensures it’s safe to eat. Remember, the juices should run clear, not pink.
Can I use boneless chicken instead?
Yes, you can use boneless chicken. Boneless thighs or breasts work well. They cook faster, so check them a bit earlier. Adjust cooking time to about 15-20 minutes.
What sides go well with honey garlic chicken?
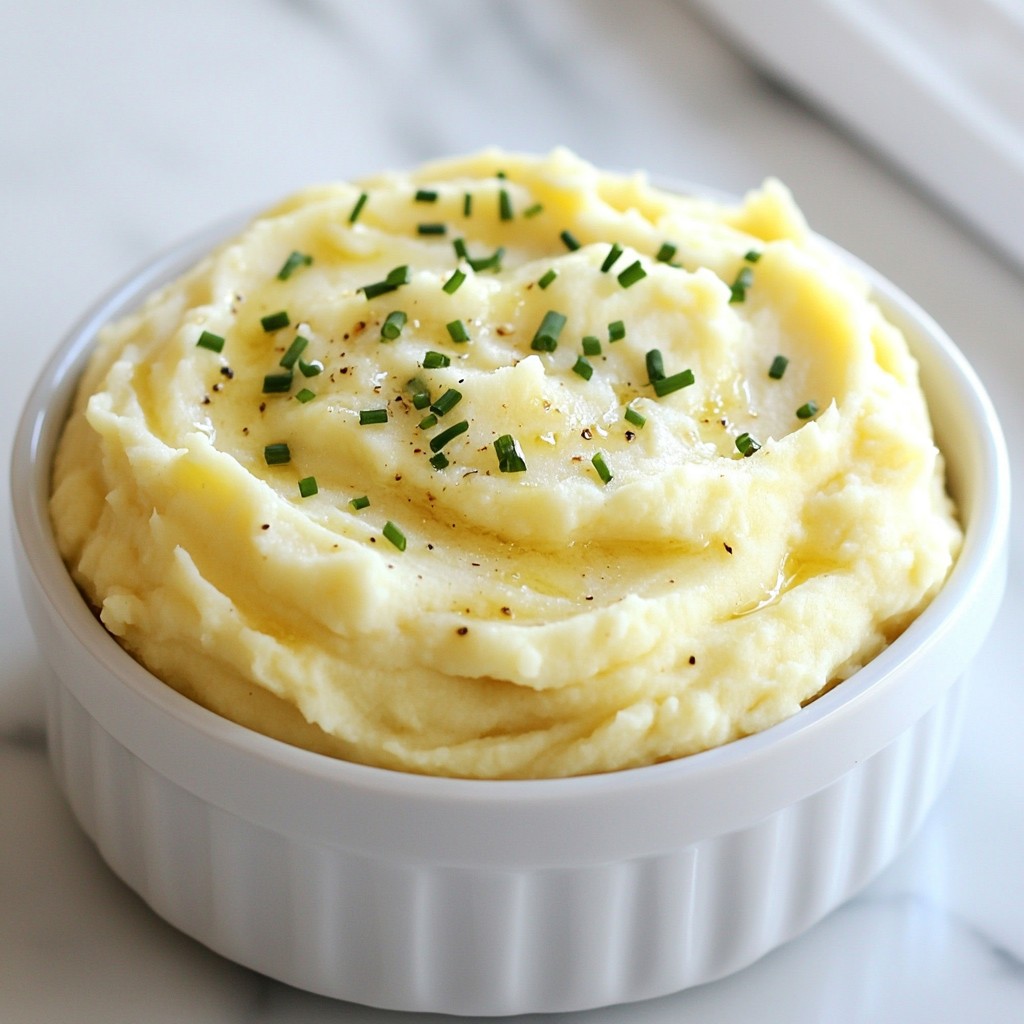
Honey garlic chicken pairs nicely with rice, quinoa, or mashed potatoes. You can also serve it with a fresh salad or steamed vegetables. These sides soak up the delicious sauce.
Recipe Adjustments
Can I double the recipe for a bigger crowd?
Absolutely! You can double the recipe. Just make sure your skillet is big enough. If not, use two pans. Adjust cooking time slightly if using more chicken.
Is this recipe suitable for meal prep?
Yes, this recipe is great for meal prep! It keeps well in the fridge for up to four days. Just store the chicken and veggies in airtight containers. Reheat when you’re ready to eat.
Ingredient Related Queries
What can I use instead of honey?
You can use maple syrup or agave nectar if you want a different flavor. Both options add sweetness. They work well in this recipe and keep it tasty.
Can I add other vegetables to this dish?
Yes, feel free to add other vegetables. Carrots, snap peas, or zucchini are great choices. Just cut them into similar sizes for even cooking. This adds color and more nutrients to your meal.
You can make delicious one-pan honey garlic chicken at home with ease. We explored essential ingredients, step-by-step cooking instructions, and handy tips. We also discussed variations and proper storage. With this recipe, you enjoy crispy chicken, flavorful sauce, and minimal cleanup. Remember, you can customize to your taste. Try different veggies or spices to make it your own. This dish is perfect for busy nights or special occasions. Enjoy your cooking journey and savor every bite!