No-Bake Strawberry Cheesecake Cups Delightful Treat

WANT TO SAVE THIS RECIPE?

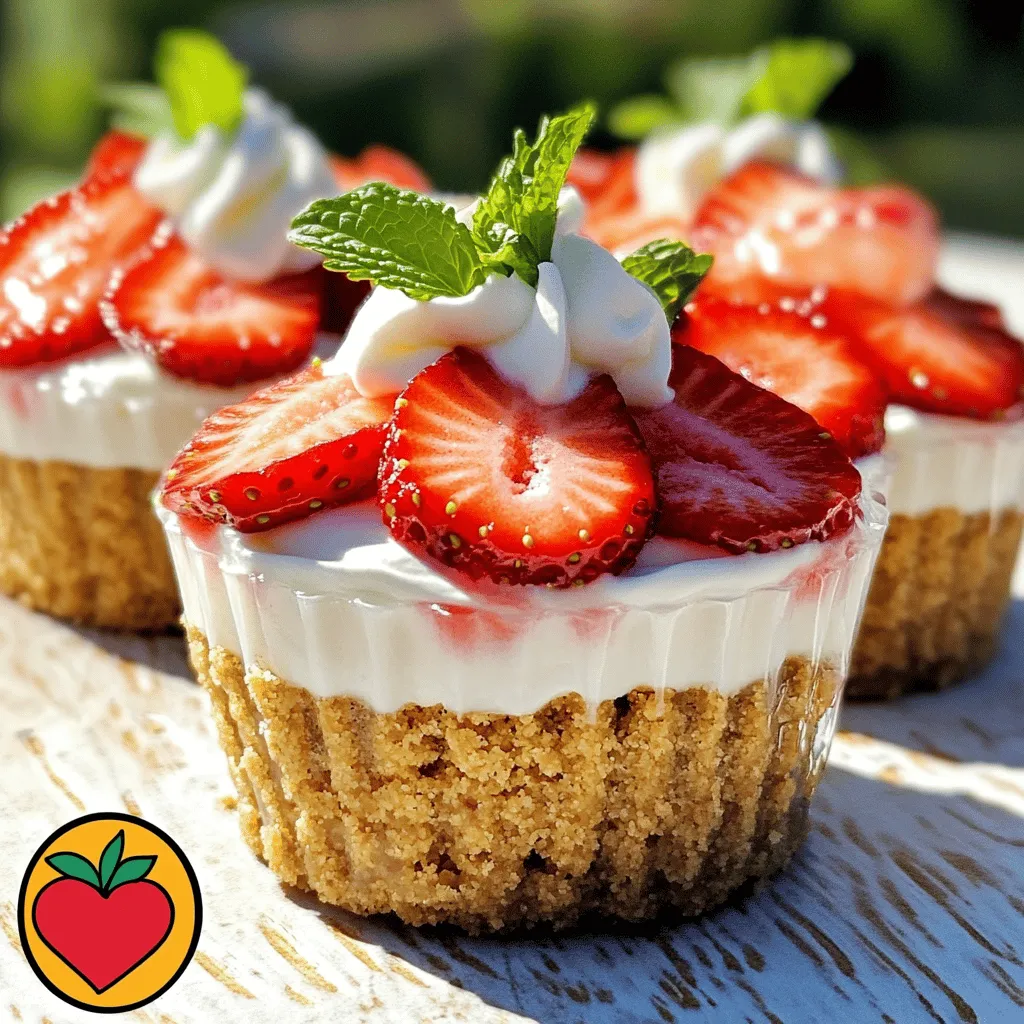
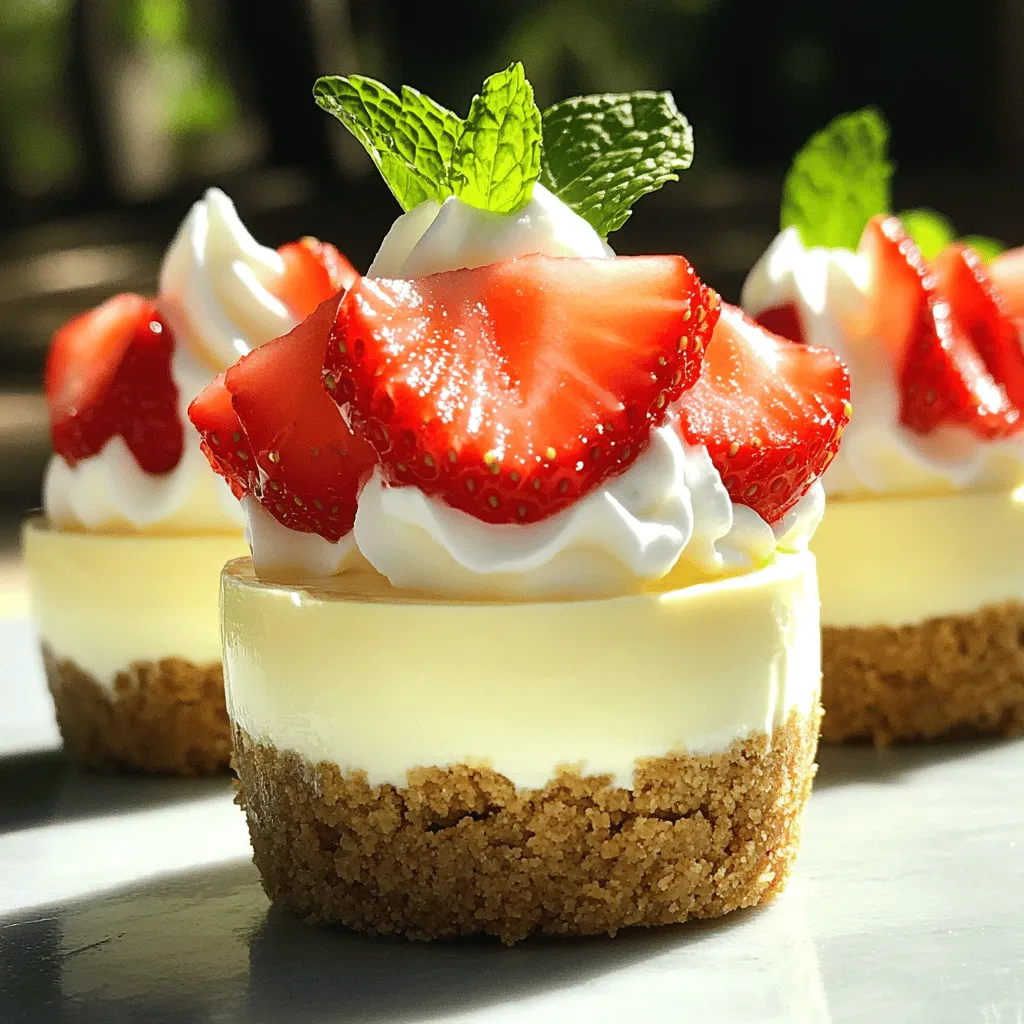
Looking for a delightful dessert that’s easy and fun? You’ll love these No-Bake Strawberry Cheesecake Cups! In just a few simple steps, you can create a creamy, fruity treat that requires no baking. Perfect for gatherings or a sweet snack at home, these cups are sure to impress. Let’s dive into the ingredients and methods that make this treat a breeze to whip up. Get ready to enjoy a delicious dessert!

Ingredients

List of Essential Ingredients

To make the no-bake strawberry cheesecake cups, you will need:

– 1 cup graham cracker crumbs

– 2 tablespoons sugar

– 1/4 cup unsalted butter, melted

– 8 oz cream cheese, softened

– 1/2 cup powdered sugar

– 1 cup heavy whipping cream

– 1 teaspoon vanilla extract

– 1 cup fresh strawberries, hulled and sliced

These ingredients work well together to create a creamy and smooth texture. The graham cracker crumbs form a delicious crust, while the cream cheese and whipped cream blend into a rich filling.

Optional Garnishes

For an extra touch, you can add:

– Additional sliced strawberries

– Fresh mint leaves

These garnishes not only make the cups look pretty but also add freshness. A sprig of mint gives a nice pop of color.

Tips for Selecting Fresh Strawberries

When choosing strawberries, look for:

– Bright red color

– Firm texture

– Fresh green tops

Avoid berries with soft spots or dark patches. Fresh strawberries taste better and add sweetness to your dessert. Always wash them gently before using.

Step-by-Step Instructions

Preparing the Crust Layer

Start by mixing the graham cracker crumbs and sugar in a bowl. Pour in the melted butter and stir until it combines well. This mix should feel like wet sand. Next, take your serving cups and divide the crumb mixture evenly into each cup. Press down firmly to form a solid crust layer. This step is key for a good base. Once done, place the cups in the fridge while you prepare the filling.

Making the Cheesecake Filling

In a clean mixing bowl, beat the softened cream cheese with powdered sugar until smooth. This is where the magic begins! Add the vanilla extract and mix until it blends perfectly. In another bowl, whip the heavy cream until soft peaks form. This will add fluffiness to your cheesecake. Carefully fold the whipped cream into the cream cheese mixture. Be gentle to keep the air in the whipped cream.

Assembling the Cheesecake Cups

Spoon the creamy cheesecake filling into each cup over the crust. Make sure to fill them evenly. Once filled, tap the cups gently on the counter. This helps the filling settle nicely. Next, take your fresh strawberries and slice them. Arrange the slices on top of the cheesecake in a beautiful pattern. This not only looks great but adds a burst of flavor!

Chilling and Setting

Cover the cups with plastic wrap to keep them fresh. Place them in the fridge for at least four hours. This chilling time helps the cheesecake set. You can even leave them overnight for a firmer texture. Before serving, remove the wrap and add some extra sliced strawberries and a sprig of mint for a lovely touch. Enjoy your delicious treat!

Tips & Tricks

Best Practices for Whipping Cream

Whipping cream can be tricky, but I have tips that help. First, start with cold cream. This helps it whip faster. Use a clean bowl and beaters to get the best results. Whip the cream on medium speed until soft peaks form. Do not over-whip, or it will turn into butter!

Common Mistakes to Avoid

Watch out for a few common mistakes. One big mistake is not softening the cream cheese. Soft cream cheese mixes smoothly with sugar. Another error is not folding the whipped cream gently. Mixing too hard can deflate the cream. Lastly, don’t skip chilling the cups. This step helps the cheesecake set properly.

How to Make Ahead for Future Enjoyment

Making these cups ahead is easy and smart. You can prepare the crust and filling a day early. Just store them in the fridge until you are ready. Once you layer the filling, cover the cups and chill. They stay fresh and tasty for up to two days. Enjoy these treats whenever you want!

Variations

Substituting Different Fruits

You can swap strawberries for other fruits in this recipe. Try blueberries, raspberries, or peaches. Each fruit adds its own unique taste. For instance, raspberries bring a tartness that balances the sweet filling. Blueberries offer a mild sweetness that pairs well with the cream cheese. Just remember to slice or mash the fruit as needed for easy layering.

Flavoring Options for Cheesecake Filling

You can change the flavor of the cheesecake filling too. Add lemon juice for a zesty kick. Almond extract can give a nutty touch. Try cocoa powder to make a chocolate version. You can also mix in different extracts like coconut or hazelnut. Each of these flavors enhances the dessert’s taste and makes it special.

Gluten-Free and Dairy-Free Alternatives

If you need gluten-free options, use gluten-free graham crackers. You can also make a crust with nuts like almonds or walnuts. For a dairy-free version, substitute cream cheese with a plant-based cream cheese. Use coconut cream in place of heavy cream. These swaps keep the treat tasty while meeting different dietary needs.

Storage Information

How to Store Leftover Cheesecake Cups

You should store leftover cheesecake cups in the fridge. Place them in an airtight container. If you keep them covered, they stay fresh longer. They can last about three days in the fridge.

Freezing Instructions for Long-Term Storage

You can freeze cheesecake cups if you want to save them for later. Wrap each cup in plastic wrap. Then, place them in a freezer bag. They can stay good in the freezer for up to two months. When you are ready to eat, thaw them in the fridge overnight.

Shelf Life and Freshness Tips

The freshness of your cheesecake cups matters. Always check for any signs of spoilage, like a sour smell or change in texture. If the strawberries look mushy, it’s time to toss them. For best taste, enjoy the cups within three days if stored in the fridge.

FAQs

Can I Use Low-Fat Cream Cheese?

Yes, you can use low-fat cream cheese. It will still taste good, but the texture may change. Low-fat cream cheese can make your dessert a bit less creamy and rich. If you want the same flavor, I suggest mixing it with a bit of regular cream cheese.

How Long Can These Cheesecake Cups Sit Out?

These cheesecake cups can sit out for about two hours. After that, they should go back in the fridge. If the room is hot, keep them cool to ensure they stay fresh. Always check for signs of spoilage before serving.

What Can I Use Instead of Graham Crackers?

If you don’t have graham crackers, try using vanilla wafers or digestive biscuits. You can also crush up pretzels for a salty twist. Just make sure the base can hold the filling well.

Can I Make These in Advance?

Yes, you can make these cheesecake cups ahead of time. They taste even better after sitting in the fridge overnight. Just cover them well with plastic wrap to keep them fresh.

This blog post covered all you need to make delicious cheesecake cups. We discussed key ingredients, from essential components to optional garnishes. I shared step-by-step instructions for the crust and filling. You learned tips for whipping cream and common mistakes to avoid. We explored tasty variations and how to store these treats.

With this guide, you can create cheesecake cups that impress and satisfy. Enjoy experimenting and sharing your tasty creations!

To make the no-bake strawberry cheesecake cups, you will need: - 1 cup graham cracker crumbs - 2 tablespoons sugar - 1/4 cup unsalted butter, melted - 8 oz cream cheese, softened - 1/2 cup powdered sugar - 1 cup heavy whipping cream - 1 teaspoon vanilla extract - 1 cup fresh strawberries, hulled and sliced These ingredients work well together to create a creamy and smooth texture. The graham cracker crumbs form a delicious crust, while the cream cheese and whipped cream blend into a rich filling. For an extra touch, you can add: - Additional sliced strawberries - Fresh mint leaves These garnishes not only make the cups look pretty but also add freshness. A sprig of mint gives a nice pop of color. When choosing strawberries, look for: - Bright red color - Firm texture - Fresh green tops Avoid berries with soft spots or dark patches. Fresh strawberries taste better and add sweetness to your dessert. Always wash them gently before using. Start by mixing the graham cracker crumbs and sugar in a bowl. Pour in the melted butter and stir until it combines well. This mix should feel like wet sand. Next, take your serving cups and divide the crumb mixture evenly into each cup. Press down firmly to form a solid crust layer. This step is key for a good base. Once done, place the cups in the fridge while you prepare the filling. In a clean mixing bowl, beat the softened cream cheese with powdered sugar until smooth. This is where the magic begins! Add the vanilla extract and mix until it blends perfectly. In another bowl, whip the heavy cream until soft peaks form. This will add fluffiness to your cheesecake. Carefully fold the whipped cream into the cream cheese mixture. Be gentle to keep the air in the whipped cream. Spoon the creamy cheesecake filling into each cup over the crust. Make sure to fill them evenly. Once filled, tap the cups gently on the counter. This helps the filling settle nicely. Next, take your fresh strawberries and slice them. Arrange the slices on top of the cheesecake in a beautiful pattern. This not only looks great but adds a burst of flavor! Cover the cups with plastic wrap to keep them fresh. Place them in the fridge for at least four hours. This chilling time helps the cheesecake set. You can even leave them overnight for a firmer texture. Before serving, remove the wrap and add some extra sliced strawberries and a sprig of mint for a lovely touch. Enjoy your delicious treat! Whipping cream can be tricky, but I have tips that help. First, start with cold cream. This helps it whip faster. Use a clean bowl and beaters to get the best results. Whip the cream on medium speed until soft peaks form. Do not over-whip, or it will turn into butter! Watch out for a few common mistakes. One big mistake is not softening the cream cheese. Soft cream cheese mixes smoothly with sugar. Another error is not folding the whipped cream gently. Mixing too hard can deflate the cream. Lastly, don’t skip chilling the cups. This step helps the cheesecake set properly. Making these cups ahead is easy and smart. You can prepare the crust and filling a day early. Just store them in the fridge until you are ready. Once you layer the filling, cover the cups and chill. They stay fresh and tasty for up to two days. Enjoy these treats whenever you want! {{image_2}} You can swap strawberries for other fruits in this recipe. Try blueberries, raspberries, or peaches. Each fruit adds its own unique taste. For instance, raspberries bring a tartness that balances the sweet filling. Blueberries offer a mild sweetness that pairs well with the cream cheese. Just remember to slice or mash the fruit as needed for easy layering. You can change the flavor of the cheesecake filling too. Add lemon juice for a zesty kick. Almond extract can give a nutty touch. Try cocoa powder to make a chocolate version. You can also mix in different extracts like coconut or hazelnut. Each of these flavors enhances the dessert’s taste and makes it special. If you need gluten-free options, use gluten-free graham crackers. You can also make a crust with nuts like almonds or walnuts. For a dairy-free version, substitute cream cheese with a plant-based cream cheese. Use coconut cream in place of heavy cream. These swaps keep the treat tasty while meeting different dietary needs. You should store leftover cheesecake cups in the fridge. Place them in an airtight container. If you keep them covered, they stay fresh longer. They can last about three days in the fridge. You can freeze cheesecake cups if you want to save them for later. Wrap each cup in plastic wrap. Then, place them in a freezer bag. They can stay good in the freezer for up to two months. When you are ready to eat, thaw them in the fridge overnight. The freshness of your cheesecake cups matters. Always check for any signs of spoilage, like a sour smell or change in texture. If the strawberries look mushy, it's time to toss them. For best taste, enjoy the cups within three days if stored in the fridge. Yes, you can use low-fat cream cheese. It will still taste good, but the texture may change. Low-fat cream cheese can make your dessert a bit less creamy and rich. If you want the same flavor, I suggest mixing it with a bit of regular cream cheese. These cheesecake cups can sit out for about two hours. After that, they should go back in the fridge. If the room is hot, keep them cool to ensure they stay fresh. Always check for signs of spoilage before serving. If you don’t have graham crackers, try using vanilla wafers or digestive biscuits. You can also crush up pretzels for a salty twist. Just make sure the base can hold the filling well. Yes, you can make these cheesecake cups ahead of time. They taste even better after sitting in the fridge overnight. Just cover them well with plastic wrap to keep them fresh. This blog post covered all you need to make delicious cheesecake cups. We discussed key ingredients, from essential components to optional garnishes. I shared step-by-step instructions for the crust and filling. You learned tips for whipping cream and common mistakes to avoid. We explored tasty variations and how to store these treats. With this guide, you can create cheesecake cups that impress and satisfy. Enjoy experimenting and sharing your tasty creations!

No-Bake Strawberry Cheesecake Cups

Indulge in the delightful flavors of No-Bake Strawberry Cheesecake Cups! Perfect for any occasion, these easy-to-make desserts feature a creamy filling and a crunchy graham cracker crust, layered with fresh strawberries for a burst of freshness. Ready in just 20 minutes (plus chilling time), these cheesecake cups are a must-try treat. Click through to explore the full recipe and impress your friends and family with this delicious dessert!

Ingredients
  

1 cup graham cracker crumbs

2 tablespoons sugar

1/4 cup unsalted butter, melted

8 oz cream cheese, softened

1/2 cup powdered sugar

1 cup heavy whipping cream

1 teaspoon vanilla extract

1 cup fresh strawberries, hulled and sliced

Additional strawberries and mint for garnish

Instructions
 

In a medium bowl, combine the graham cracker crumbs and sugar. Pour in the melted butter and mix until combined.

    Divide the crumb mixture evenly among serving cups, pressing down firmly to form a crust layer. Place the cups in the refrigerator while preparing the filling.

      In a mixing bowl, beat the softened cream cheese and powdered sugar together until smooth. Add the vanilla extract and beat until well combined.

        In another bowl, whip the heavy cream until soft peaks form. Gently fold the whipped cream into the cream cheese mixture until fully incorporated.

          Spoon the cheesecake filling into the cups over the graham cracker crust. Tap the cups gently on the counter to ensure the filling settles evenly.

            Top each cup with sliced strawberries, arranging them in a decorative manner.

              Cover the cups with plastic wrap and refrigerate for at least 4 hours or until set.

                Before serving, garnish each cup with additional strawberries and a sprig of fresh mint for a pop of color.

                  Prep Time: 20 minutes | Total Time: 4 hours 20 minutes | Servings: 4

                    WANT TO SAVE THIS RECIPE?

                    Leave a Comment

                    Recipe Rating