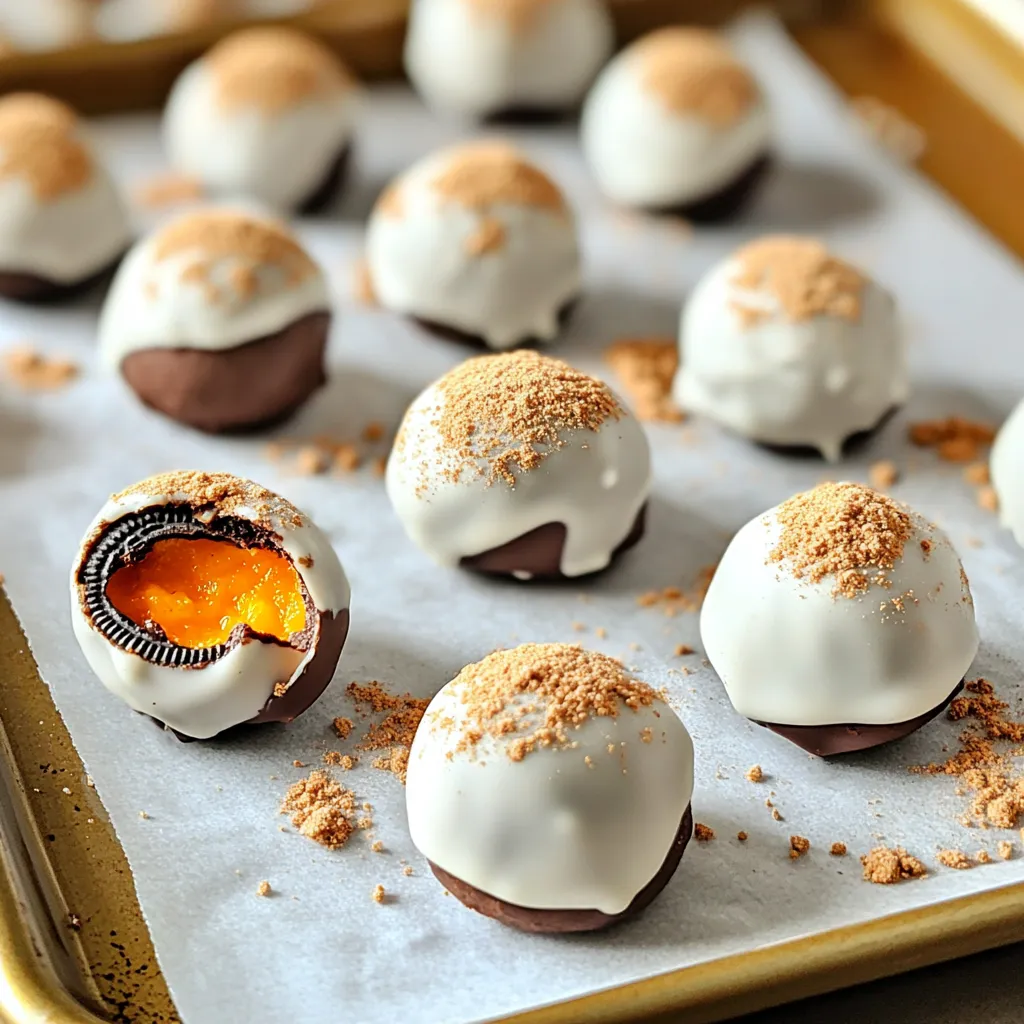
Fall is here, and that means it’s time for delicious treats! If you love the cozy flavors of pumpkin and Oreos, I have the perfect dessert for you: No-Bake Oreo Pumpkin Truffles. These sweet bites combine the rich taste of chocolate with the warm spice of pumpkin, all without having to turn on your oven. Ready to impress your friends and family? Let’s dive into this fun and easy recipe!
Ingredients
Detailed List of Ingredients
For your No-Bake Oreo Pumpkin Truffles, gather these main ingredients:
– 1 package (15.25 oz) Oreo cookies
– ½ cup pumpkin puree
– 4 oz cream cheese, softened
– 1 teaspoon pumpkin spice
– 1 teaspoon vanilla extract
– 1 cup white chocolate chips
– ½ cup crushed graham crackers (for rolling)
– Pinch of salt
These ingredients come together to create a tasty treat. The Oreo cookies give a sweet base, while the pumpkin puree adds a fall twist. Cream cheese makes the truffles creamy, and pumpkin spice brings warmth.
You can also customize your truffles with these optional ingredients:
– Different flavored cookies (like peanut butter or mint)
– Extra spices (like cinnamon or nutmeg)
– Nuts (for crunch)
If you need to make substitutions, here are some measurement conversions:
– If you don’t have pumpkin puree, use applesauce instead in the same amount.
– For a vegan option, replace cream cheese with a plant-based cream cheese.
– Use dark chocolate chips instead of white chocolate for a richer flavor.
These substitutions keep your treat delicious while meeting your needs!
Step-by-Step Instructions
Preparation Overview
To make No-Bake Oreo Pumpkin Truffles, gather your tools. You will need a food processor, a mixing bowl, and a lined baking sheet. Make sure your work area is clean.
When melting chocolate, use a microwave-safe bowl. Heat in 30-second bursts to avoid burning. Stir after each interval until smooth. Be careful, as melted chocolate can be hot.
Detailed Steps
1. Crush the Cookies: Start by pulsing the Oreo cookies in the food processor. Aim for a fine powder. This will be the base of your truffles.
2. Mix Ingredients: In your mixing bowl, combine the Oreo crumbs, pumpkin puree, softened cream cheese, pumpkin spice, vanilla extract, and a pinch of salt. Stir until it forms a thick dough.
3. Form Truffles: Use your hands to roll the mixture into small balls, about 1 inch in size. Place them on the lined baking sheet.
4. Chill the Truffles: Freeze the truffles for 20-30 minutes. This helps them firm up and makes coating easier.
5. Melt the Chocolate: While the truffles chill, melt the white chocolate chips. Use a microwave-safe bowl and heat in 30-second intervals, stirring in between until it is smooth.
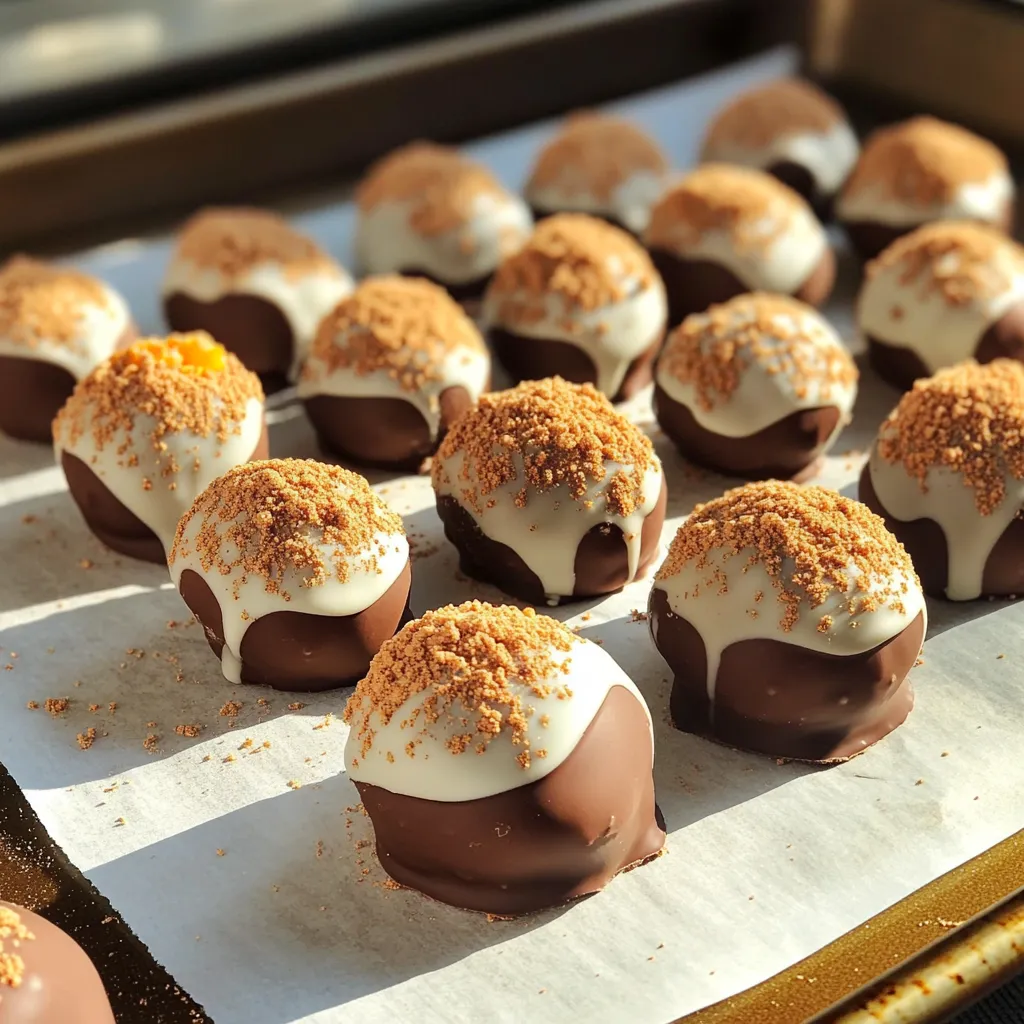
6. Coat the Truffles: Dip each chilled truffle into the melted chocolate. Let any excess drip off before placing it back on the lined sheet.
7. Roll in Graham Crackers: Immediately roll the dipped truffles in crushed graham crackers to coat. This adds a nice crunch.
8. Final Chill: Refrigerate the truffles for another 15 minutes. This helps the chocolate set before you enjoy them.
Visual Guide
Images or videos can really help here. Showing each step can guide you through the process. For the best presentation, arrange the truffles on a nice platter. You could even add a sprinkle of extra graham cracker crumbs for flair. Enjoy your tasty fall treat!
Tips & Tricks
Enhancing Flavor and Texture
To make your No-Bake Oreo Pumpkin Truffles shine, use fresh ingredients. Always choose high-quality Oreo cookies. This adds a rich taste. The same goes for pumpkin puree. Fresh puree gives a brighter flavor than canned options.
Feel free to mix in extra spices for a kick. A dash of cinnamon or nutmeg can elevate your truffles. You might also try adding crushed nuts for some crunch. For toppings, consider drizzling melted chocolate on top. This adds both flavor and a pretty look.
Troubleshooting Common Issues
Sometimes, your mixture might be crumbly. If this happens, add a bit more pumpkin puree. Just a little will help bind everything. If your mixture feels too sticky, add more crushed Oreo cookies.
When coating with chocolate, it’s key to let any excess drip off. This keeps the coating smooth. If the chocolate clumps, try melting it slower. Use 30-second intervals in the microwave. Stir well between each. This way, you get a nice, glossy finish on your truffles.
Variations
Flavor Combinations
You can easily change the flavor of these truffles. Dark chocolate adds richness. Just melt it like the white chocolate and dip the truffles. Mint extract can give a cool twist. Use only a few drops to avoid overpowering the pumpkin.
You can also switch up the cookies used. Try chocolate sandwich cookies for a deeper flavor. Golden Oreos work well too for a sweeter taste. Mix and match to find your favorite combo.
Seasonal Variations
Make these truffles festive for holidays! For Halloween, use orange and black sprinkles on top. You can even shape them like pumpkins for a fun touch.
For Thanksgiving, add chopped nuts or cranberries for a seasonal flair. You can also package them in cute boxes as gifts. They make great treats for your friends and family during the holidays.
Storage Info
Best Practices for Storing Truffles
To keep your No-Bake Oreo Pumpkin Truffles fresh, store them in the fridge. They last about one week there. If you want to keep them longer, try the freezer. They can stay good for about three months frozen.
Use an airtight container to store the truffles. This helps keep them from drying out. You can also place parchment paper between layers to stop them from sticking together.
Serving Suggestions
These truffles are great for parties or gatherings. You can serve them on a festive plate or in small cupcake liners. They look cute and are easy to grab.
Pair these treats with drinks like coffee or hot chocolate. The rich flavors of the truffles match well with warm beverages. You can even create a dessert table with different treats to enjoy alongside your truffles.
FAQs
Common Questions
How long do No-Bake Oreo Pumpkin Truffles last?
No-Bake Oreo Pumpkin Truffles can last about one week in the fridge. Keep them in an airtight container. If you want them to last longer, freeze them. They stay good for up to three months in the freezer.
Can I make these truffles ahead of time?
Yes, you can make these truffles ahead of time. They taste great after a day in the fridge. You can prepare them a few days before your event. Just coat them in chocolate and store them until you’re ready to serve.
Dietary Considerations
Can I make this recipe gluten-free?
Yes, you can! Use gluten-free Oreo cookies instead of regular ones. This simple swap keeps the treat delicious and safe for those with gluten allergies.
Are there dairy-free options available for this recipe?
You can make dairy-free truffles by using dairy-free cream cheese. Many brands offer tasty alternatives. Also, check for dairy-free chocolate chips for coating.
Ingredient Substitutions
What can I use instead of cream cheese?
If you want to skip cream cheese, use Greek yogurt for a lighter option. Silken tofu is another great dairy-free choice. Both will give you a nice texture in the truffles.
How can I modify for different dietary needs (vegan, nut-free)?
For vegan truffles, use dairy-free cream cheese and chocolate. Ensure your Oreos are vegan-friendly too. For nut-free truffles, check all products for nut traces, especially chocolate brands.
In this blog post, we explored how to make No-Bake Oreo Pumpkin Truffles. We covered the key ingredients, step-by-step instructions, and creative variations for flavor. Storage tips and common questions helped make the process easy.
These truffles are a fun treat for any occasion. Feel free to experiment with flavors and share them with friends. Enjoy making your delicious creations!