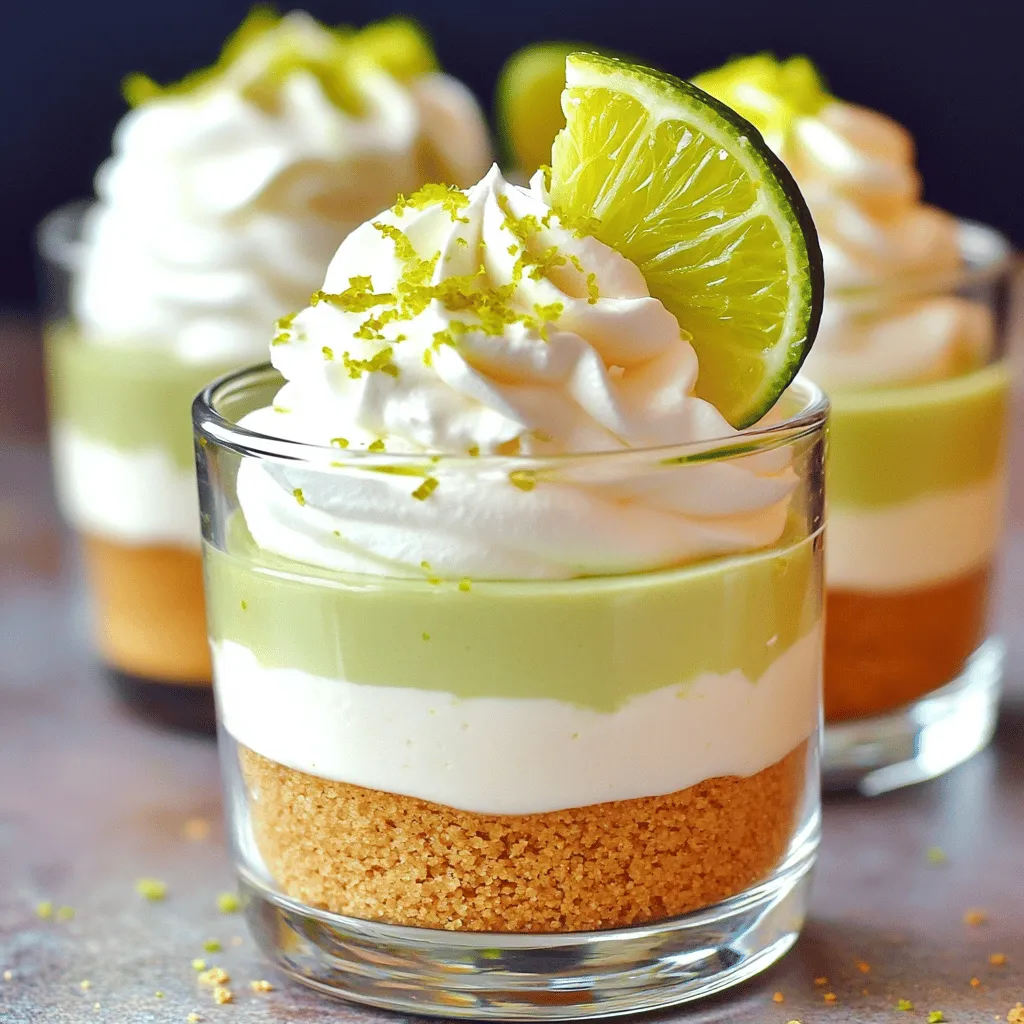
Craving a refreshing dessert that’s easy and fun to make? Let me introduce you to No Bake Key Lime Cheesecake Cups! These delightful treats combine the zesty flavor of key limes with a creamy filling and a crunchy crust—all without turning on your oven. Perfect for hot days or surprise guests, these cups will impress everyone. Get ready to dive into simple steps, helpful tips, and tasty variations that make this dessert a total winner!
Ingredients
List of Key Ingredients
These are the main ingredients for my no bake key lime cheesecake cups:
– 1 cup graham cracker crumbs
– 4 tablespoons unsalted butter, melted
– 1 (8 oz) package cream cheese, softened
– 1/2 cup powdered sugar
– 1/4 cup sour cream
– 1/4 cup fresh key lime juice (or regular lime juice)
– 1 teaspoon vanilla extract
– Whipped cream, for topping
– Lime zest, for garnish
– Key lime slices, for garnish
Each ingredient plays a part in making this treat creamy and zesty. The cream cheese gives it a rich texture, while the key lime juice adds that tangy flavor we love.
Alternative Ingredients
You can switch some ingredients if needed. Here are a few ideas:
– Use graham cracker crumbs or crushed cookies for the crust.
– Swap unsalted butter with coconut oil for a dairy-free option.
– Choose any soft cheese, like mascarpone, for a different taste.
– If you don’t have key limes, regular limes work just as well.
These swaps keep the recipe fun and flexible. You can still enjoy this dessert even if you are out of key ingredients.
Measuring Tips
Accurate measuring helps your cheesecake cups turn out great. Here are some tips:
– Use a kitchen scale for precise measurements of cream cheese and butter.
– When measuring sticky ingredients like honey or syrup, spray the measuring cup with cooking oil first.
– For dry ingredients like graham cracker crumbs, spoon them into the measuring cup, then level off with a knife to avoid packing.
– Always pack down the graham cracker mixture tightly in the cups for a sturdy crust.
Measuring correctly ensures your dessert sets well and tastes amazing. It’s all about getting the right balance for the best no bake key lime cheesecake cups!
Step-by-Step Instructions
Preparing the Crust
To start, grab a medium bowl and mix together the graham cracker crumbs and melted butter. Stir it until it looks like wet sand. This mixture forms a tasty base for the cheesecake. Next, take four serving cups and divide the crust mixture evenly among them. Press it down firmly to make a nice layer at the bottom. This step gives your cheesecake a solid foundation.
Making the Cheesecake Filling
Now, let’s make the filling. In a separate bowl, beat the softened cream cheese with an electric mixer until it’s smooth. This step is key for a creamy texture. Gradually add the powdered sugar, sour cream, lime juice, and vanilla extract. Keep mixing until everything is smooth and fully combined. This filling is where the key lime flavor shines.
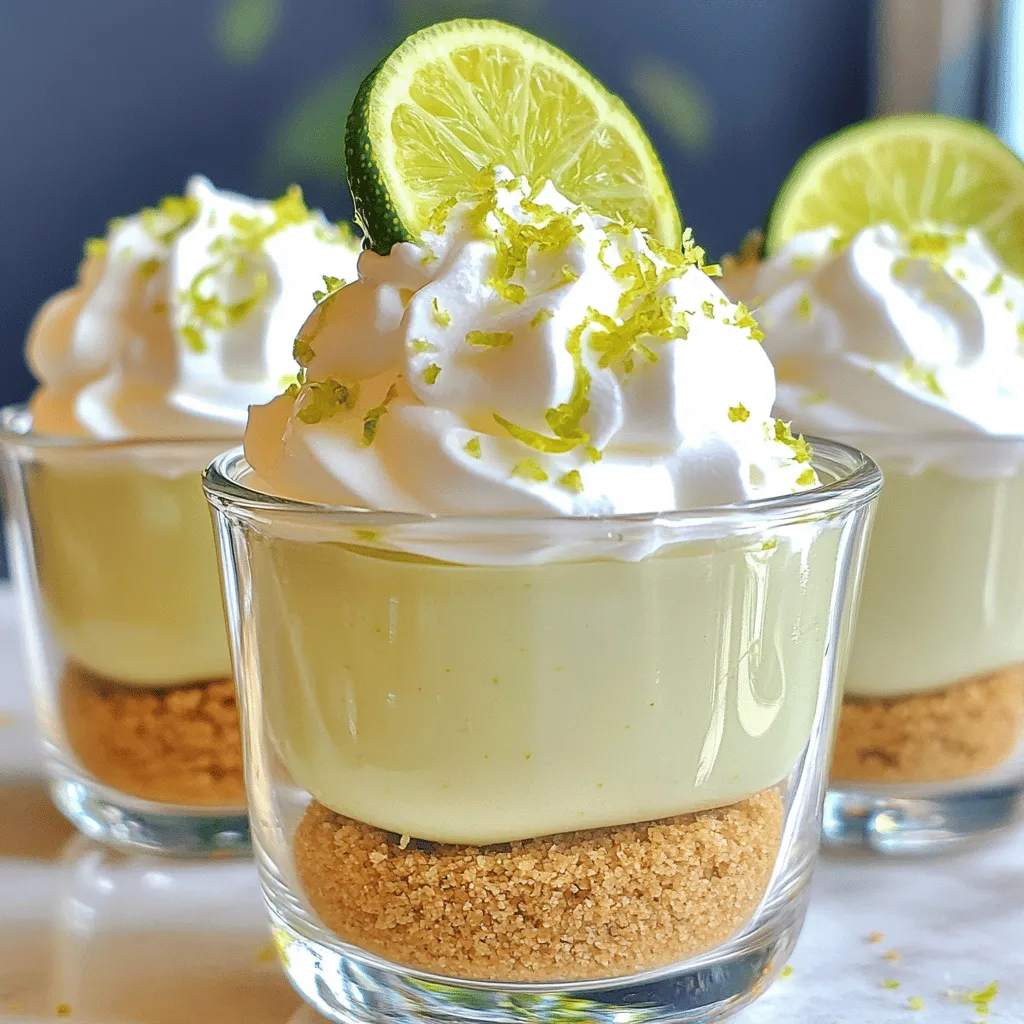
Assembling the Cheesecake Cups
Next, spoon the cheesecake filling over each crust. Fill them about three-quarters full. This allows room for toppings later. Once filled, cover the cups with plastic wrap. It’s time to chill! Place them in the fridge for at least two hours. This helps the flavors blend and the filling set. After chilling, top each cup with whipped cream, lime zest, and a slice of key lime. Your no-bake key lime cheesecake cups are now ready to enjoy!
Tips & Tricks
Common Mistakes to Avoid
When making No Bake Key Lime Cheesecake Cups, avoid these common errors:
– Using cold cream cheese: Always soften your cream cheese. Cold cream cheese clumps and won’t mix well.
– Not pressing the crust firmly: Be sure to press the graham cracker mixture down. A loose crust will fall apart.
– Skipping chill time: Do not rush the chilling step. It helps the flavors mix and the cheesecake set.
– Overmixing the filling: Mix just until smooth. Overmixing can add air and change the texture.
Serving Suggestions
These cheesecake cups look great and taste even better. Here are a few ideas to serve them:
– Top each cup with whipped cream and lime zest for a fresh look.
– Add a slice of key lime on top for a fun touch.
– Serve them on a colorful plate to brighten your table.
– Pair them with fresh berries for extra flavor and color.
Making Ahead Tips
You can prepare these cheesecake cups in advance. Here’s how:
– Make them a day early: They taste even better after chilling overnight.
– Store covered: Keep them wrapped in plastic wrap in the fridge.
– Don’t add toppings too soon: Wait to add whipped cream and garnishes until just before serving.
– Freeze for later: You can freeze the filling and crust separately. Just thaw and assemble when ready.
Variations
Chocolate Key Lime Cheesecake Cups
You can add a twist to your key lime cheesecake cups by making them chocolate. Just melt some dark chocolate and mix it into the cheesecake filling. Use about 1/4 cup of melted chocolate for every batch. This adds a rich, sweet touch. You still get that zing from the lime, but now with a chocolatey depth. Top these cups with chocolate shavings for a fun look.
Fruit Toppings and Flavors
Fruits pair well with key lime cheesecake. You can add fresh berries, like strawberries or blueberries, on top. They add color and sweetness. You might also try mango or pineapple for a tropical vibe. If you want to mix flavors, blend in some pureed fruit into the filling. This way, you create a unique taste for each cup.
Vegan or Dairy-Free Options
If you want a vegan version, swap out the cream cheese with vegan cream cheese. Use coconut cream instead of sour cream. For a sweet touch, maple syrup works well in place of powdered sugar. You can still enjoy the tangy flavor of lime juice. These changes keep the creamy texture while making it dairy-free.
Storage Info
How to Store Leftovers
To store leftover cheesecake cups, cover them with plastic wrap or a lid. Keep them in the fridge. They stay fresh for up to three days. If you want to enjoy them later, make sure they are well covered to avoid drying out.
Freezing Instructions
You can freeze these cheesecake cups, but they need some care. First, freeze them without the toppings. Once they are frozen solid, wrap them well in plastic wrap. Then, put them in an airtight container. They can last up to three months in the freezer. When you are ready to eat, thaw them in the fridge overnight.
Shelf Life Tips
These cheesecake cups taste best within the first few days. After that, the texture may change. If you notice any off smells or flavors, it’s best to toss them out. Always check for any signs of spoilage. If stored properly, they can last up to three days in the fridge or three months in the freezer. Enjoy your delicious dessert!
FAQs
Can I use regular lime juice instead of key lime juice?
Yes, you can use regular lime juice. Key limes are sweeter and more fragrant. If you use regular limes, the taste may change slightly. The cheesecake will still be tasty and fresh, just not as rich in flavor.
How long do I need to chill the cheesecake cups?
You should chill the cheesecake cups for at least 2 hours. This time helps the flavors blend and the filling to set. If you can wait longer, the taste will be even better. I recommend chilling overnight for the best result.
Can I make these cheesecake cups gluten-free?
Yes, you can make these cups gluten-free. Just use gluten-free graham cracker crumbs instead of regular ones. This small change makes the dessert safe for those with gluten allergies. The rest of the recipe stays the same, and it will still taste great!
To wrap up, we’ve explored key ingredients, step-by-step instructions, and helpful tips for making cheesecake cups. We looked at variations like chocolate key lime and vegan options. Remember to store any leftovers properly and freeze them for later enjoyment. With this guide, you can create delicious treats with ease. Enjoy your cheesecake cups and share them with friends for a sweet delight!