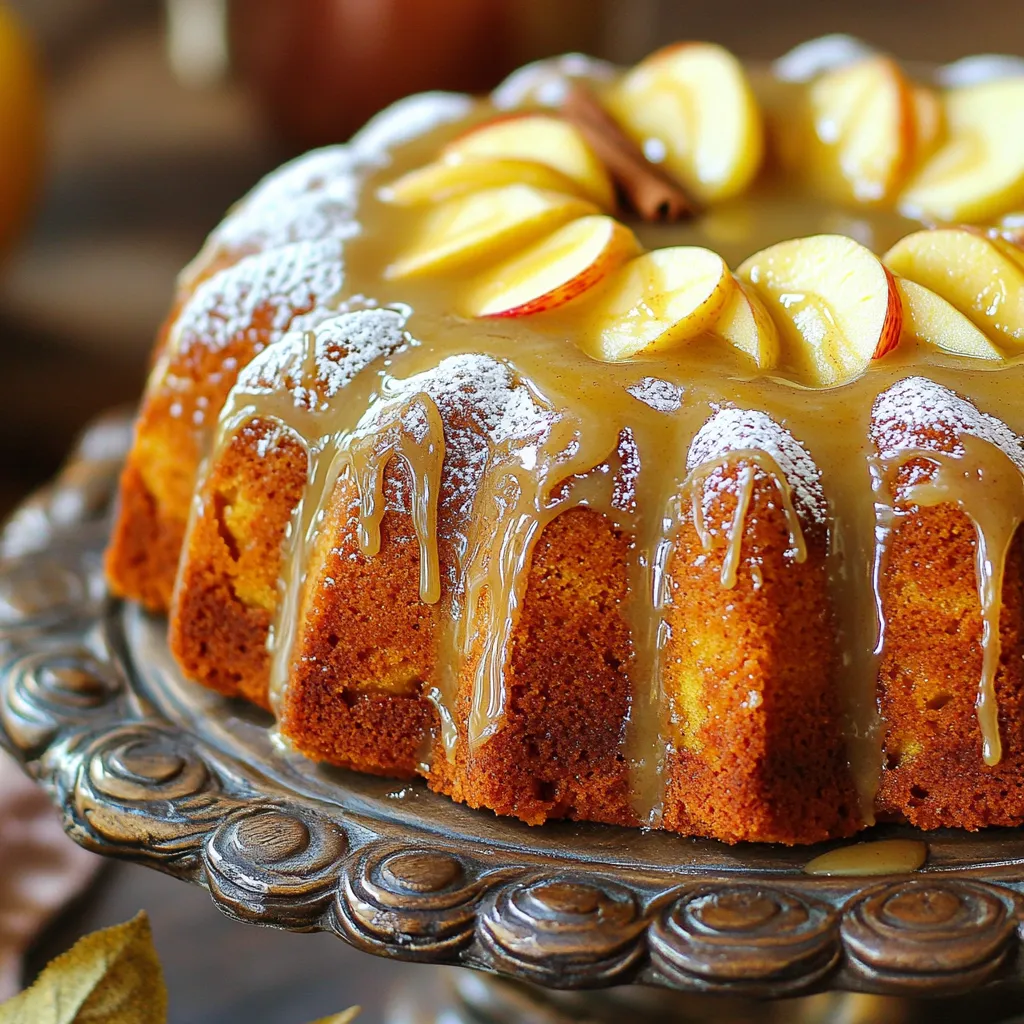
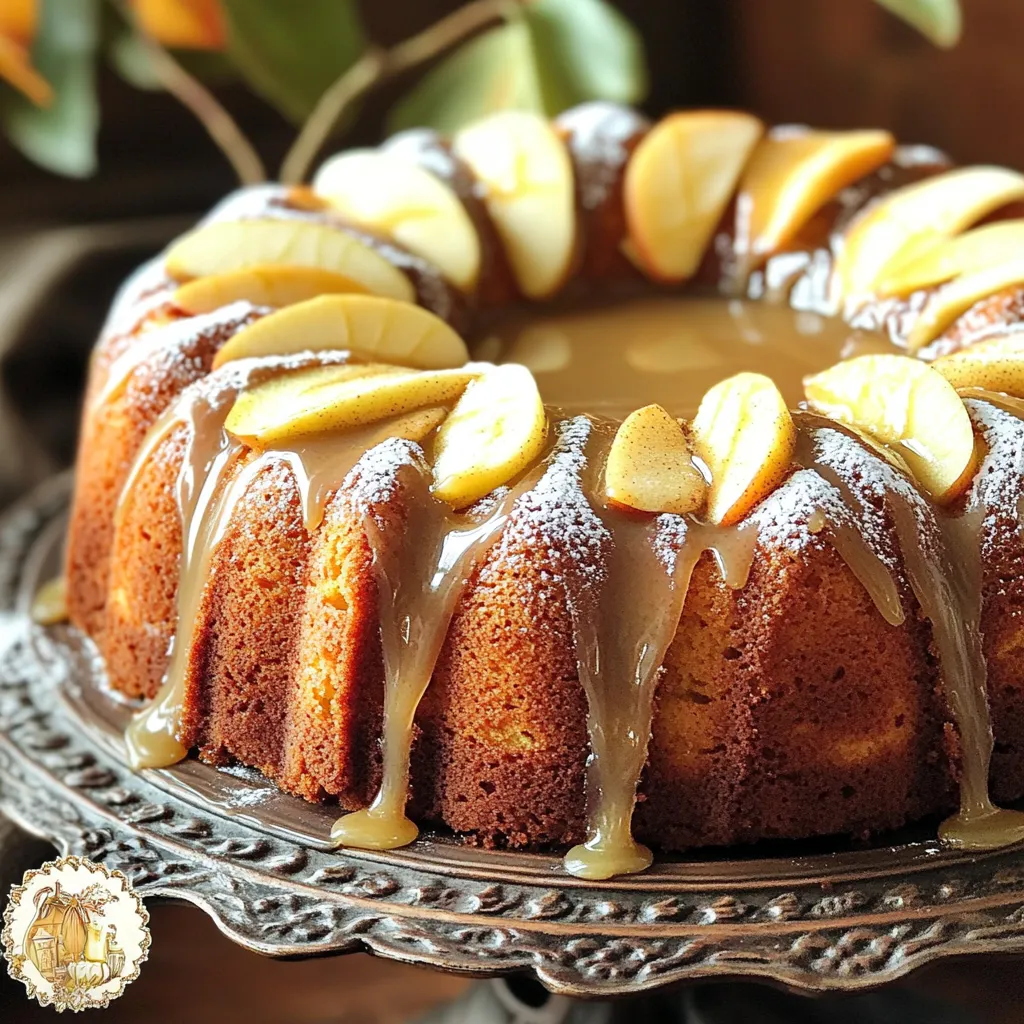
Get ready to fall in love with the rich, warm flavors of my Irresistible Apple Cider Pound Cake with Glaze! This easy recipe combines classic pound cake with the cozy taste of apple cider, making it perfect for any occasion. From the simple ingredients to the melt-in-your-mouth glaze, every bite is a celebration of autumn. Stick around for my step-by-step guide that guarantees your cake will be a showstopper!
Ingredients
Dry Ingredients
– 2 cups all-purpose flour
– 1 tablespoon baking powder
– ½ teaspoon baking soda
– ½ teaspoon salt
– 1 teaspoon ground cinnamon
– ¼ teaspoon ground nutmeg
Wet Ingredients
– 1 cup unsalted butter, softened
– 1 ½ cups granulated sugar
– 3 large eggs
– 1 teaspoon vanilla extract
– 1 cup apple cider
Glaze Ingredients
– ½ cup powdered sugar
– 2 tablespoons apple cider
The key to making a great apple cider pound cake is in the ingredients. Each one plays an important role in taste and texture.
Dry Ingredients: The flour gives the cake its structure. Baking powder and baking soda help it rise. Salt brings out all the flavors. The spices, like cinnamon and nutmeg, add warmth and depth.
Wet Ingredients: Butter makes the cake rich and moist. Sugar adds sweetness and helps create a nice crumb. The eggs bind everything together. Vanilla extract gives a lovely aroma, while apple cider adds a sweet, fruity note.
Glaze Ingredients: The glaze is simple but so tasty. Powdered sugar makes it sweet and smooth, while apple cider adds flavor. It creates a beautiful finish on the cake, making it even more appealing.
Using fresh apple cider will enhance the flavor, making this cake truly special. Make sure to set everything out before you start. This way, you can mix the ingredients easily and enjoy the process!
Step-by-Step Instructions
Preparation Steps
1. Preheat your oven to 350°F (175°C). Grease and flour a 9×5 inch loaf pan. This helps the cake release easily after baking.
2. In a medium bowl, whisk together the dry ingredients: flour, baking powder, baking soda, salt, cinnamon, and nutmeg. This mix adds flavor and helps the cake rise. Set it aside for now.
3. In a large bowl, cream together 1 cup of softened butter and 1 ½ cups of granulated sugar. Use an electric mixer until the mix is light and fluffy. This step adds air to your batter, making it nice and soft.
Mixing the Batter
1. Add 3 large eggs to the butter and sugar mix, one at a time. Mix well after each egg. Then, stir in 1 teaspoon of vanilla extract. This adds a lovely flavor to your cake.
2. Gradually add the dry mix to the wet mix. Alternate this with 1 cup of apple cider. Start and end with the flour mix. Mix just until combined. Overmixing can make your cake tough.
3. Pour the batter into the prepared loaf pan. Use a spatula to smooth the top evenly. This ensures even baking.
Baking and Cooling
1. Bake in your preheated oven for 55-65 minutes. To check for doneness, insert a toothpick in the center. If it comes out clean, your cake is ready.
2. Once baked, let the cake cool in the pan for about 10 minutes. This helps it firm up and makes it easier to transfer.
3. Carefully transfer the cake to a wire rack to cool completely. This allows air to circulate around the cake, preventing sogginess.
Tips & Tricks
Achieving the Perfect Texture
To get the best texture, mixing is key. Start by creaming the butter and sugar well. This step adds air, making your cake light. Mix until the blend is fluffy and pale.
Using room temperature ingredients is also important. Cold ingredients can make the batter heavy. Let your butter and eggs sit out for about 30 minutes before you start. This small step leads to a cake with the right fluffiness.
Enhancing Flavor
Choosing the right apple cider can greatly enhance your flavor. Look for fresh, unfiltered apple cider. This type gives a rich, bold taste.
You can also add spices to boost the flavor. Ground cinnamon is a must, but nutmeg adds warmth. Consider a pinch of allspice or cardamom for a unique twist. These spices create layers of flavor that will surprise your taste buds.
Glaze Tips
For the glaze, the right consistency is key. It should be thick but pourable. Mix powdered sugar with apple cider until smooth. If it’s too runny, add more sugar. If it’s too thick, add a bit more cider.
When drizzling the glaze, start from the center of the cake. Let it flow over the edges for a beautiful look. Use a spoon or a small pitcher for control. This makes your pound cake look as good as it tastes.
Variations
Flavor Variations
You can make this cake even more fun by adding nuts or dried fruits. Chopped walnuts or pecans add a nice crunch. Dried cranberries or raisins bring a sweet note. You could also try adding different spices. Cardamom adds a warm, unique flavor. Just remember to keep the spice balance in mind.
Healthier Alternatives
If you want a healthier version of this cake, you can use whole wheat flour instead of all-purpose flour. This swap adds fiber and nutrients. You can also reduce the sugar content. Try using only one cup of sugar instead of one and a half. The cake will still taste good and be a bit lighter.
Dietary Modifications
For gluten-free options, use a gluten-free flour blend. This will help the cake rise well and keep it soft. If you want a vegan version, replace the eggs. You can use flaxseed meal or applesauce in their place. Just mix one tablespoon of flaxseed with three tablespoons of water for each egg. These swaps let everyone enjoy this tasty treat.
Storage Info
Storing the Pound Cake
To keep your apple cider pound cake fresh, wrap it tightly in plastic wrap. This helps prevent it from drying out. Place it in an airtight container or a zip-top bag. Store the cake in the fridge if you plan to eat it within a week. If you want to save it for longer, freezing is a great option. Wrap it tightly in plastic, then cover with foil. This way, it can last up to three months in the freezer.
How Long Does it Last?
In the fridge, the pound cake can last about 5 to 7 days. At room temperature, it stays good for about 3 to 4 days. If you see any mold or a change in smell, it’s best to toss it out. A dry texture can also mean it’s time to say goodbye to the cake.
Reheating Tips
To enjoy your cake warm, use an oven or microwave. If you use an oven, preheat it to 350°F (175°C). Place the cake in for about 10 minutes. This will help keep the cake moist. In the microwave, heat a slice for about 15-20 seconds. Make sure to cover it with a damp paper towel. This keeps the cake from getting too dry. Serve it warm for the best taste!
FAQs
What makes pound cake different from other cakes?
Pound cake has a unique texture. It is dense and rich compared to other cakes. The classic recipe uses equal parts of flour, butter, sugar, and eggs. This balance gives it a heavy feel that many find comforting. Most cakes are lighter and fluffier. They often use baking soda or baking powder for lift. Pound cake relies on its own weight for structure. The addition of apple cider adds moisture and flavor, enhancing its appeal.
Can I use other liquids instead of apple cider?
Yes, you can use other liquids! Orange juice is a great choice for a fruity twist. It adds brightness and pairs well with spices. Milk can also work if you want a creamier texture. Each liquid will change the flavor slightly, so choose what you like best. You may even mix different liquids for fun combinations. Just remember, the essence of apple cider contributes to the cake’s fall flavor, so use alternatives that complement it.
How can I prevent my pound cake from being dense?
To avoid a dense pound cake, follow a few key tips. First, use room temperature ingredients. Cold butter or eggs can lead to a heavy batter. Next, cream the butter and sugar well. This step adds air and makes the cake lighter. Also, be careful when mixing. Over-mixing can develop gluten, making the cake tough. Finally, measure your flour correctly. Too much flour can lead to density. Use the spoon-and-level method for best results. These steps help create a light and fluffy pound cake that melts in your mouth.
You now have all the tools to make a delicious apple cider pound cake. We explored each ingredient, from the dry to the wet, ensuring you know how everything works together. I walked you through the steps to prepare, mix, and bake the cake perfectly. You’ve also learned tips for flavor, texture, and even variations to elevate your recipe. Remember, the right storage will keep your cake fresh. Enjoy baking, and share this delightful treat with friends and family. Your kitchen will smell amazing!