If you crave a meal that’s quick, tasty, and sure to impress, you’ve found it! Garlic Butter Shrimp made in an air fryer is a delightful dish packed with flavor. With just a few simple ingredients, like juicy shrimp and rich garlic butter, you can create a dinner that’s both easy and unforgettable. Join me as I guide you through this simple recipe—perfect for busy weeknights or special occasions!
Ingredients
Main Ingredients
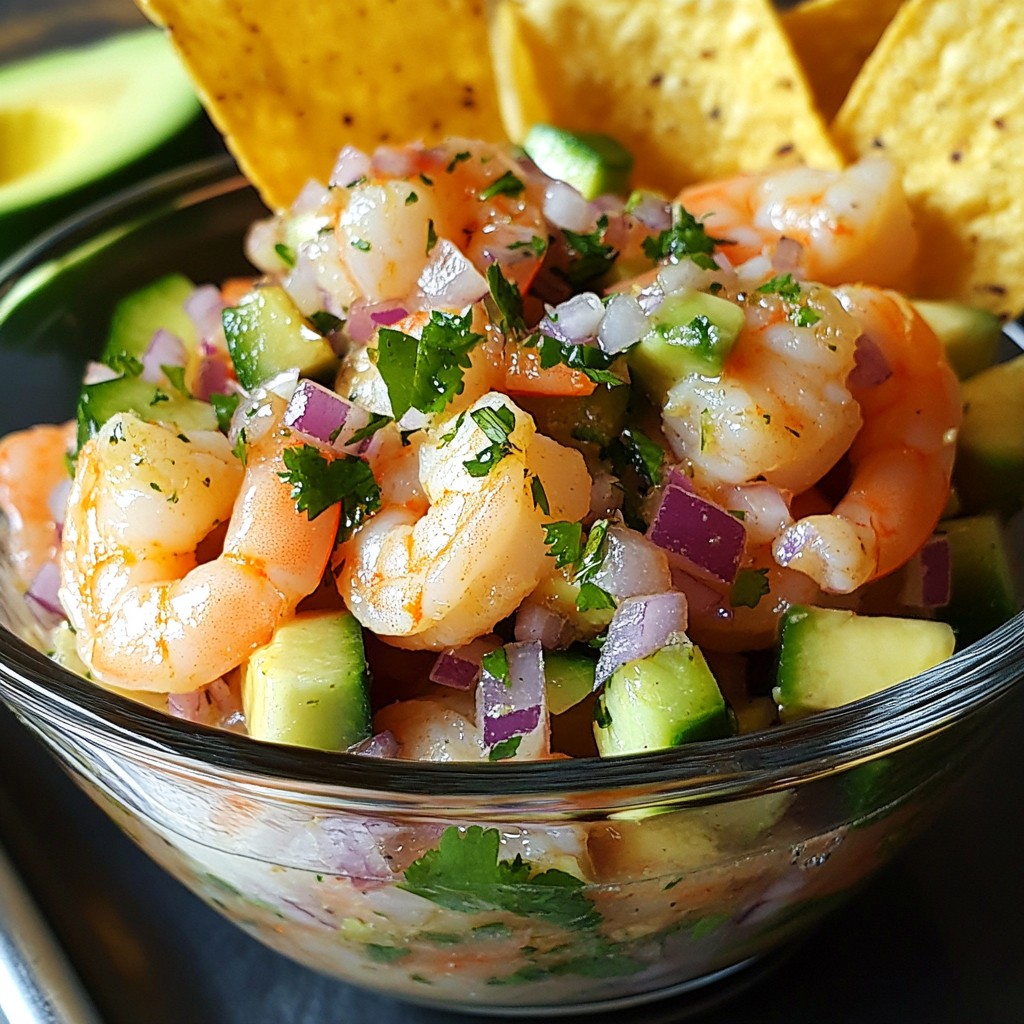
– 1 pound large shrimp, peeled and deveined
– 4 tablespoons unsalted butter, melted
– 4 cloves garlic, minced
Seasoning Ingredients
– 1 teaspoon paprika
– 1 tablespoon lemon juice
– Salt and pepper, to taste
Garnish and Serving
– 1 teaspoon fresh parsley, chopped
– Lemon wedges, for serving
Gathering your ingredients is key to making garlic butter shrimp in the air fryer. First, I use large shrimp. They are sweet and juicy, perfect for this dish. I peel and devein them to make eating easy. Next, I melt unsalted butter. It adds richness and flavor.
I finely mince garlic. Fresh garlic brings an aromatic punch to the dish. I combine the garlic with paprika, lemon juice, salt, and pepper. Paprika gives a warm color and a slight kick. The lemon juice brightens the entire dish.
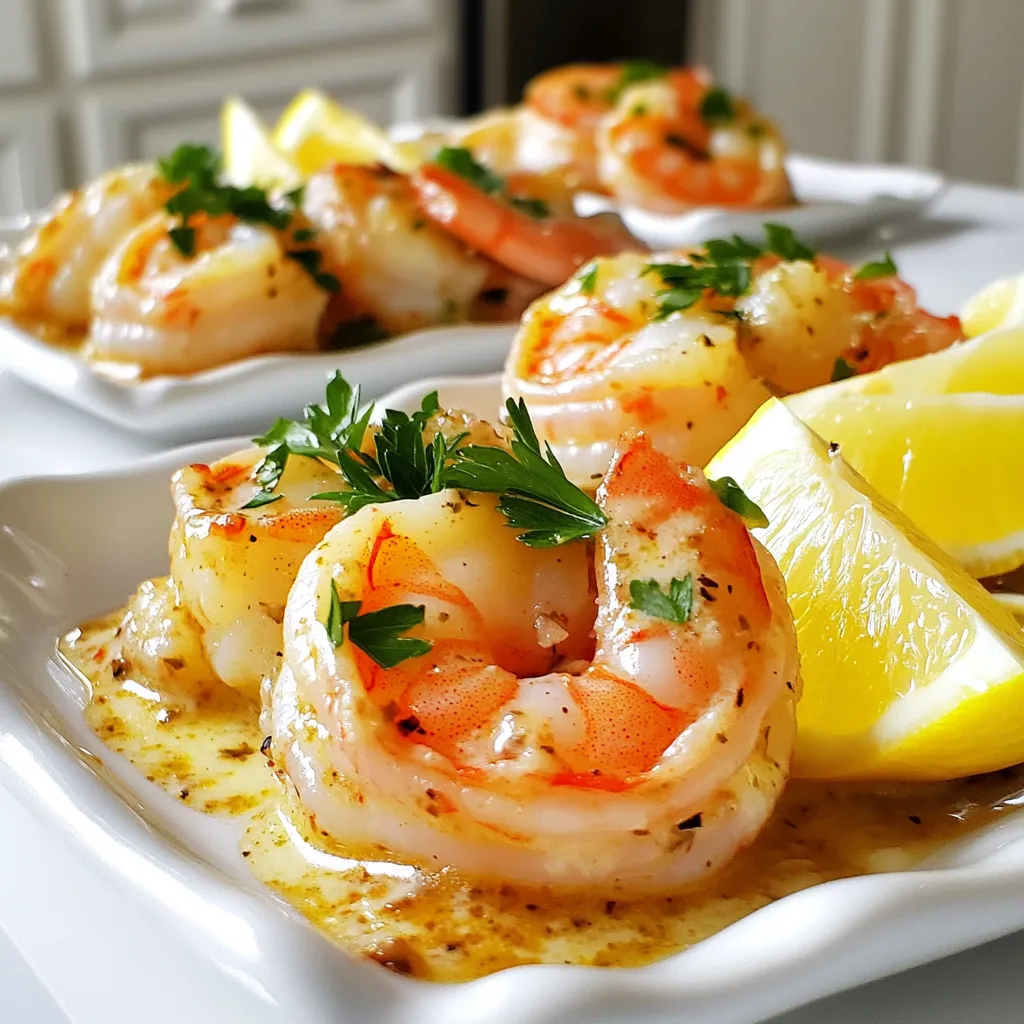
For the finishing touch, I chop fresh parsley to sprinkle on top. It adds a fresh taste and a nice pop of color. Finally, I serve lemon wedges on the side. They add a zesty twist when squeezed over the shrimp.
With these simple ingredients, you can create a flavorful delight that impresses everyone!
Step-by-Step Instructions
Preparation Steps
– In a large bowl, combine melted butter, minced garlic, paprika, lemon juice, salt, and pepper.
– Mix well until all ingredients blend smoothly.
– Add the peeled and deveined shrimp to the bowl. Toss them in the garlic butter mixture until they are evenly coated.
– Let the shrimp marinate for about 15 minutes to soak in the flavors.
Air Frying Steps
– Preheat your air fryer to 400°F (200°C) for about 5 minutes.
– Once it is hot, arrange the marinated shrimp in a single layer in the air fryer basket.
– Avoid overcrowding; you may need to cook in batches.
Cooking Details
– Cook the shrimp for 6-8 minutes.
– Shake the basket halfway through to ensure even cooking.
– The shrimp will turn pink and opaque when done.
– Remove them from the air fryer and sprinkle with chopped fresh parsley for added flavor.
– Serve immediately with lemon wedges on the side.
Tips & Tricks
Marinating Suggestions
Letting shrimp marinate for 15 minutes is key. This step allows the shrimp to soak up the flavors. The garlic and butter blend with the shrimp, making every bite tasty. If you don’t have lemon juice, try vinegar or lime juice. Both add a fresh kick without losing flavor.
Cooking Techniques
When cooking shrimp, spread them in a single layer in the air fryer basket. This helps them cook evenly. If the shrimp are crowded, they may steam instead of fry. Adjust the cooking time based on shrimp size. Larger shrimp may need a minute or two more.
Serving Suggestions
Garlic butter shrimp pairs well with many side dishes. Try serving it with rice, pasta, or a simple salad. You can also get creative with garnishing. Fresh herbs like parsley or chives add color and flavor. A sprinkle of paprika or a squeeze of lemon juice can enhance the dish even more.
Variations
Different Seasoning Ideas
You can spice things up in many ways. For a kick, try adding red pepper flakes. This will give your garlic butter shrimp some heat. If you crave a different flavor, go for an Asian twist. Use soy sauce instead of salt for a unique taste. Both options bring new life to this classic dish.
Healthy Alternatives
If you want a lighter meal, swap butter for olive oil. It still tastes great and makes it healthier. Now, let’s talk about shrimp. You can use fresh or frozen shrimp. Fresh shrimp often taste better, but frozen shrimp are super convenient. Both types work well, so choose what fits your needs.
Serving Style Variations
Get creative with how you serve your shrimp! You can make tasty tacos with the garlic butter shrimp. Just add some fresh veggies and a drizzle of sauce. If you prefer something heartier, serve the shrimp over rice or pasta. This makes a full meal that is satisfying and delicious.
Storage Info
Storing Leftovers
To store leftover garlic butter shrimp, let them cool first. Place the shrimp in a shallow, airtight container. This helps keep them fresh. You can also use a resealable bag. Squeeze out any extra air before sealing. Store the shrimp in the fridge for up to three days.
Reheating Instructions
The best way to reheat garlic butter shrimp is in the air fryer. Set the air fryer to 350°F (175°C). Heat for about 4-5 minutes, shaking halfway. This keeps the shrimp tender and juicy. You can also use a microwave. Heat in short bursts to avoid overcooking. A skillet works, too; just heat gently over low heat.
Freezing Tips
You can freeze garlic butter shrimp, but there are some tips. Make sure to store them in a freezer-safe container. Use a vacuum sealer if you have one. This helps avoid freezer burn. For best results, eat the shrimp within three months. When you’re ready to eat, thaw the shrimp in the fridge overnight. This helps keep the flavor intact. Avoid using hot water for thawing, as it can change the texture.
FAQs
How long does it take to cook shrimp in an air fryer?
It takes about 6-8 minutes to cook shrimp in an air fryer at 400°F (200°C). The time can change based on the size of the shrimp. Larger shrimp might take a bit longer, while smaller shrimp will cook faster. It’s key to check them at the 6-minute mark. They should be pink and opaque when done.
Can I use frozen shrimp for this recipe?
Yes, you can use frozen shrimp! Just make sure to thaw them first. To thaw, place the shrimp in a bowl of cold water for about 15-20 minutes. After thawing, drain and pat them dry. This step ensures the garlic butter mixture sticks well to the shrimp.
What can I serve with garlic butter shrimp?
Garlic butter shrimp pairs well with many sides. Consider serving it with:
– Steamed rice for a simple base.
– Garlic bread for a flavorful touch.
– A fresh salad for crunch.
– Zucchini noodles for a lighter option.
– Roasted vegetables for added nutrition.
These sides enhance the meal and make it even more delicious!
In this blog post, we explored how to make delicious garlic butter shrimp. We covered the key ingredients, preparation steps, and air frying techniques. I shared tips on marinating, cooking, and serving to enhance flavor. You can also try variations or make healthy alternatives. Remember, storing and reheating shrimp properly keeps it fresh. Enjoy your tasty shrimp, paired perfectly with your favorite sides. Simple steps lead to a great meal that everyone will love. Happy cooking!