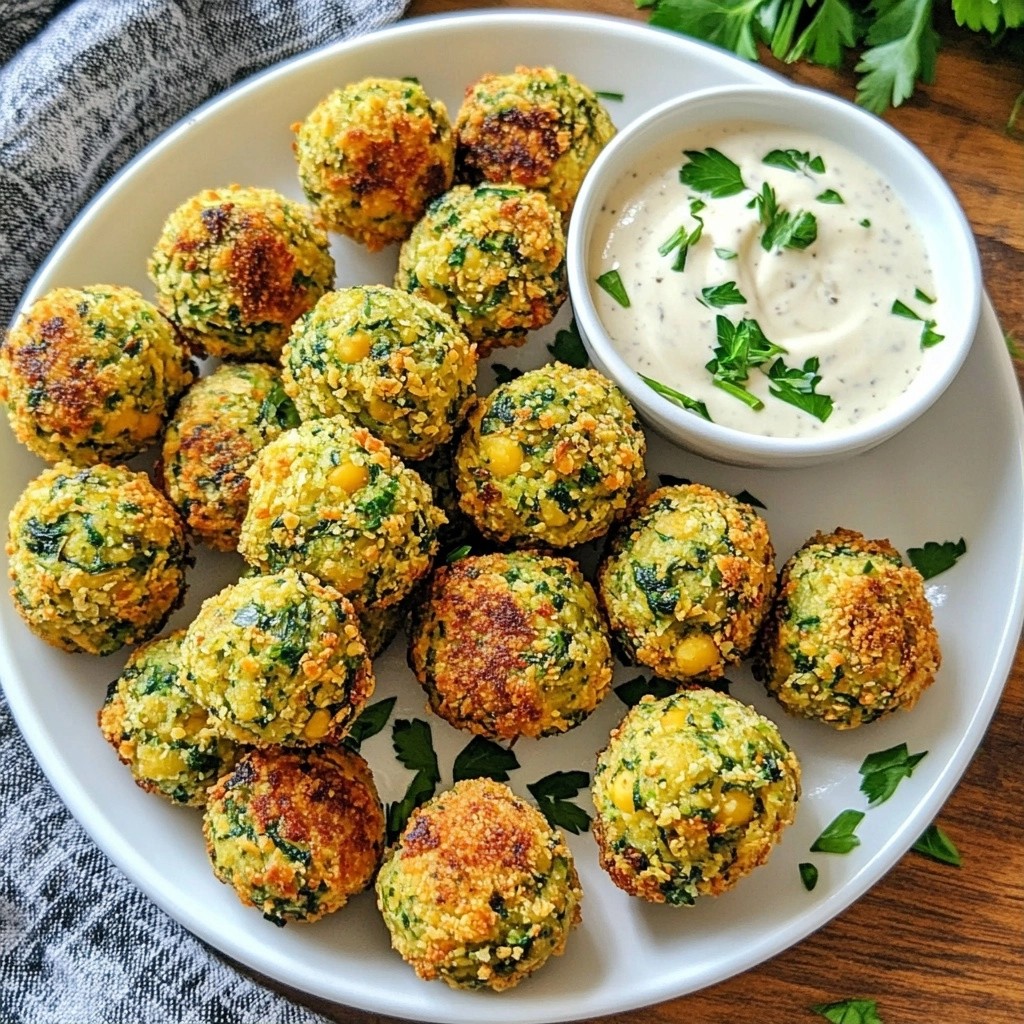
Looking for a tasty and healthy holiday snack? You’ll love these Crispy Holiday Chickpea and Spinach Balls! They’re packed with flavor and easy to make, perfect for gatherings or cozy nights at home. In this article, I’ll guide you through every step, from choosing the freshest ingredients to baking tips. Plus, I’ll share fun variations and storage tips to keep them delicious. Let’s get cooking!
Why I Love This Recipe
- Healthy Ingredients: These chickpea and spinach balls are packed with protein, fiber, and vitamins, making them a nutritious option for any holiday gathering.
- Versatile Flavor: The combination of spices and herbs adds a delicious depth of flavor, making these bites enjoyable for everyone, regardless of dietary preferences.
- Easy to Make: With simple ingredients and straightforward steps, these balls can be prepared in no time, perfect for busy holiday schedules.
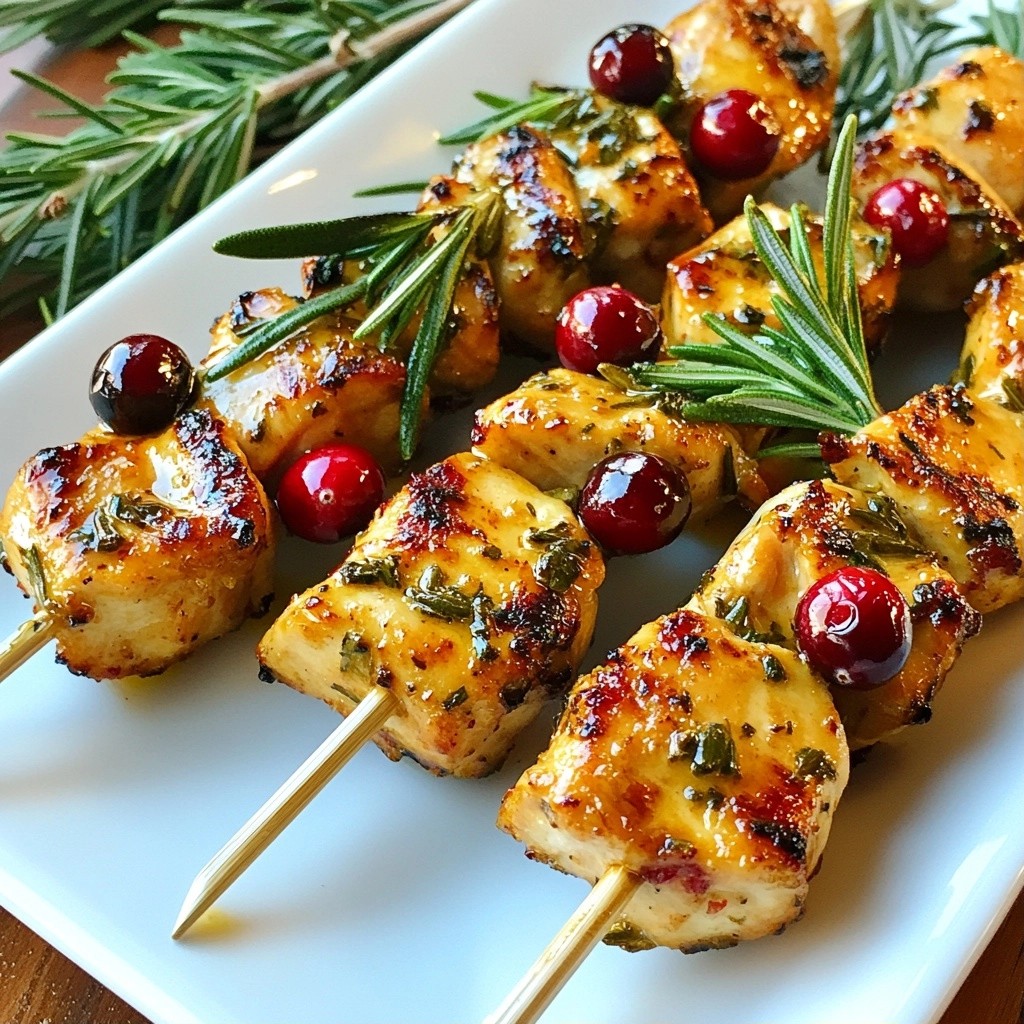
- Festive Presentation: These crispy balls make for a beautiful and inviting appetizer, especially when served on a colorful platter with dips.
Ingredients
Detailed Ingredient List
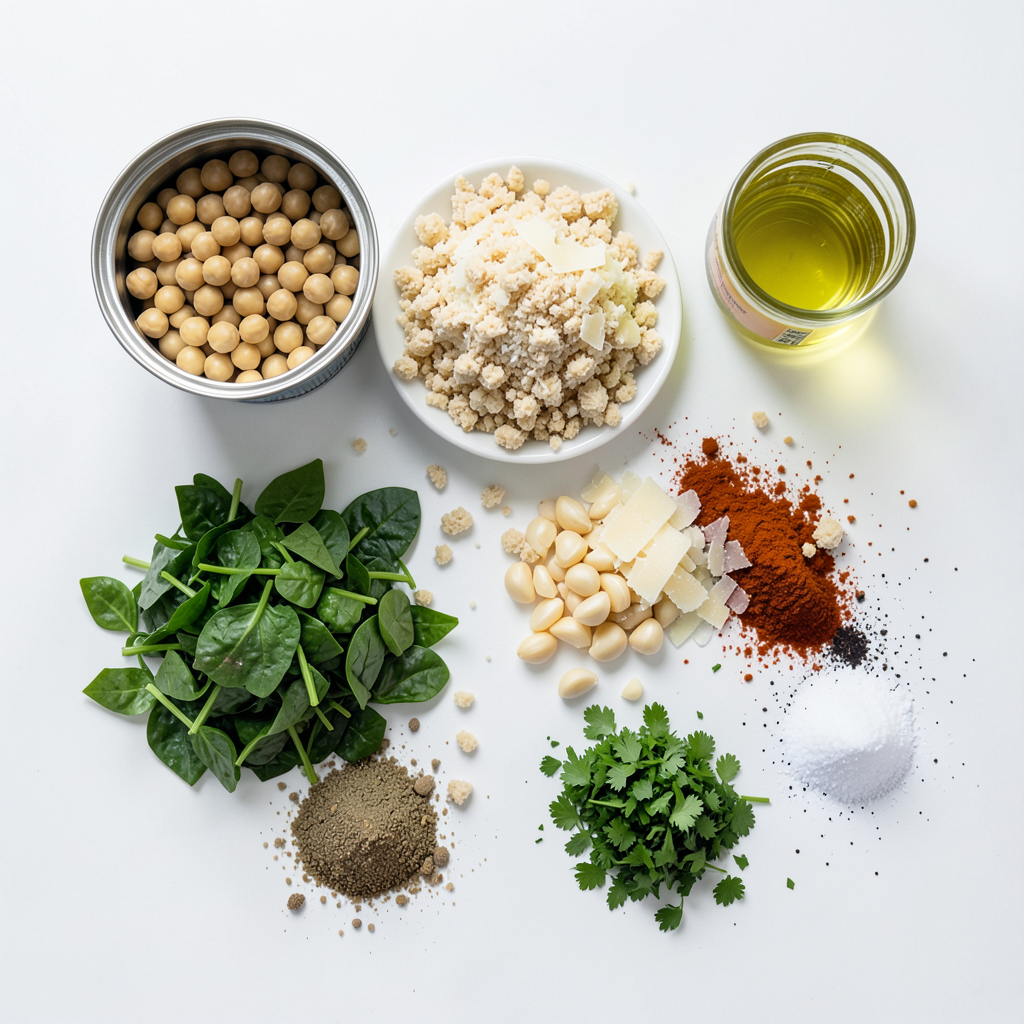
To make crispy holiday chickpea and spinach balls, gather these ingredients:
- 1 can (15 oz) chickpeas, drained and rinsed
- 2 cups fresh spinach, chopped
- 1 cup breadcrumbs (preferably whole wheat)
- 1/4 cup grated Parmesan cheese (or nutritional yeast for a vegan option)
- 2 cloves garlic, minced
- 1 teaspoon ground cumin
- 1 teaspoon paprika
- 1/2 teaspoon chili powder (optional for heat)
- 1/4 cup fresh parsley, chopped
- 1 egg (or flax egg for a vegan option)
- Salt and pepper to taste
- Olive oil, for brushing
Ingredient Substitutions
You can adjust this recipe to fit your diet or taste. Here are some substitutions:
- Vegan Options: Use nutritional yeast instead of Parmesan cheese. Replace the egg with a flax egg (1 tablespoon of ground flaxseed mixed with 2.5 tablespoons of water).
- Gluten-Free Options: Use gluten-free breadcrumbs to keep it gluten-free. You can also use oats or crushed rice cakes as a binder.
Tips for Choosing Fresh Ingredients
Choosing fresh ingredients is key for great flavor. Here are my tips:
- Chickpeas: Look for cans with no added salt. Dry chickpeas work too, but they need soaking.
- Spinach: Select bright green leaves with no wilting or browning. Baby spinach is tender and works well.
- Garlic: Choose firm bulbs with no sprouts. Fresh garlic adds a strong, lovely flavor.
- Parsley: Fresh parsley should be vibrant and fragrant. Avoid yellow or wilted leaves.
These tips help ensure your chickpea and spinach balls are not just crispy but packed with flavor!
Step-by-Step Instructions
Preparation and Prepping the Oven
First, set your oven to 400°F (200°C). This heat is perfect for getting those chickpea and spinach balls nice and crispy. Line a baking sheet with parchment paper. This step stops the balls from sticking. It also makes for easy cleanup later.
Mixing and Forming the Balls
Grab a large mixing bowl and add your drained and rinsed chickpeas. Use a fork or potato masher to mash them. Leave some chunks for texture. Next, toss in the chopped spinach, breadcrumbs, and grated Parmesan cheese. Add minced garlic, ground cumin, paprika, and chili powder if you want some heat. Don't forget the chopped parsley and your egg (or flax egg). Season with salt and pepper to taste. Mix everything well. If it feels too wet, add more breadcrumbs until it holds its shape.
Now comes the fun part! Use your hands to form small balls, about 1.5 inches in diameter. Place them on the lined baking sheet.
Baking Process and Techniques to Ensure Crispiness
Lightly brush the tops of the balls with olive oil. This helps them crisp up in the oven. Bake for 20-25 minutes. Remember to flip them halfway through to get even cooking. Look for a golden brown color. That’s when they are done! Take them out and let them cool a bit before serving. Enjoy your crispy holiday chickpea and spinach balls!
Tips & Tricks
Best Practices for Avoiding Soggy Balls
To keep your chickpea and spinach balls crispy, the mix must not be too wet. After mashing the chickpeas, check the texture. If it feels moist, add more breadcrumbs. You want a firm mixture that holds its shape. Lightly brush the balls with olive oil before baking. This helps them get that nice crunch. Flip them halfway through baking to get an even crisp on all sides.
Flavor Enhancements (additional spices or herbs)
Want to boost the flavor? Add more spices! Try some garlic powder or onion powder for extra depth. A pinch of black pepper adds a nice kick. You can also mix in dried herbs like oregano or thyme for a fresh taste. For a zesty twist, add lemon zest to brighten the flavors. This makes the dish more exciting!
Serving Suggestions and Dips to Pair
Serve your chickpea and spinach balls on a festive platter. They look great with a sprinkle of fresh parsley. For dips, tahini sauce is a perfect match. You can also serve them with yogurt or a spicy sauce. These dips add creaminess and extra flavor. Enjoy them warm for the best taste!
Pro Tips
- Use Fresh Spinach: Fresh spinach provides the best flavor and texture. If using frozen, make sure to thoroughly drain and squeeze out excess moisture.
- Adjust Consistency: If the mixture is too wet, add more breadcrumbs gradually until you reach a shapeable consistency for the balls.
- Perfectly Crispy: Brushing the tops with olive oil is key for achieving a golden, crispy exterior. Don't skip this step!
- Flavor Boost: Experiment with additional spices like oregano or onion powder for more flavor depth in your chickpea and spinach balls.
Variations
Alternate Ingredients (different vegetables, legumes)
You can mix it up by using different veggies or legumes. Try black beans instead of chickpeas for a unique twist. Sweet potatoes or grated carrots add sweetness and color. You can also swap spinach for kale or Swiss chard. These changes keep the recipe fresh and fun.
Gluten-Free Option with Alternative Binders
If you want a gluten-free option, use gluten-free breadcrumbs or ground oats. You can also add mashed ripe bananas or applesauce as binders. They help hold everything together while keeping it moist. This way, everyone can enjoy these tasty bites!
Seasonal Variations (adding cranberries or nuts)
Seasonal flavors add extra joy to these spinach balls. In fall or winter, adding dried cranberries gives a sweet touch. Chopped nuts, like walnuts or pecans, add crunch and richness. These small changes make your dish festive and special for any holiday gathering.
Storage Info
How to Store Leftovers
To keep your crispy holiday chickpea and spinach balls fresh, store them in an airtight container. Make sure they cool down first to avoid steam buildup. Place parchment paper between layers to prevent sticking. They will stay good in the fridge for about three days.
Freezing Tips for Chickpea Balls
You can freeze these delicious balls for later! First, let them cool completely. Then, place them on a baking sheet in a single layer. Freeze them for about an hour until solid. After that, transfer the balls to a freezer-safe bag or container. They can last up to three months in the freezer. Just label the bag with the date for easy tracking.
Reheating Guidelines for Maintain Crispiness
To reheat and keep them crispy, use the oven. Preheat it to 375°F (190°C). Place the chickpea balls on a baking sheet and heat for about 10-15 minutes. This will help them regain their crunch. Avoid using the microwave, as it can make them soggy. Enjoy your tasty snack just like fresh!
FAQs
Can I make these chickpea balls ahead of time?
Yes, you can make these chickpea balls ahead of time. Prepare them up to the point of baking. After forming the balls, place them on a baking sheet. Cover and store them in the fridge for up to two days. When you're ready to bake, just pop them in the oven. For longer storage, freeze the formed balls on a baking sheet first. Once they are frozen, transfer them to a bag. They can last in the freezer for up to three months. Just bake them straight from the freezer, adding a few extra minutes to the cooking time.
What can I use instead of breadcrumbs?
If you need an alternative to breadcrumbs, there are several options. You can use crushed crackers or cornflakes. Panko is a great choice too. For a gluten-free option, try ground oats or almond flour. You can also use ground flaxseeds mixed with water as a binding agent. This adds nutrition while keeping the balls together. No matter what you choose, these swaps work well and keep the flavor intact.
How do I make these chickpea balls spicier?
To add some heat, you can increase the chili powder in the recipe. You might also add diced jalapeños or crushed red pepper flakes. For an extra kick, try adding a dash of hot sauce to the mixture. Remember to taste as you go. Adjusting the spice level to your liking makes these chickpea balls more enjoyable. Experiment until you find your perfect heat level!
We explored how to make tasty chickpea balls from start to finish. We discussed key ingredients, useful tips, and fun variations to try. You learned how to prep, bake, and serve them. Storing and reheating tips help keep your dish fresh. Remember, you can customize the flavors and ingredients. Enjoy your cooking and share your tasty results with friends!