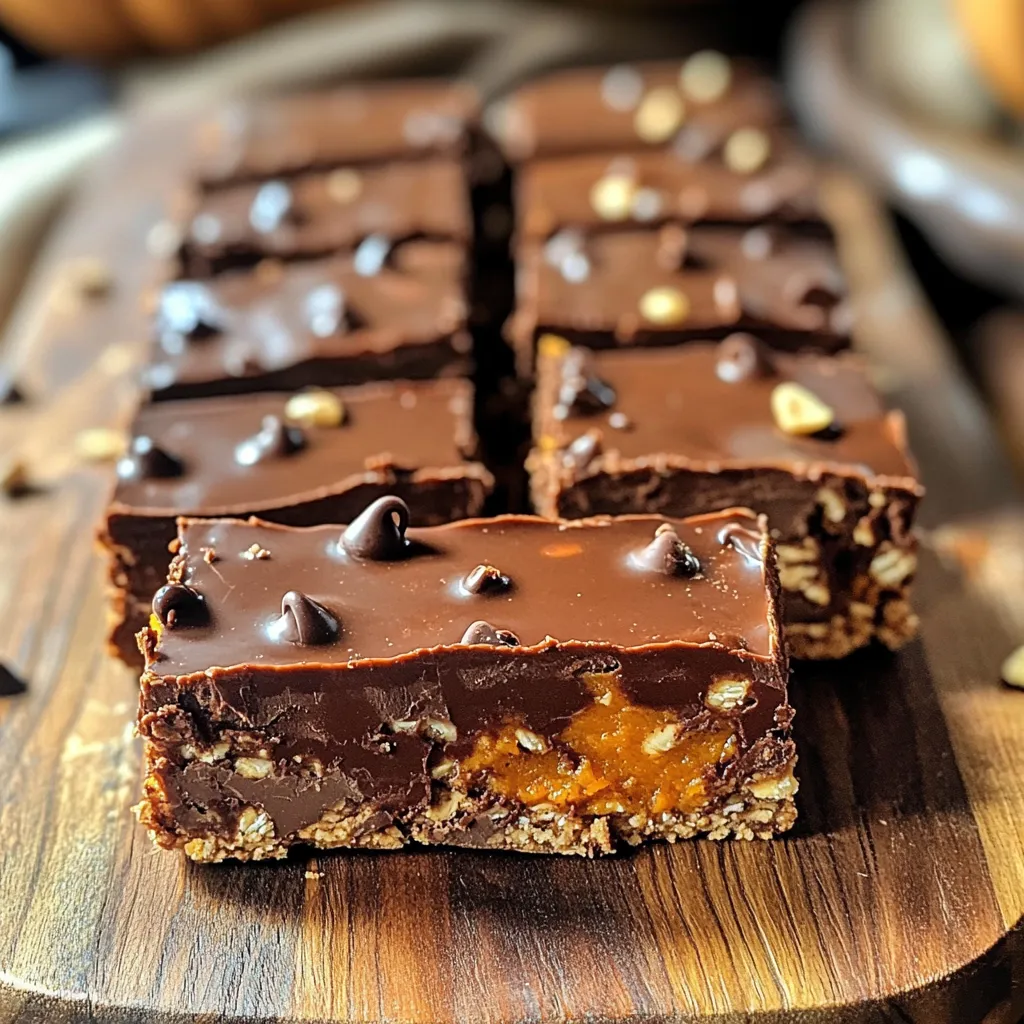
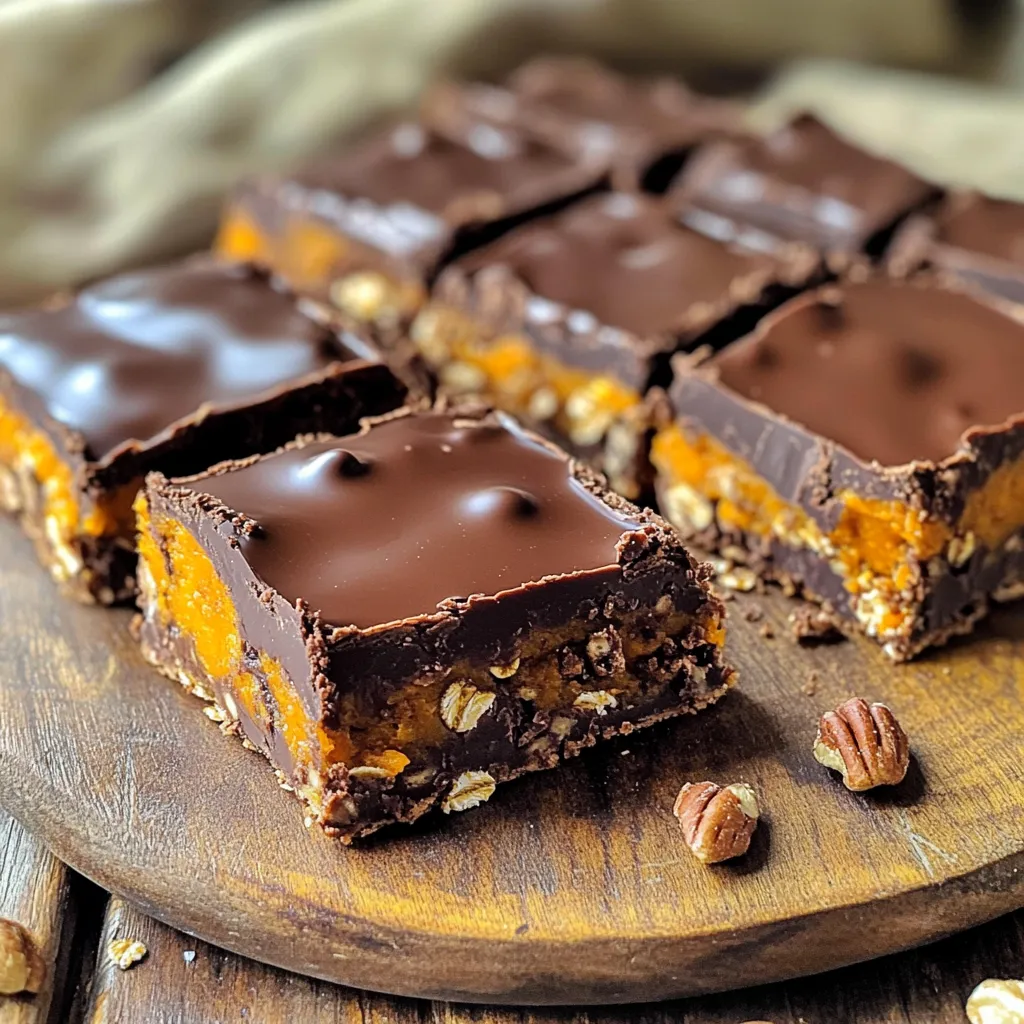
Craving a sweet treat that’s both easy and healthy? You’ve come to the right place! These Chocolate Pumpkin Oat Bars are delicious, no-bake, and packed with good ingredients. In just a few simple steps, you can whip up a snack that satisfies your sweet tooth and fuels your day. Let’s dive into this fun recipe that combines chocolate and pumpkin for the ultimate flavor burst!
Ingredients
Here is the list of ingredients you will need for these delicious Chocolate Pumpkin Oat Bars:
– 1 cup rolled oats
– 1/2 cup pumpkin puree
– 1/2 cup almond butter (or any nut butter)
– 1/4 cup honey or maple syrup
– 1/4 cup unsweetened cocoa powder
– 1/2 teaspoon vanilla extract
– 1/4 teaspoon cinnamon
– 1/4 teaspoon salt
– 1/4 cup chocolate chips (or dark chocolate chunks)
– 1/4 cup chopped nuts (optional, such as walnuts or pecans)
Using quality ingredients makes a big difference in taste. The rolled oats give great texture, while pumpkin puree adds moisture and flavor. Almond butter or any nut butter provides healthy fats. Honey or maple syrup offers natural sweetness.
Unsweetened cocoa powder gives a rich, chocolatey taste without extra sugar. Vanilla extract and cinnamon enhance the flavor profile. Finally, salt balances the sweetness, and chocolate chips provide a delightful treat.
Feel free to get creative! You can swap out nut butters or sweeteners. Adding chopped nuts can give a nice crunch. This recipe is flexible, making it fun to adjust to your taste!
Step-by-Step Instructions
Preparing the Base Mixture
First, gather all your ingredients. In a large bowl, mix rolled oats, pumpkin puree, and almond butter. Next, add honey, cocoa powder, vanilla extract, cinnamon, and salt. Use a spatula to blend everything together. The mixture should be thick and sticky, like dough. If it feels too dry, add a bit more pumpkin puree. If it’s too wet, add extra oats. This base is the heart of your bars.
Adding Chocolate and Nuts
Now, it’s time to add some fun! Fold in the chocolate chips gently. If you want a crunch, mix in chopped nuts like walnuts or pecans. Make sure to spread them evenly throughout the mixture. This step adds flavor and texture, making each bite exciting.
Setting the Bars
Next, prepare to transfer your mixture. Line an 8×8 inch pan with parchment paper, leaving some paper hanging over the sides. This makes it easy to lift out later. Pour your mixture into the pan. Use your hands or the back of a spatula to press it down firmly. This step is key for even distribution. Make sure it’s compact so the bars hold together.
Chilling Process
Now comes the important part: chilling. Place the pan in the fridge for at least 2 hours. This helps the bars set and firm up. If you skip this step, your bars may crumble. Trust me, waiting is worth it for a great texture!
Cutting the Bars
Once the bars are firm, it’s time to cut them. Carefully lift the mixture out of the pan using the parchment paper. Place it on a cutting board. Use a sharp knife to cut it into squares or rectangles. Aim for about 12 bars for perfect serving sizes. Enjoy your tasty treats!
Tips & Tricks
Perfecting the Texture
To get the right texture in your bars, the nut butter plays a big role. If you want a creamier mix, use almond butter. For a firmer texture, try a thicker nut butter like peanut butter. When mixing, make sure everything blends well. The mix should feel thick and sticky, not runny.
To achieve firmness, chilling is key. After pressing the mixture into the pan, let it set in the fridge for at least two hours. This helps the bars hold their shape when you cut them. If your bars are too soft, consider adding more oats or nut butter next time.
Flavor Enhancements
Spices can take your bars to the next level. A pinch of nutmeg or ginger adds warmth. If you like a sweeter treat, adjust the honey or maple syrup. Start with the amount in the recipe, then taste. If you want it sweeter, add a bit more.
You can also try adding extracts. A touch of almond or peppermint extract can surprise your taste buds. Just remember that a little goes a long way.
Serving Suggestions
These bars pair well with yogurt or fresh fruit. For a fun twist, serve them with a drizzle of honey or a sprinkle of nuts on top.
For presentation, slice the bars into fun shapes. Use cookie cutters for stars or hearts. This makes them more appealing, especially for kids. You can also stack them for a lovely display.
Variations
Alternative Flavor Profiles
You can easily change up the flavor of your Chocolate Pumpkin Oat Bars. One fun option is to create a pumpkin spice version. Just add a bit more cinnamon and a pinch of nutmeg. This small change boosts the fall flavors!
Another great idea is to add fruit purées. You can try using mashed banana or applesauce. These add natural sweetness and moisture. If you want some crunch, consider adding chopped nuts. Walnuts or pecans work well here. They give texture and extra flavor.
Dietary Substitutions
If you have dietary needs, you can still enjoy these bars. For a vegan option, swap honey for maple syrup. This makes your bars fully plant-based.
If you need a nut-free recipe, use sunflower seed butter instead of almond butter. This keeps the bars creamy without nuts. You can also look for low-sugar options. Use a sugar substitute that measures like sugar. This way, you can lower the sugar content without losing taste.
Storage Info
Refrigeration Guidelines
To keep your chocolate pumpkin oat bars fresh, store them in an airtight container. This helps avoid moisture and keeps them from drying out. Place a piece of parchment paper between layers if you stack them. These bars stay fresh in the fridge for up to one week.
Freezing Instructions
If you want to enjoy these bars longer, freezing is a great option. First, cut the bars into desired sizes. Wrap each piece tightly in plastic wrap. Then, place them in a freezer-safe bag or container. This method keeps them tasty and prevents freezer burn.
To thaw, simply take out a bar and let it sit at room temperature for about 15 minutes. You can also microwave it for 10-15 seconds. Serve chilled or at room temperature for the best taste.
FAQs
Can I substitute pumpkin puree?
Yes, you can use other options. Sweet potato puree works well and has a similar taste. You can also try applesauce for a lighter texture. Using these options may change the flavor slightly. Sweet potatoes add a richer taste, while applesauce brings more sweetness.
How long do these bars last?
These bars stay fresh for about one week in the fridge. Store them in an airtight container to keep them from drying out. If you freeze them, they can last up to three months. Just make sure to wrap them well to prevent freezer burn.
Can I add protein powder to the recipe?
Absolutely! Adding protein powder is easy. Use about 1/4 cup for a protein boost. You may need to adjust the liquid in the recipe to keep it moist. This can make the bars a bit denser but still tasty.
Now you know how to make tasty, healthy bars with simple ingredients. We covered everything from mixing oat and pumpkin puree to adding chocolate. I shared tips on making them just right and how to store or freeze them for later. You can easily change flavors or keep them vegan. Enjoy experimenting with these bars in various ways. Each bite will be simple and satisfying. Happy snacking!