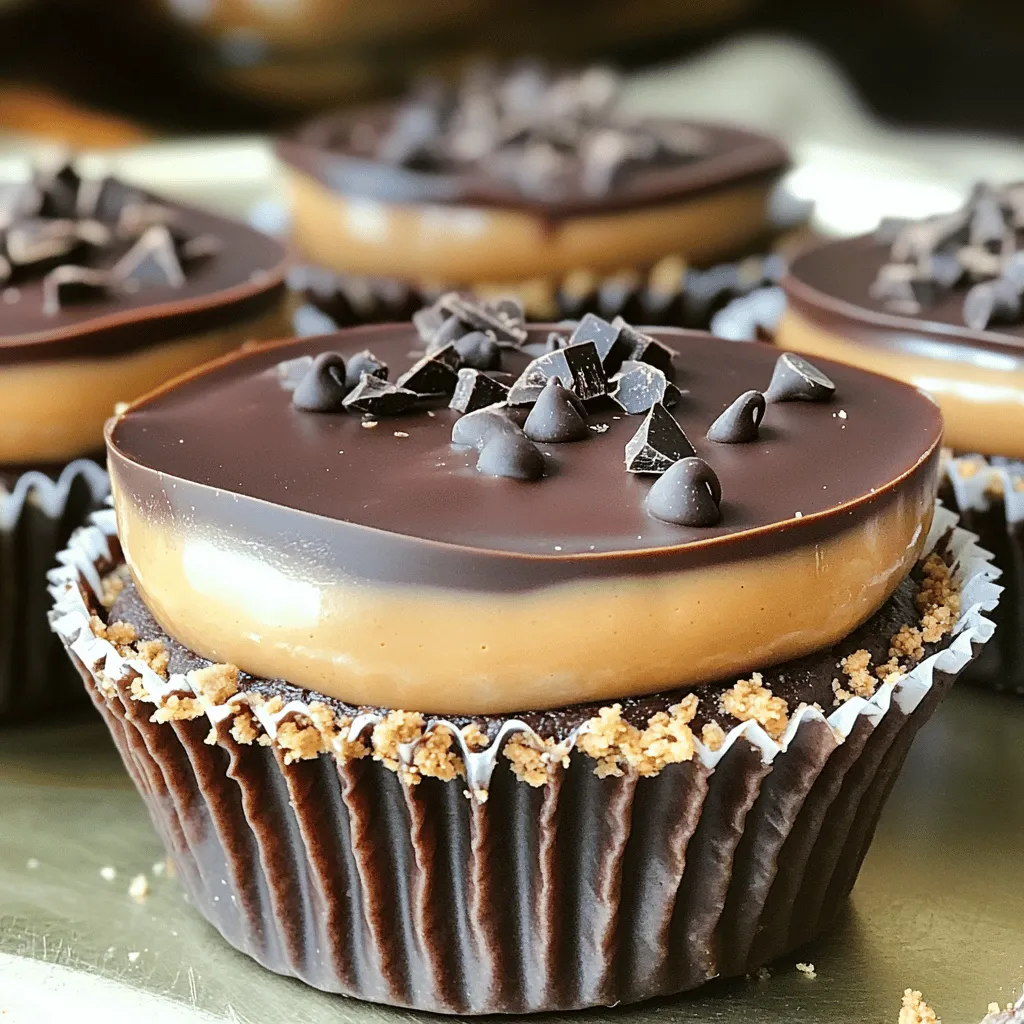
If you love chocolate and peanut butter, you’re in for a treat! My no-bake Chocolate Peanut Butter Pie Cups are simple to make and full of flavor. With just a few basic ingredients and easy steps, you can whip up this delightful dessert in no time. Perfect for hot days or last-minute gatherings, these pie cups are a crowd-pleaser that everyone will enjoy. Let’s dive into this delicious recipe!
Ingredients
To make these Chocolate Peanut Butter Pie Cups, you need a few simple ingredients. Each one plays a key role in creating that rich and creamy dessert you will love.
List of Ingredients
– 1 cup chocolate cookie crumbs
– 4 tablespoons unsalted butter, melted
– 1 cup creamy peanut butter
– 8 oz cream cheese, softened
– 1/2 cup powdered sugar
– 1 teaspoon vanilla extract
– 1 cup whipped topping (thawed)
– Chocolate shavings or mini chocolate chips for garnish
These ingredients come together to form a delightful treat. The chocolate cookie crumbs provide a crunchy base. The peanut butter and cream cheese mix creates a rich, creamy filling. Each bite is a perfect blend of sweet and salty.
Using unsalted butter allows you to control the saltiness of the dish. The whipped topping adds lightness, making the dessert feel airy. Finally, the chocolate garnishes give a nice touch, both in taste and presentation.
With just these ingredients, you can create a dessert that impresses everyone. Now, let’s get ready to make these delicious pie cups!
Step-by-Step Instructions
Preparation of the Crust
First, gather your ingredients for the crust. You need chocolate cookie crumbs and melted butter. In a bowl, mix the cookie crumbs and melted butter. Stir until the crumbs look like wet sand. This mix is your crust base.
Next, take cupcake liners and place them in a muffin tin. Use about 2 tablespoons of the crumb mix for each liner. Press it down firmly to form a solid crust. Make sure it is tight. This step is key for a sturdy base.
Making the Peanut Butter Filling
Now, let’s move on to the filling. In a clean bowl, beat together the creamy peanut butter and softened cream cheese. Add powdered sugar and vanilla extract. Mix until the mixture is smooth and creamy. This creates a rich filling.
Once it is smooth, gently fold in the thawed whipped topping. Be careful not to overmix; you want it light and airy. This will give your pie cups a fluffy texture.
Assembling the Pie Cups
For assembly, take the crusts you made earlier. Spoon the peanut butter mix into each crust. Fill them to just below the top. This helps keep the filling from overflowing.
After filling, it is time to refrigerate. Place the muffin tin in the fridge for at least 2 hours. This will help the pie cups set properly. Once they are firm, take them out and carefully remove the cupcake liners.
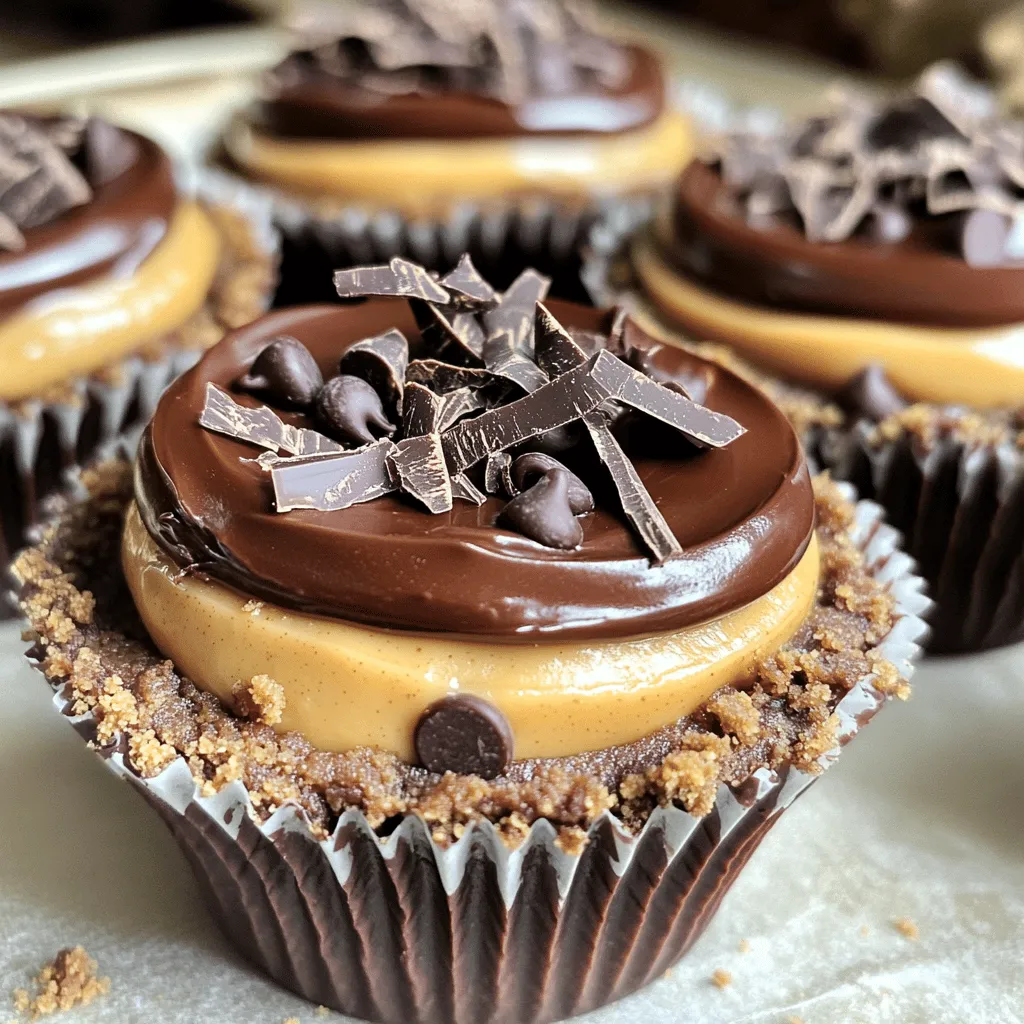
Now your chocolate peanut butter pie cups are ready for a tasty garnish. Add chocolate shavings or mini chocolate chips on top before serving. Enjoy every bite!
Tips & Tricks
Tips for Perfect Pie Cups
– Ensuring the crust is well-packed
To make a great crust, mix your chocolate cookie crumbs with melted butter well. This mix should feel like wet sand. When you press it into the cupcake liners, use your fingers or a small cup. Press down hard. A firm crust keeps the cups from falling apart.
– Achieving a smooth filling texture
For a smooth filling, beat the peanut butter, cream cheese, powdered sugar, and vanilla extract together. Mix until it’s creamy and free of lumps. When you fold in the whipped topping, do it gently. This keeps the filling light and fluffy.
Serving Suggestions
– Best ways to serve and present the dessert
Once your chocolate peanut butter pie cups are set, take them out of the muffin tin. Peel off the liners carefully. Place them on a nice plate. Adding chocolate shavings or mini chocolate chips on top makes them look fancy.
– Pairing options with beverages
These pie cups pair well with milk or coffee. A glass of cold milk makes the rich flavors pop. If you prefer coffee, try a light roast. It balances the sweetness nicely and enhances the taste.
Variations
Alternate Flavor Combinations
You can easily switch up the flavors in these pie cups. One fun idea is to add chocolate or caramel swirls. Just drizzle some melted chocolate or caramel on top of the peanut butter filling. Then, use a toothpick to create pretty swirls. This adds a nice touch and extra flavor.
If you want a crunchier texture, use crunchy peanut butter instead of creamy. The bits of peanuts will add a delightful crunch. This small change can really change the taste and feel of the dessert.
Dietary Modifications
For those following a vegan diet, you can make simple swaps. Use vegan cream cheese and whipped topping. These options help keep the creamy texture while staying plant-based. You can also replace the powdered sugar with a powdered sugar alternative to keep it vegan.
If you need a gluten-free version, choose gluten-free cookie crumbs. Many brands offer tasty gluten-free chocolate cookies. This way, everyone can enjoy these pie cups without worry.
Storage Info
How to Store Leftovers
To keep your chocolate peanut butter pie cups fresh, use airtight containers. I recommend using glass or plastic containers that seal well. Place the pie cups in a single layer to avoid crushing them. You can store them in the fridge for up to 5 days.
Freezing Options
If you want to save some treats for later, freezing is a great choice. First, wrap each pie cup in plastic wrap. Then place the wrapped cups in a freezer-safe bag or container. They can stay in the freezer for up to 2 months.
When you’re ready to enjoy them, take the cups out and let them thaw in the fridge overnight. This keeps the texture smooth. Serve them cold for the best taste.
FAQs
Common Questions about No-Bake Desserts
Can I use different types of cookies for the crust?
Yes, you can use any cookie you like. Try vanilla wafers or graham crackers. Just crush them to make crumbs. The taste will change, but it will still be great!
How long can these pie cups be stored in the fridge?
These pie cups can last up to five days in the fridge. Store them in an airtight container. This keeps them fresh and tasty for longer.
Can I make this recipe in advance for a party?
Absolutely! You can make these pie cups a day ahead. Just let them chill in the fridge overnight. This saves you time and stress on the day of the party.
What’s the best way to prevent the crust from becoming soggy?
To keep the crust crunchy, make sure to pack it tightly. Use melted butter to help it hold together. Don’t let the filling sit too long before serving. This keeps the crust perfect!
These no-bake peanut butter pie cups are easy to make and delicious. You learned about the simple ingredients, the step-by-step process, and key tips for perfect results. I shared variations to suit different tastes and dietary needs. You can even store leftovers and freeze them for later. Enjoy making these delightful treats! They are perfect for any gathering or just for you. Don’t hesitate to get creative with flavors and toppings. Your dessert experience will be fun and tasty. Happy baking!