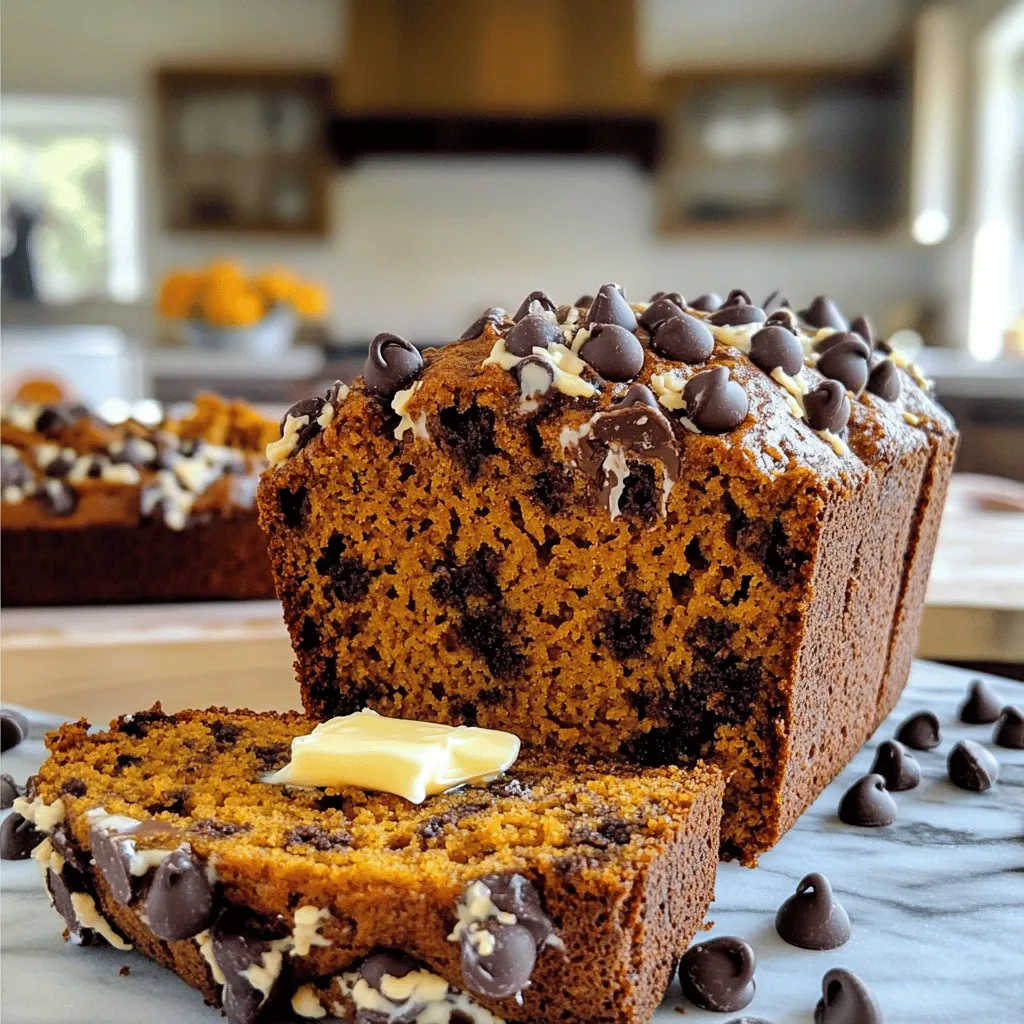
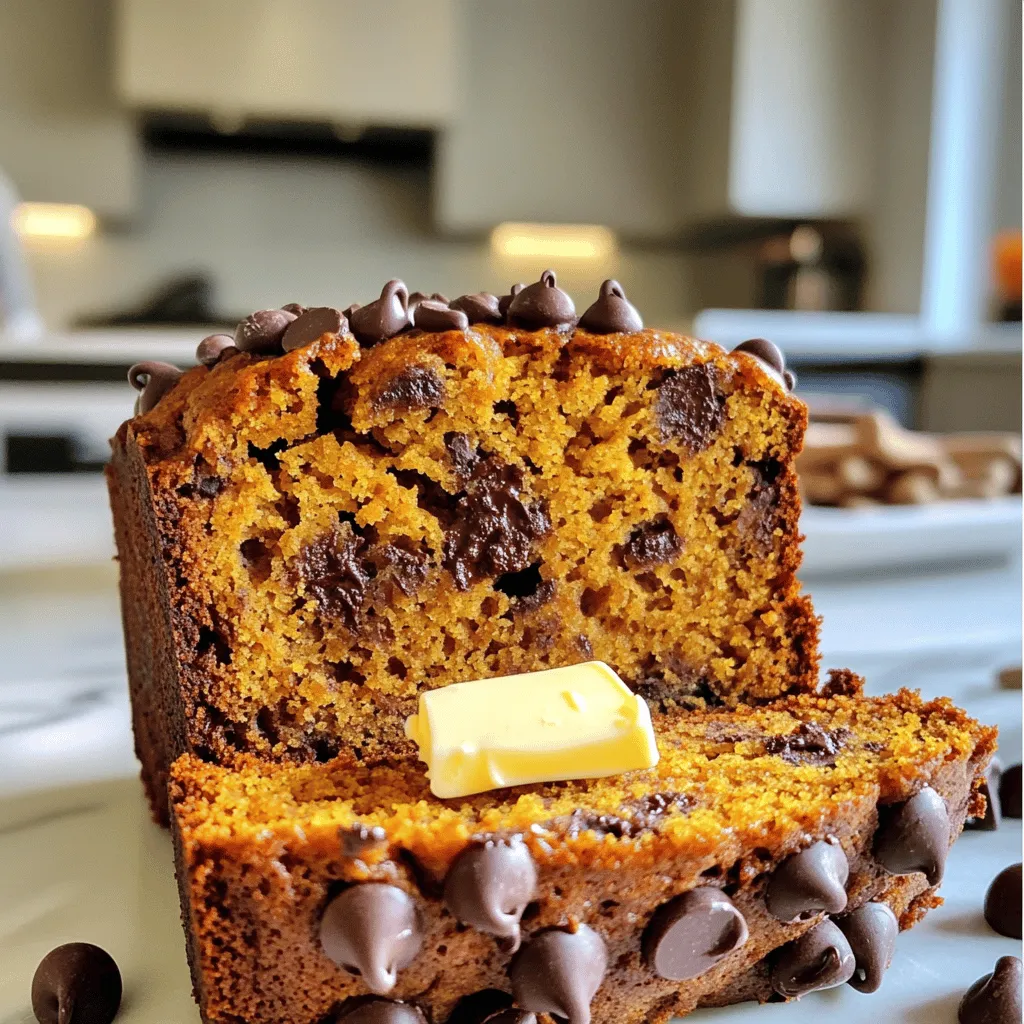
If you’re craving a cozy fall treat, look no further than my Chocolate Chip Pumpkin Bread! This soft and moist bread combines warm spices with sweet chocolate, making it an irresistible addition to your seasonal baking. In this post, I will guide you through simple steps, share expert tips, and offer tasty variations. Get ready to fill your kitchen with the warm aroma of pumpkin and spices! Let’s dive in!
Ingredients
Detailed List of Ingredients
– 1¾ cups all-purpose flour
– 1 teaspoon baking soda
– ½ teaspoon baking powder
– ½ teaspoon salt
– 1 teaspoon ground cinnamon
– ½ teaspoon ground nutmeg
– ½ teaspoon ground ginger
– 1 cup pure pumpkin puree
– ½ cup brown sugar
– ½ cup granulated sugar
– ½ cup vegetable oil
– 2 large eggs
– 1 teaspoon vanilla extract
– 1 cup semi-sweet chocolate chips
– ½ cup chopped walnuts (optional)
This recipe needs simple, common ingredients. You can find them at any store.
First, the flour makes the bread hold together. Baking soda and baking powder give it lift. Salt enhances the flavors. The warm spices like cinnamon, nutmeg, and ginger add cozy flavors that remind us of fall.
Pumpkin puree brings moisture and a rich taste. Brown sugar adds depth, while granulated sugar gives sweetness. Vegetable oil keeps the bread tender, and eggs help it rise and bind.
Vanilla extract adds a lovely aroma. Semi-sweet chocolate chips bring sweetness and a fun texture. If you want extra crunch, add chopped walnuts.
Gather these ingredients before you start. It makes the process smooth and fun!
Step-by-Step Instructions
Preparation Methods
– Preheat and Prepare
Start by preheating your oven to 350°F (175°C). Grease a 9×5-inch loaf pan and set it aside. This step helps the bread bake evenly.
– Mix Dry Ingredients
In a medium bowl, whisk together:
– 1¾ cups all-purpose flour
– 1 teaspoon baking soda
– ½ teaspoon baking powder
– ½ teaspoon salt
– 1 teaspoon ground cinnamon
– ½ teaspoon ground nutmeg
– ½ teaspoon ground ginger
Mix until all dry ingredients are well combined.
– Combine Wet Ingredients
In a large bowl, mix together:
– 1 cup pure pumpkin puree
– ½ cup brown sugar
– ½ cup granulated sugar
– ½ cup vegetable oil
– 2 large eggs
– 1 teaspoon vanilla extract
Stir until the mixture is smooth and creamy.
Combining Ingredients
– Gradually Add Dry to Wet
Slowly add the dry mix to the wet mix. Stir gently until just combined. Be careful not to overmix, as it can change the texture.
– Fold in Chocolate Chips and Nuts
Gently fold in:
– 1 cup semi-sweet chocolate chips
– ½ cup chopped walnuts (optional)
Make sure they are evenly spread throughout the batter.
Baking Process
– Pour Batter and Bake
Pour the batter into your prepared loaf pan. Smooth the top with a spatula. Place it in the oven.
– Check for Doneness
Bake for 55-65 minutes. To check, insert a toothpick into the center. If it comes out clean, the bread is done.
– Cooling Instructions
Once baked, remove the loaf from the oven. Let it cool in the pan for 10 minutes. Then transfer it to a wire rack to cool completely.
Tips & Tricks
Baking Tips
– Avoid Overmixing for Texture: When you mix the wet and dry ingredients, do it gently. Overmixing makes the bread tough. You want it soft and fluffy. Stir until just combined.
– Smoothing the Batter: After pouring the batter into the pan, use a spatula to smooth the top. This helps it bake evenly. A smooth top gives a nice finish.
Flavor Enhancements
– Adding Spices: If you want more flavor, add extra spices. A pinch of cloves or allspice adds warmth. You can also mix in some vanilla for sweetness.
– Using Different Sugars: Swap granulated sugar for coconut sugar for a deeper taste. You can also try maple sugar for a hint of maple flavor.
Presentation Tips
– Slicing Techniques: Use a serrated knife for clean slices. Cut the bread when it’s cool to avoid crumbling. Aim for thick slices for a hearty bite.
– Serving Suggestions: Serve warm with butter or cream cheese. For a fun twist, top with a scoop of ice cream. Adding extra chocolate chips on top makes it look special.
Variations
Ingredient Substitutions
Gluten-Free Options
You can swap regular flour for gluten-free flour. Use a blend that works well in baking. This keeps the bread light and tasty.
Dairy-Free Alternatives
To make this recipe dairy-free, replace eggs with flax eggs. You can also use almond milk or coconut milk instead of regular milk. These options work well and still taste great.
Flavor Variations
Add-ins like Dried Fruits
Want more flavor? Add dried fruits like cranberries or raisins. They add a sweet bite and extra texture. Mix in about half a cup for a nice touch.
Chocolate Chip Substitutes
If you want a twist, try white chocolate chips or dark chocolate. These options bring a different taste to your bread. You can even use butterscotch chips for a fun change.
Seasonal Twists
Holiday Spices
Add extra spices like cloves or allspice for a holiday vibe. Just a pinch can make a big difference. These spices bring warmth and richness to your bread.
Using Other Seasonal Squashes
You can also use butternut squash or acorn squash. They give a different flavor but still keep it moist. Just make sure to puree them like pumpkin for best results.
Storage Info
Best Practices for Storage
Room Temperature
Store your chocolate chip pumpkin bread at room temperature. Wrap it tightly in plastic wrap. This keeps it fresh for about three days. Place it in a cool, dry spot. Avoid areas with sunlight or moisture.
Refrigeration Options
If you want it to last longer, refrigerate it. Wrap the bread in plastic and then in aluminum foil. This method helps it stay fresh for up to a week. Just remember, it may lose some moisture in the fridge.
Freezing Tips
How to Freeze Properly
To freeze your bread, wait until it cools completely. Slice it, if you like. Wrap each slice tightly in plastic wrap. Then place the wrapped slices in a freezer bag. You can freeze it for up to three months.
Thawing Instructions
To thaw, take a slice out of the freezer. Leave it at room temperature for about an hour. For quicker thawing, you can use the microwave. Heat it for 15 to 20 seconds. This way, it stays soft and tasty.
Shelf Life
How Long It Lasts
Chocolate chip pumpkin bread lasts three days at room temperature. In the fridge, it lasts up to a week. If you freeze it, it can last up to three months.
Signs of Spoilage
Check for mold or an off smell. If the bread feels dry or hard, it’s time to toss it. Always trust your senses. When in doubt, throw it out for safety.
FAQs
Common Questions
Can I use fresh pumpkin instead of canned?
Yes, you can use fresh pumpkin. Just cook and puree it until smooth. Canned pumpkin is often easier and saves time. Both will give you great flavor.
How can I make it more moist?
To make the bread moist, add an extra egg or a bit more oil. You can also add yogurt or applesauce for extra moisture. Make sure not to overmix the batter, as that can dry it out.
Can I use a different type of flour?
Yes, you can use whole wheat flour or gluten-free flour. Keep in mind that different flours can change the texture. If using gluten-free flour, look for a blend that works well for baking.
Baking and Serving Questions
What can I serve with it?
This bread pairs well with butter or cream cheese. You can also enjoy it with a cup of coffee or tea. For a fun twist, try serving it with a scoop of ice cream.
How do I know when it’s done?
To check if the bread is done, insert a toothpick into the center. If it comes out clean or with a few crumbs, it’s ready. If it has wet batter on it, bake a little longer.
Specialty Diet Questions
Is it suitable for vegan diets?
To make it vegan, replace eggs with flax eggs or applesauce. Use plant-based oil and ensure that the chocolate chips are dairy-free. This way, you keep all the yummy flavors.
How can I make a sugar-free version?
For a sugar-free version, replace the sugars with a sugar substitute. Options like stevia or erythritol work well. However, keep in mind that sweetness levels may vary, so adjust as needed.
In this blog post, we explored the key ingredients for a delicious pumpkin treat. You learned step-by-step methods to mix and bake the perfect loaf, plus tips for texture and flavor. We also discussed ways to adjust the recipe for dietary needs and seasonal tastes. Remember, with a few simple tweaks, you can make this dish your own. Enjoy your tasty creation and share it with friends or family. Happy baking!