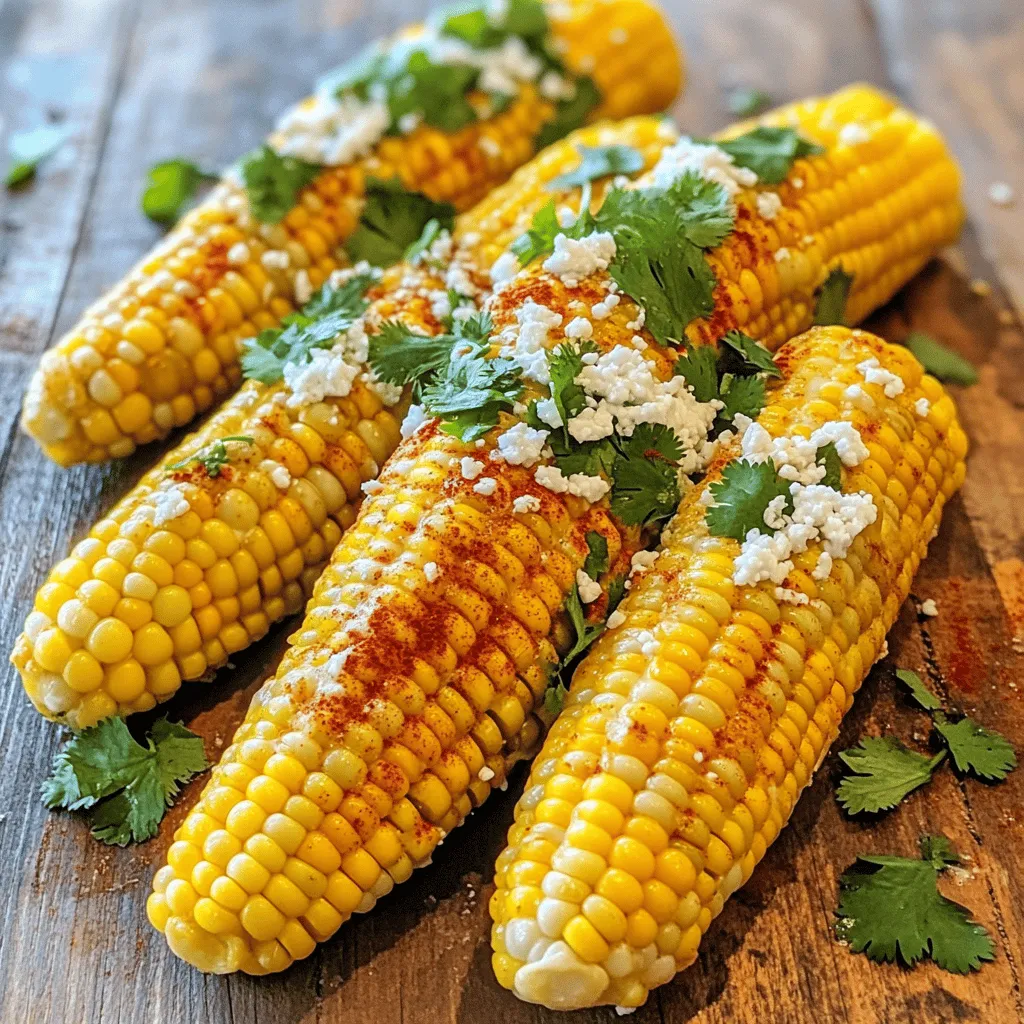
Summer is here, and what better way to celebrate than with Chili Lime Corn on the Cob? This vibrant dish packs a punch of flavor that will excite your taste buds. Perfect for barbecues or picnics, it’s quick and easy to make. I’ll guide you through the essential ingredients, simple steps, and even share tips for the best results. Get ready to impress your friends and family with this delicious summer treat!
Ingredients
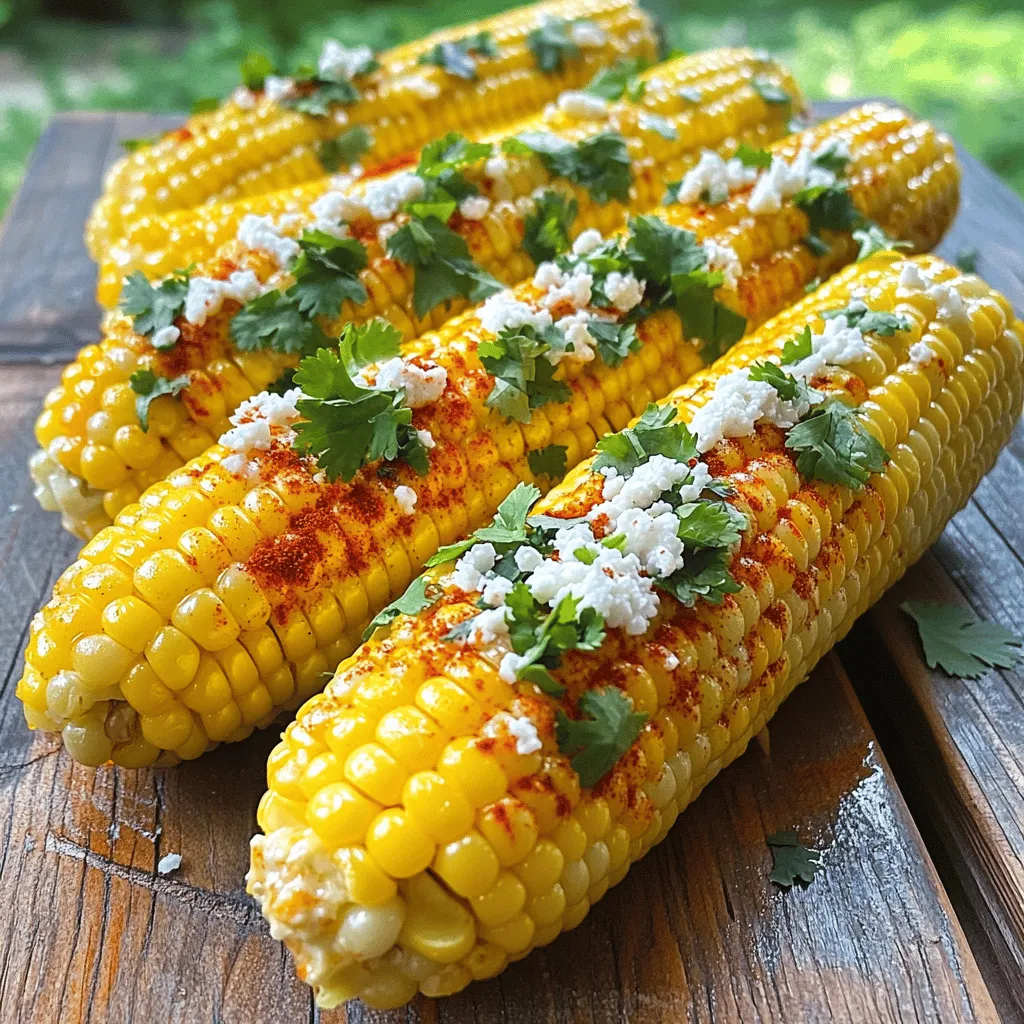
Essential Ingredients for Chili Lime Corn on the Cob
To make delicious chili lime corn on the cob, gather these key ingredients:
– 4 ears of fresh corn, husked
– 1/4 cup unsalted butter, softened
– Zest of 1 lime
– 2 tablespoons lime juice
– 1 teaspoon chili powder (adjust for spice preference)
– 1/2 teaspoon smoked paprika
– 1/4 teaspoon salt
These ingredients create a bright and tasty flavor that makes summer meals special. The fresh corn shines, while the lime and chili add a fun kick.
Optional Toppings and Seasonings
You can make your corn even better with these optional ingredients:
– 1/4 cup crumbled Cotija cheese
– Fresh cilantro, chopped, for garnish
Cotija cheese adds a creamy texture that pairs well with the spices. Fresh cilantro gives a burst of color and flavor.
Suggested Tools and Equipment
To prepare this dish, you will need a few tools:
– A large pot for boiling water
– A grill (optional)
– A small bowl for mixing the butter
– A brush for spreading the butter
These simple tools help you create a flavorful treat with ease.
Step-by-Step Instructions
Preparing the Corn
– Boiling Corn on the Cob
Start by boiling a large pot of water. I like to add a pinch of salt for flavor. Once the water is boiling, add your husked corn. Cook it for about 5-7 minutes. You want the corn to be tender but not mushy. After cooking, carefully remove the corn and let it cool a bit.
– Cooling and Handling
When the corn is cool enough to touch, hold the ear by the end. This makes it easy to handle. Be careful; it might still be warm. Make sure to keep it on a plate or cutting board as you prepare the butter.
Making the Chili Lime Butter
– Mixing Ingredients
In a small bowl, add your softened butter. Then mix in the lime zest, lime juice, chili powder, smoked paprika, and salt. Use a fork or spoon to blend everything well. The butter should be smooth and well combined.
– Spice Level Adjustments
If you love heat, add more chili powder. You can also try other spices if you want to switch it up. Taste the butter and adjust until it’s perfect for you.
Applying and Grilling
– Buttering the Corn
Once your corn is prepped, take a brush or a spoon and coat each ear with the chili lime butter. Make sure to cover all sides. This helps the flavors stick to the corn.
– Optional Grilling for Char Marks
If you want extra flavor, grill the buttered corn. Place it on a hot grill for about 2-3 minutes. Turn it often to get nice char marks. This step adds a smoky touch to your dish.
Tips & Tricks
Best Practices for Cooking Corn
To cook corn perfectly, start with fresh ears. Look for bright green husks. Peel back a bit to check the kernels. They should be plump and sweet. Boil in salted water for about 5-7 minutes. This brings out the sweetness of the corn.
After boiling, let the corn cool slightly. Handle with care to avoid burns.
Enhancing Flavor Profile
Spice Adjustments
You can control the heat in this dish. Start with one teaspoon of chili powder. If you like more spice, add more. Consider adding cayenne pepper for extra kick. Just a pinch can make a big difference.
Alternative Cheese Suggestions
Cotija cheese adds a nice touch, but it’s not the only option. Feta cheese works well too. It has a similar tangy flavor. Parmesan cheese is a great choice if you want a sharper taste. Experiment to find your favorite.
Serving Suggestions
Pairing with Other Dishes
Chili lime corn pairs well with grilled meats. Try it next to chicken or steak for a full meal. It also complements tacos or salads nicely. For a light meal, serve it with fresh salsa.
Ideal Occasions
This dish shines at summer cookouts. It’s a hit at family gatherings or picnics. Serve it at barbecues or beach days for a fun touch. Everyone loves a tasty corn on the cob in the sun!
Variations
Vegan Friendly Version
To make this dish vegan, swap the butter for a plant-based option. Use margarine or coconut oil instead. Both will still give you that creamy taste. For added richness, try using cashew cream. It adds a nice texture and flavor.
Different Spice Profiles
You can change the spices to fit your taste. Instead of chili powder, use cayenne for heat. If you want a smoky flavor, try chipotle powder. For a zesty kick, add some garlic powder or cumin. Experimenting with spices makes this dish fun and unique.
Regional Variations
You can draw inspiration from Mexican street corn, known as elote. This version often includes lime juice, chili powder, and cheese. Mix in crumbled Cotija cheese for a salty bite. You can even add mayonnaise for creaminess. These regional twists offer a new way to enjoy chili lime corn.
Storage Info
How to Store Leftover Corn
To store leftover corn, let it cool first. Wrap each ear tightly in plastic wrap. You can also place it in an airtight container. This keeps the corn fresh. Store it in the refrigerator. Leftover corn stays good for up to three days.
Reheating Tips
When you’re ready to eat the corn, you have a few great options. You can microwave it for about 1-2 minutes. Cover it with a damp paper towel to keep it moist. Another way is to heat it in a pan. Add a little butter to the pan for extra flavor. Cook it over medium heat until warm. This keeps the corn tasty and juicy.
Freezing for Future Use
If you want to save corn for later, freezing is a great option. Start by cooking the corn as usual. Once cooled, cut the kernels off the cob. Place the kernels in a freezer-safe bag. Squeeze out as much air as possible before sealing. Label the bag with the date. Frozen corn will last for about six months. When you’re ready to use it, just thaw in the refrigerator overnight. You can then use it in your favorite recipes, like the Chili Lime Corn on the Cob.
FAQs
What is the best corn to use for this recipe?
The best corn for chili lime corn on the cob is sweet corn. Look for fresh ears that are bright yellow and firm. When you peel back the husk, the kernels should look plump and juicy. I prefer using corn that is in season for the best flavor. It has a natural sweetness that pairs well with the chili and lime.
Can I make chili lime corn on the cob without grilling?
Yes, you can make chili lime corn on the cob without grilling. Simply boil the corn as I described in the recipe. After boiling, brush on the chili lime butter mixture. You can even roast the corn in the oven at 400°F for about 20 minutes. Just wrap the corn in foil to keep it moist. This method gives a nice flavor without using a grill.
How do I adjust the recipe for larger servings?
To adjust the recipe for larger servings, simply increase the number of corn ears and the butter mixture. For example, if you want to serve eight people, use eight ears of corn. Increase the butter, lime zest, and spices in proportion. A good rule is to double the recipe for every four extra ears. This way, everyone can enjoy this tasty summer treat!
This blog post explored how to make delicious chili lime corn on the cob. We covered essential ingredients, step-by-step cooking instructions, and tips for a perfect flavor. You learned about optional toppings and tried out variations like vegan versions or different spices.
Enjoying this dish is great for BBQs or family meals. With your newfound skills, you can impress anyone with your tasty corn. Have fun cooking, and don’t forget to experiment with flavors! Enjoy every bite of your chili lime corn creation.