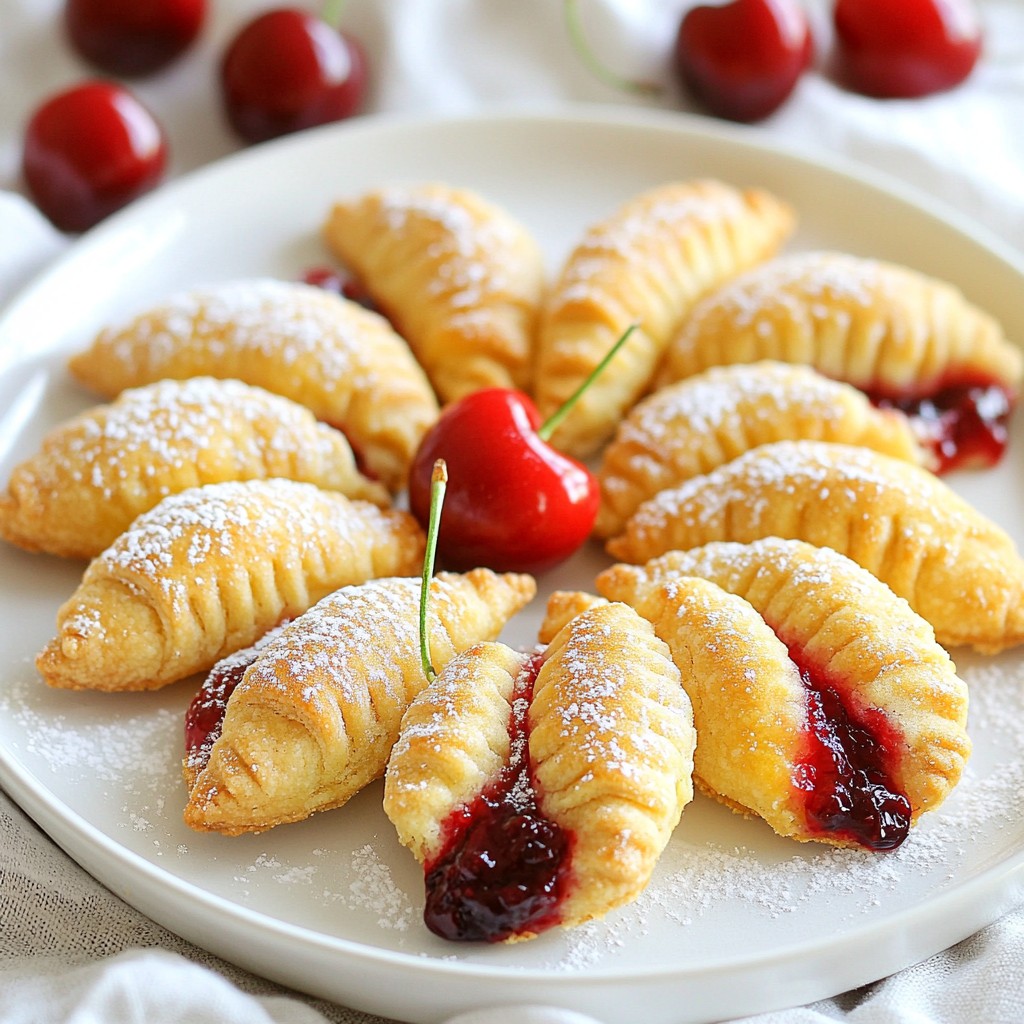
Craving a sweet treat that’s both fun and easy to make? You’re in the right place! I’ll show you how to whip up Cherry Pie Cookies that are bursting with fruity flavor. These cookies are perfect for any occasion, and you can customize them to suit your taste. Let’s dive into this delightful recipe and make baking a breeze!
Why I Love This Recipe
- Quick and Easy: This recipe takes only 30 minutes from start to finish, making it perfect for a last-minute treat.
- Cherry Delight: The tartness of the cherry pie filling perfectly balances the sweetness of the dough, creating a delightful flavor.
- Portable Snack: These cookies are easy to take on the go, making them a great option for picnics or lunchboxes.
- Customizable: You can easily swap out the cherry filling for your favorite fruit preserves, making this recipe versatile.
Ingredients
Essential Ingredients for Cherry Pie Cookies
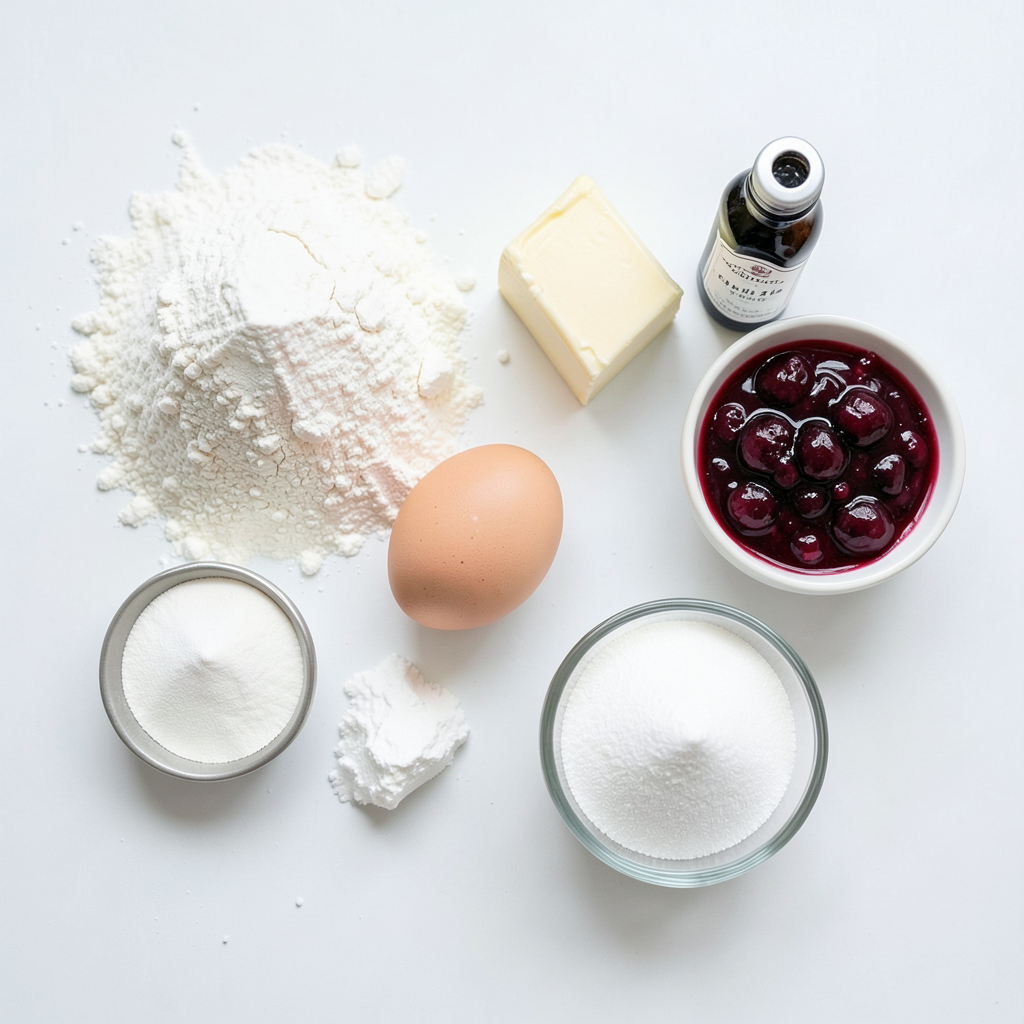
To make these tasty Cherry Pie Cookies, you need the following items:
- 1 cup all-purpose flour
- 1/2 cup powdered sugar
- 1/2 cup unsalted butter, softened
- 1 teaspoon vanilla extract
- 1/4 teaspoon salt
- 1/4 teaspoon baking powder
- 1/2 cup cherry pie filling
- 1 egg, beaten (for egg wash)
- 1 tablespoon coarse sugar (for topping)
These ingredients create a soft dough that perfectly balances sweetness and flavor.
Optional Ingredients for Customization
You can add your twist to these cookies with these options:
- Almond extract for a nutty flavor
- Lemon zest for a fresh kick
- Chopped nuts for added crunch
- Different pie fillings, like blueberry or apple
Feel free to experiment! This makes every batch unique and fun.
Tools and Equipment Needed
Gather these tools to make the process smooth:
- Mixing bowl for dough
- Rolling pin for flattening the dough
- Baking sheet lined with parchment paper
- Fork for crimping edges
- Wire rack for cooling
Having the right tools helps you create beautiful cookies with ease.
Step-by-Step Instructions
Preparing the Dough
Start by preheating your oven to 350°F (175°C). Line a baking sheet with parchment paper. In a mixing bowl, add 1 cup of all-purpose flour, 1/2 cup of powdered sugar, and 1/2 cup of softened unsalted butter. Pour in 1 teaspoon of vanilla extract, 1/4 teaspoon of salt, and 1/4 teaspoon of baking powder. Mix it all until it forms a soft dough. This dough is the base of your cookies. It should feel smooth and a bit sticky.
Forming the Cookies
Now, divide the dough into small balls, about 1 tablespoon each. Roll each ball into a flat circle on a lightly floured surface. Make sure the circles are even. Next, place a teaspoon of cherry pie filling in the center of each circle. Fold the dough over the filling to form a half-moon shape. Pinch the edges to seal the cookies. You can use a fork to crimp the edges for a pretty design and secure seal.
Baking the Cookies
After forming the cookies, brush the tops with a beaten egg. This gives them a nice shine. Sprinkle coarse sugar over each cookie for a sweet crunch. Place them on the baking sheet and bake for 15-18 minutes. Watch for the edges to turn lightly golden. Once baked, let them cool on the sheet for a few minutes. Then, transfer the cookies to a wire rack to cool completely. Enjoy the delightful smell as they cool!
Tips & Tricks
How to Achieve the Perfect Dough
To get the best dough for your cherry pie cookies, use cold butter. Cold butter keeps the dough light. Mix the butter with the flour and sugar until it feels crumbly. This helps the cookies rise well. Don’t overwork the dough; just mix until it comes together.
Best Practices for Filling and Sealing
When adding cherry pie filling, use just one teaspoon per cookie. If you add too much, the filling will leak out. After placing the filling, fold the dough carefully. Pinch the edges firmly to seal them. You can press a fork on the edges for a pretty design.
Baking Tips for Optimal Crispiness
For crispy cookies, spread them well on the baking sheet. Leave space between each cookie. Bake them until golden on the edges, about 15-18 minutes. Let them cool on the sheet for a bit. This helps them stay firm before moving to a wire rack.
Pro Tips
- Chill the Dough: Refrigerating the dough for about 30 minutes before rolling it out can make it easier to handle and helps prevent the cookies from spreading too much while baking.
- Use Quality Filling: For the best flavor, use a high-quality cherry pie filling or homemade filling if possible. Fresh or frozen cherries cooked down with sugar and cornstarch make a delightful filling.
- Perfectly Crimped Edges: To ensure a good seal and a decorative touch, use a fork to crimp the edges of the cookies after folding them. This not only looks great but also helps to keep the filling inside.
- Watch the Baking Time: Keep an eye on the cookies towards the end of the baking time. Ovens can vary, and you want the edges to be lightly golden, not burnt!
Variations
Alternative Pie Fillings
You can change up the filling to fit your taste. Try using apple, blueberry, or peach pie filling. Each choice gives a new twist. If you want a fun mix, blend two or more fillings together. This makes each cookie unique and exciting.
Cookie Texture Variations
To change the texture, you can use different flours. Almond flour gives a nutty taste. Whole wheat flour adds a hearty bite. You can also chill the dough for a firmer cookie. This helps keep the shape while baking. For a softer bite, add a bit more butter or cream cheese.
Flavor Enhancements
Adding spices can boost the flavor. A pinch of cinnamon or nutmeg pairs well with cherry. You can also mix in citrus zest, like lemon or orange. This adds a fresh burst of flavor. For a richer taste, sprinkle some almond extract in the dough. Each small change can make these cookies even more delightful.
Storage Info
How to Store Cherry Pie Cookies
To keep your Cherry Pie Cookies fresh, store them in an airtight container. This will help keep them soft and tasty. Place parchment paper between layers to avoid sticking. They can last about three days at room temperature. If you want them to last longer, consider freezing.
Freezing Instructions
To freeze your cookies, first let them cool completely. Then, place them in a single layer on a baking sheet. Freeze them for about one hour until firm. After that, transfer the cookies to a freezer bag or container. They will keep well for up to three months. Label the bag with the date for easy tracking.
Reheating Tips for Best Taste
When you are ready to enjoy your cookies again, preheat your oven to 350°F (175°C). Place the cookies on a baking sheet and heat for about 5-7 minutes. This will revive their softness and flavor. You can also microwave them for 10-15 seconds, but be careful not to overheat. Enjoy your warm Cherry Pie Cookies!
FAQs
Can I use fresh cherries instead of cherry pie filling?
Yes, you can use fresh cherries! Start by pitting and chopping them. Use about 1/2 cup of fresh cherries. Mix them with a bit of sugar and cornstarch. This will help thicken the filling. Fresh cherries give a nice, bright flavor. They will also make your cookies juicy and sweet.
How can I make these cookies gluten-free?
To make gluten-free Cherry Pie Cookies, use gluten-free flour. You can find many blends at stores. Make sure to check the packaging for a good substitute. Use a 1:1 gluten-free flour blend for best results. The texture may change a bit, but they will still taste great!
What is the best way to serve Cherry Pie Cookies?
Serve your Cherry Pie Cookies warm for the best taste. Place them on a pretty platter. Dust them with powdered sugar for a nice touch. You can also add fresh cherries as a garnish. This makes them look even more inviting. Enjoy them with a scoop of vanilla ice cream for a treat!
Cherry Pie Cookies are fun and tasty treats you can make at home. We covered essential and optional ingredients to help you customize your recipe. I shared easy steps for making, forming, and baking the cookies. You learned tips for perfect dough, filling, sealing, and baking. We also explored various flavors and how to store them.
In conclusion, you now have the tools to create delicious Cherry Pie Cookies. Enjoy your baking adventure and share these delights with others. You’re going to love the results!