
Craving something sweet and simple? You’re in the right place! These No-Bake Nutella Cheesecake Cups are easy to whip up and utterly delicious. With layers of creamy Nutella filling and a crunchy cookie base, they’re the perfect indulgence for any occasion. Not only will you impress your friends, but you’ll also satisfy your chocolate cravings. Let’s dive into this delightful recipe and make dessert magic happen!
Ingredients
To create these No-Bake Nutella Cheesecake Cups, you need simple ingredients. Here’s what you will gather:
– 1 cup crushed chocolate cookies (like Oreos)
– 4 tablespoons unsalted butter, melted
– 1 cup cream cheese, softened
– 1/2 cup Nutella
– 1/2 cup powdered sugar
– 1 teaspoon vanilla extract
– 1 cup whipped cream (store-bought or homemade)
– Chocolate shavings or hazelnuts for garnish
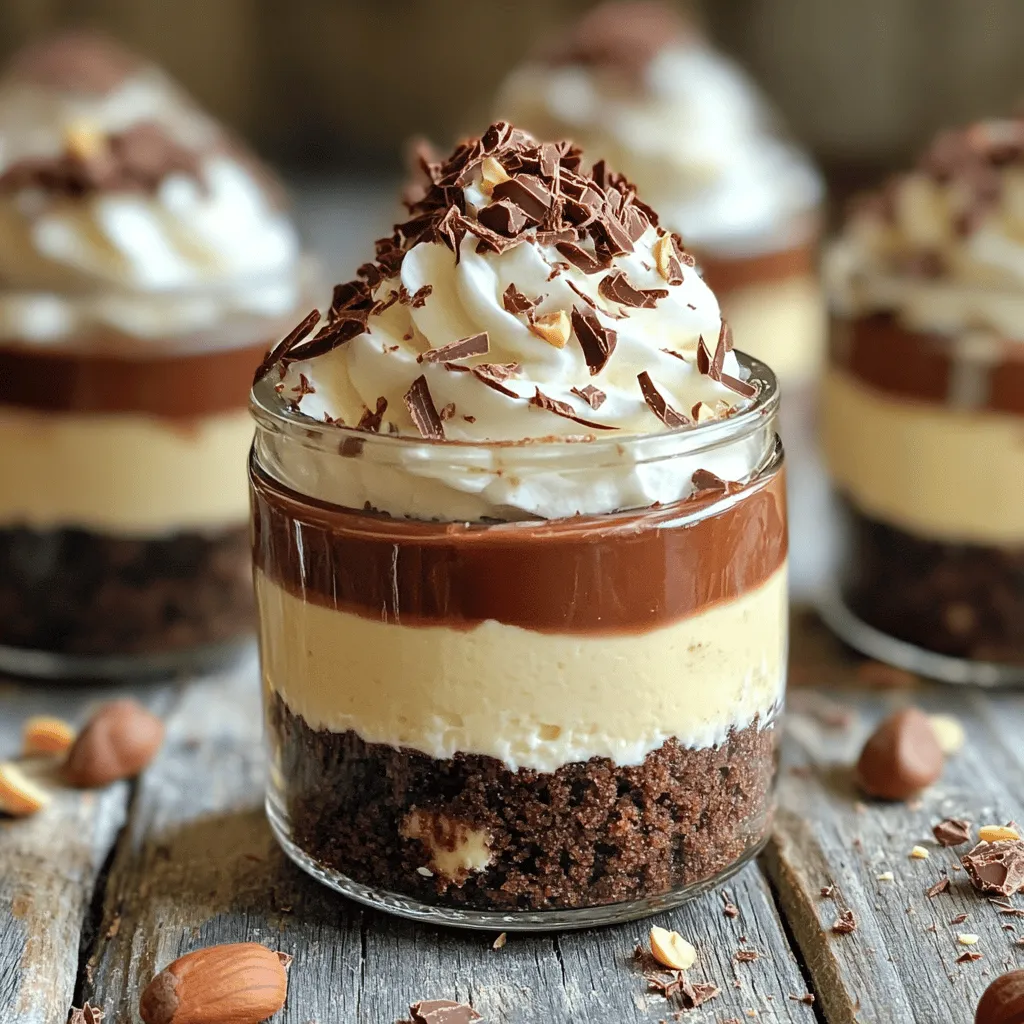
Each ingredient plays a key role. The crushed chocolate cookies form a tasty base, while the melted butter helps bind them together. Cream cheese gives the cheesecake its creamy texture. Nutella adds rich chocolate flavor, and powdered sugar balances the sweetness. Vanilla extract enhances the taste, and whipped cream makes the filling light and fluffy. The chocolate shavings or hazelnuts on top provide a fun crunch.
Using these ingredients, you will make a delightful treat that everyone will love.
Step-by-Step Instructions
Preparing the Cookie Base
– First, take 1 cup of crushed chocolate cookies and 4 tablespoons of melted unsalted butter.
– Mix these two ingredients in a medium bowl until it looks like wet sand.
– Now, divide this mixture among the bottoms of 4 small cups.
– Press the cookie mixture firmly to make a solid base layer.
Making the Cheesecake Filling
– In another bowl, beat together 1 cup of softened cream cheese, 1/2 cup of Nutella, 1/2 cup of powdered sugar, and 1 teaspoon of vanilla extract.
– Use an electric mixer and mix until it is smooth and creamy.
– Next, gently fold in 1 cup of whipped cream. This adds a nice lightness to your cheesecake.
Assembling the Cups
– Spoon or pipe the creamy Nutella cheesecake over the cookie base in each cup.
– Make sure it fills the cups nicely and looks pretty.
– Place the cups in the fridge for at least 2 hours. This helps them set well.
Tips & Tricks
Achieving the Perfect Texture
To make your cheesecake smooth, start with softened cream cheese. You can soften it by leaving it out at room temperature for 30 minutes. You can also cut it into smaller cubes to speed up the process. When mixing, beat the cream cheese well to avoid lumps. Add Nutella and powdered sugar next. Mix until it’s creamy. Finally, fold in the whipped cream gently. This keeps the filling light and fluffy.
Presenting Your Cheesecake Cups
For a fun twist, use jars or cute cups to serve. You can layer the cookie base and cheesecake for a nice look. Top each cup with chocolate shavings or chopped hazelnuts. This adds texture and makes the cups eye-catching. You might also drizzle some Nutella on top for extra flavor. A sprig of mint can make it look fresh and bright.
Make-Ahead Suggestions
You can prepare these cheesecake cups a day in advance. Just keep them in the fridge until you’re ready to serve. This also helps flavors blend together nicely. Store them in airtight containers to keep them fresh. They last up to three days in the fridge. If you want to freeze them, use freezer-safe containers. They can last for up to a month. Just thaw them in the fridge before you serve.
Variations
Flavor Alternatives
You can switch up the nut spread in these cheesecake cups. Try almond butter or peanut butter for a new twist. These flavors pair well with chocolate and add a fun taste. If you want a vegan version, use dairy-free cream cheese. You can also pick a plant-based whipped cream. These swaps keep the recipe creamy and rich.
Topping Options
Toppings can change the look and taste of your cheesecake cups. Use different chocolates like dark chocolate for a richer flavor. Fresh fruits, like strawberries or bananas, add brightness and color. You can even add flavored whipped cream, like vanilla or hazelnut. This adds a fun layer of taste to each bite.
Serving Suggestions
Serve these cups at parties for an easy dessert. Place them on a dessert table for a sweet treat. They look great in clear cups, showing off the layers. Pair these cups with coffee or a sweet dessert wine. This makes for a delightful end to any meal.
Storage Info
Best Storage Practices
To store leftover Nutella cheesecake cups, place them in the fridge. Cover each cup with plastic wrap or a lid. This keeps them fresh and safe from other food smells. You can use airtight containers for added protection. Glass jars or plastic cups work well for this. If you have a lot, separate them with parchment paper to avoid sticking.
Shelf Life
Nutella cheesecake cups last about 3 to 5 days in the fridge. This gives you time to enjoy them after making. For long-term storage, you can freeze them. Just make sure to cover them well. Use freezer-safe containers or wrap them tightly in plastic wrap. They can stay in the freezer for up to 2 months. When ready to eat, thaw them overnight in the fridge for the best taste.
FAQs
Can I make No-Bake Nutella Cheesecake Cups ahead of time?
Yes, you can make these cheesecake cups ahead of time. They last up to four days in the fridge. Store them in airtight containers to keep them fresh. This makes them great for parties or busy days. Prepare the cups a day or two in advance. Just remember to add the garnish right before serving for the best look.
What can I use instead of Nutella?
If you want to change the flavor, you have options! Try almond butter or peanut butter for a nutty twist. You can also use cookie butter for a sweet spin. Each option will give a different taste, but they will still be delicious. Experiment with these nut spreads to find your favorite.
Is it necessary to refrigerate before serving?
Yes, refrigerating is important. Chilling the cups helps them set properly. It also enhances the flavors and makes it creamier. If you skip this step, you might end up with a runny texture. I recommend chilling for at least two hours for the best taste and texture.
This blog post covered how to make No-Bake Nutella Cheesecake Cups, detailing the essential ingredients, simple steps, and helpful tips. You can easily create a delicious dessert with crushed cookies, cream cheese, and Nutella. Choose toppings and variations that fit your taste. Remember to store any leftovers properly to keep them fresh. These cheesecake cups are fun, quick, and perfect for sharing. Try these easy ideas to impress your friends and family. Enjoy your sweet treat!

