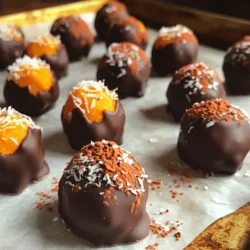
Craving a sweet treat that’s quick and easy? Look no further! My No-Bake Pumpkin Chocolate Truffle Balls are the perfect solution. These delightful bites combine creamy pumpkin and rich chocolate for a flavor fiesta. Plus, they only take a few simple ingredients. Whether it’s for a cozy gathering or a snack at home, these truffles are sure to impress. Let’s dive into the recipe and make your dessert dreams come true!
Ingredients
List of Key Ingredients
– 1 cup pumpkin puree
– 1 cup almond flour
– 1/2 cup unsweetened cocoa powder
– 1/3 cup maple syrup
– 1 teaspoon vanilla extract
– 1 teaspoon pumpkin pie spice
– 1/4 teaspoon salt
– 1/2 cup dark chocolate (dairy-free options)
– Unsweetened shredded coconut or cocoa powder for rolling (optional)
These ingredients come together to create a rich and creamy treat. Pumpkin puree gives a nice texture and flavor. Almond flour adds a nutty touch and keeps the truffles gluten-free. Unsweetened cocoa powder brings the chocolatey goodness without extra sugar. Maple syrup sweetens the mix naturally, while vanilla extract adds a warm note. Pumpkin pie spice gives each bite a hint of warmth, perfect for fall. A pinch of salt balances the flavors. The melted dark chocolate coats the truffles, making them even more delightful. For an extra twist, you can roll them in shredded coconut or cocoa powder for a fun finish.
Gathering these ingredients is easy. Most can be found in your pantry or local store. Make sure your chocolate is dairy-free if needed. This will keep the recipe vegan-friendly. Enjoy the process of mixing and rolling these tasty treats!
Step-by-Step Instructions
Preparation Steps
1. Mixing the dough: Start by taking a mixing bowl. Add 1 cup of pumpkin puree, 1 cup of almond flour, and 1/2 cup of unsweetened cocoa powder. Then, pour in 1/3 cup of maple syrup. Add 1 teaspoon of vanilla extract, 1 teaspoon of pumpkin pie spice, and 1/4 teaspoon of salt. Mix everything well until it forms a sticky dough.
2. Chilling the mixture: Cover the bowl with plastic wrap. Place it in the fridge for about 30 minutes. This helps the dough firm up, making it easier to roll.
3. Rolling the truffles: After chilling, take the dough out. Use a tablespoon to scoop out portions. Roll each portion into small balls, about 1 inch in diameter.
Coating the Truffles
1. Dipping in melted chocolate: Melt 1/2 cup of dark chocolate in a microwave or double boiler. Once melted, dip each truffle ball into the chocolate. Make sure each ball is fully coated.
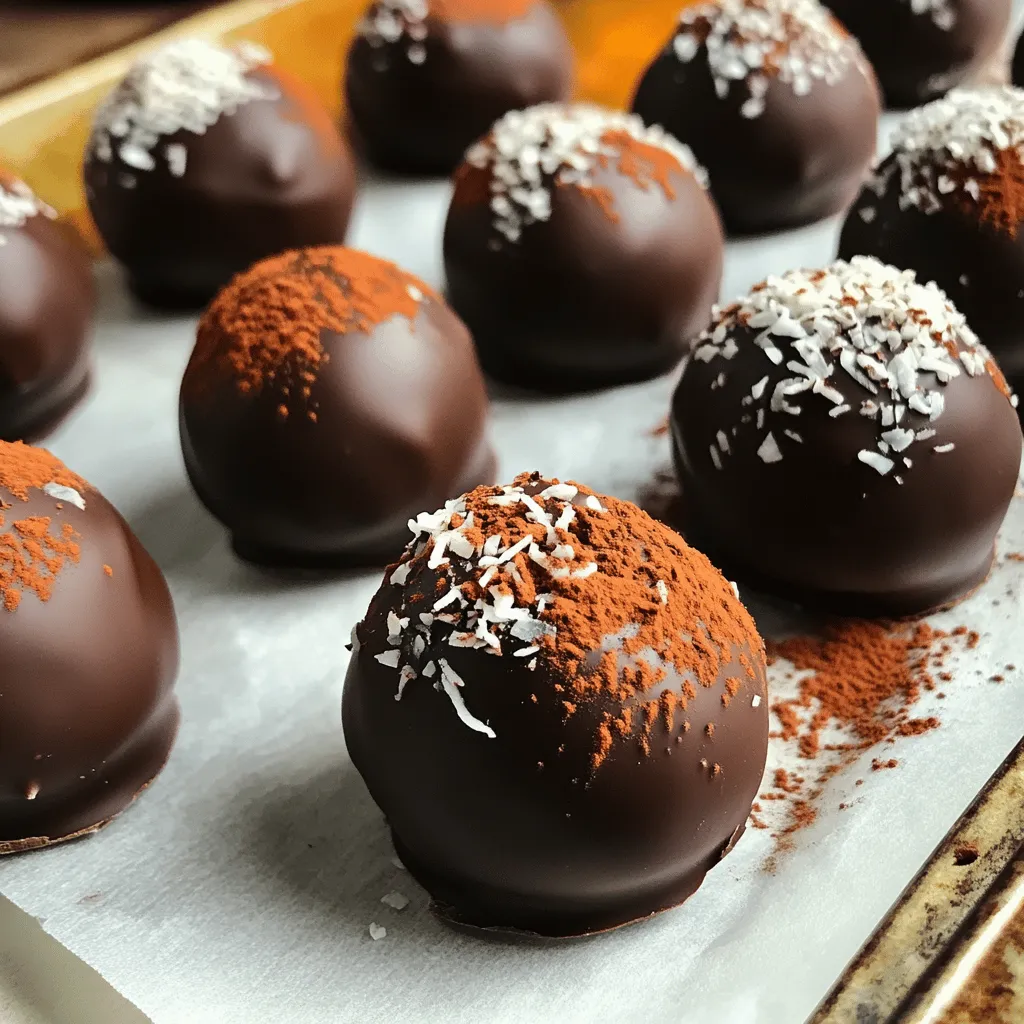
2. Rolling in optional coatings: If you like, roll the chocolate-covered truffles in unsweetened shredded coconut or cocoa powder for extra flavor and texture.
Final Steps
1. Setting on a tray: Place the coated truffles on a parchment-lined tray. This prevents them from sticking.
2. Serving suggestions: Refrigerate the tray for 15-20 minutes to set the chocolate. Once set, serve the truffles chilled or at room temperature. Enjoy these delightful no-bake treats!
Tips & Tricks
Achieving the Perfect Texture
To get the best texture, chilling the mixture is key. After mixing, place the bowl in the fridge for 30 minutes. This helps the dough firm up, making it easier to roll into balls. The dough should feel sticky but manageable. If it’s too wet, add a bit more almond flour until it holds together well.
Chocolate Coating Tips
Melting chocolate can be tricky. Use a microwave or double boiler for the best results. If using a microwave, heat the chocolate in short bursts of 15 seconds. Stir between each burst until it’s smooth. A smooth coating makes your truffles look great. Dip each truffle fully in the melted chocolate. Let any excess drip off before placing it on your tray.
Serving and Presentation
Garnishing adds a fun touch. You can roll the truffles in unsweetened shredded coconut or cocoa powder. This adds flavor and texture. For pairing, try serving these truffles with a cup of coffee or tea. The rich chocolate and pumpkin flavors complement warm drinks perfectly. Enjoy sharing these delightful treats with friends and family!
Variations
Flavor Variations
You can easily change the taste of your truffles. Adding spices can bring out new flavors. Try mixing in cinnamon or nutmeg for warmth. These spices add a cozy touch, perfect for fall. You can also use flavored extracts. Almond or peppermint extracts can make a big difference. A few drops can give your truffles a fun twist.
Dietary Modifications
If you’re looking for vegan options, you can make easy swaps. Use maple syrup as a sweetener instead of honey. Check the dark chocolate to ensure it is dairy-free. This way, everyone can enjoy these treats. If you need nut-free substitutes, try using oat flour instead of almond flour. This keeps the texture nice without nuts.
Different Coating Options
Coating your truffles can be fun! You have many choices. Consider rolling them in crushed nuts or colorful sprinkles. This adds crunch and makes them look pretty. If you want something simpler, roll them in powdered sugar. It gives a nice sweet finish. Each option can make your truffles unique and delicious!
Storage Info
Best Ways to Store
To keep your no-bake pumpkin chocolate truffle balls fresh, store them in the fridge. Use an airtight container for the best results. This helps them stay moist and tasty. You can also freeze the truffles for later. Just place them in a single layer on a tray first. Once frozen, transfer them to a freezer bag. This way, you can enjoy them anytime.
Shelf Life
In the refrigerator, these truffles last about one week. Check for any signs of spoilage, like a strange smell or a change in color. If they look dry or hard, it’s best to toss them out. Always trust your senses when it comes to food safety.
Servings Recommendations
For gatherings, serve about two truffles per person. This gives everyone a sweet treat without overdoing it. If you want to use them as snacks, aim for one truffle. Portion control helps you enjoy them while keeping your diet in check.
FAQs
Can I use fresh pumpkin instead of canned?
Yes, you can use fresh pumpkin. It adds a bright taste. However, it takes more time to prepare. You need to cook and puree the pumpkin first. This can change the texture. Canned pumpkin is more convenient. It is ready to use and has a smooth consistency. If you choose fresh, make sure to remove excess water. This helps keep the truffles firm.
How do I make these truffles sweeter?
To sweeten your truffles, try adding more maple syrup. You can start with one more tablespoon. Taste the dough as you mix. This lets you control the sweetness. If you want a different flavor, use honey or agave syrup. They both work well. Just remember, too much sweetener can change the texture. Keep it balanced for the best flavor.
Can I use other types of flour?
Yes, you can use different flours. Some good options are oat flour or coconut flour. Oat flour gives a nice texture. Coconut flour absorbs more liquid, so use less. Start with half the amount. If you use another flour, watch the dough’s consistency. It should remain sticky. Adjust the wet ingredients if needed to achieve the right feel.
In this blog post, we explored making tasty pumpkin truffles. I detailed key ingredients like pumpkin puree and chocolate. You learned the steps for preparing, coating, and presenting the truffles. We shared tips for texture and chocolate coating.
Remember, you can adjust flavors and accommodate dietary needs. These truffles are fun to make and share. Enjoy creating a sweet treat that is simple and delicious. Your friends and family will love them!