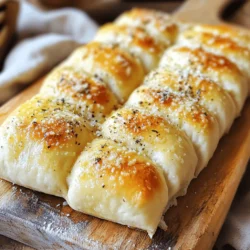
Imagine biting into warm, fresh-out-of-the-oven breadsticks that are easy to make! In this post, I’ll share my quick and tasty recipe for homemade breadsticks that you can whip up in no time. With just a few simple ingredients and straightforward steps, you’ll impress your family and friends. Let’s get started and make your next meal a hit with these delicious treats!
Ingredients
To make delicious homemade breadsticks, gather these simple ingredients:
– 2 cups all-purpose flour
– 1 tablespoon baking powder
– 1 teaspoon salt
– 1 tablespoon sugar
– 1 cup milk (or plant-based milk)
– 1/4 cup olive oil
– 1 teaspoon garlic powder
– 1 teaspoon dried oregano
– Grated Parmesan cheese (for topping)
– Olive oil or melted butter (for brushing)
These ingredients work together to create a soft, flavorful breadstick that pairs well with many dishes. The flour gives structure, while baking powder helps them rise. The milk and olive oil add moisture and richness. Garlic powder and oregano bring a savory taste that shines through in every bite.
Using quality ingredients matters, especially when making breadsticks. Fresh herbs will elevate the flavor. If you want a special touch, try using freshly grated Parmesan. You can also swap in plant-based milk for a dairy-free option without losing taste.This recipe is fun to make and perfect for sharing with friends and family!
Step-by-Step Instructions
Preparation Steps
1. Preheat the oven and prepare the baking sheet
Start by preheating your oven to 400°F (200°C). Line a baking sheet with parchment paper. This step ensures even baking and easy cleanup.
2. Combine dry ingredients in a mixing bowl
In a large mixing bowl, whisk together 2 cups of all-purpose flour, 1 tablespoon of baking powder, 1 teaspoon of salt, and 1 tablespoon of sugar. Mixing these dry ingredients well helps to evenly distribute the baking powder.
3. Add wet ingredients and form the dough
Next, pour in 1 cup of milk and 1/4 cup of olive oil. Mix until a soft dough forms. If the dough seems too sticky, sprinkle in a little more flour.
Shaping the Breadsticks
1. Kneading the dough
Place the dough on a lightly floured surface. Knead it gently for 1-2 minutes. This helps to develop the gluten, giving the breadsticks a nice texture.
2. Rolling out the dough
Roll the dough into a rectangle that is about 1/2 inch thick. Try to keep the thickness even for uniform cooking.
3. Cutting into strips
Use a sharp knife or pizza cutter to cut the dough into strips. Each strip should be about 1 inch wide and 6 inches long. This size will give you the perfect breadstick shape.
Baking Process
1. Placing on the baking sheet
Arrange the strips on the prepared baking sheet. Make sure to space them slightly apart to allow for rising and baking.
2. Adding seasonings and cheese
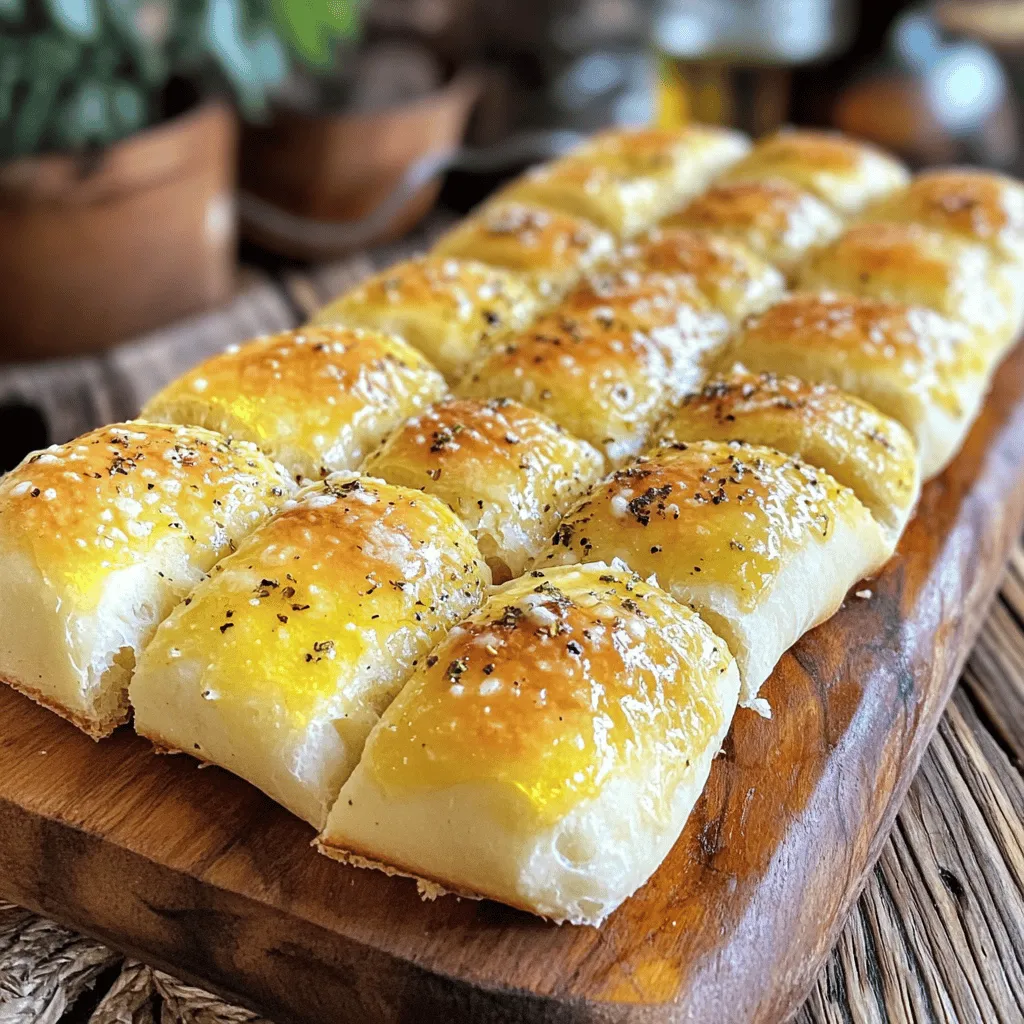
In a small bowl, mix 1 teaspoon of garlic powder and 1 teaspoon of dried oregano. Sprinkle this mixture over the breadsticks. Then, brush the tops with olive oil or melted butter. Finish by adding grated Parmesan cheese on top.
3. Baking time and temperature
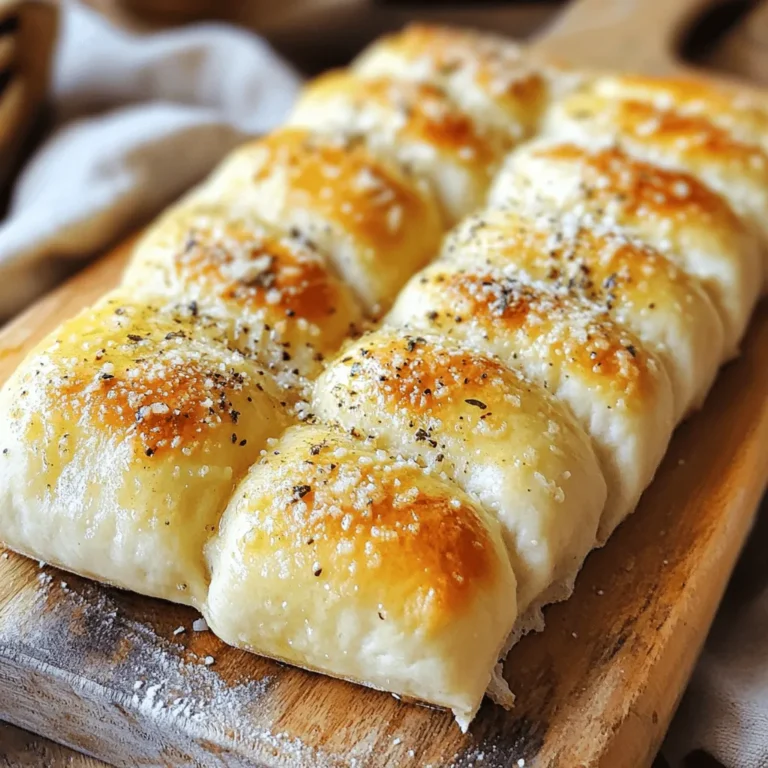
Bake the breadsticks in the preheated oven for 12-15 minutes or until they turn golden brown. Keep an eye on them to prevent over-baking. Enjoy the warm aroma as they cook!
Tips & Tricks
Best Practices for Dough Handling
To achieve the perfect dough consistency, focus on moisture. Your dough should feel soft but not sticky. If it feels too dry, add a little more milk. If it’s too wet, sprinkle in more flour.
For kneading, put your hands on the dough and push down, then fold it over. Repeat this for about 1-2 minutes. You want the dough to be smooth and elastic. When rolling, use a light touch. Roll it out gently to about 1/2 inch thick.
Flavor Enhancements
Add herbs and spices to boost flavor. Try adding rosemary, thyme, or even red pepper flakes to the dough. You can mix these in as you combine the dry ingredients.
For cheese variations, consider cheddar or mozzarella. You can also top the breadsticks with different cheeses before baking. This will give you a nice, cheesy crust.
Serving Suggestions
Serve your breadsticks with dips like marinara or garlic butter. They also pair well with soups and salads. For a fun presentation, arrange them in a tall glass. This makes them look great on the table.
For a twist, you can wrap them in prosciutto or bacon before baking. This adds a savory touch that everyone will love.
Variations
Gluten-Free Option
You can still enjoy breadsticks if you need a gluten-free option. Just swap the all-purpose flour for a gluten-free blend. Look for blends that contain xanthan gum to help with texture. Combine the flour with the other dry ingredients as normal. The rest of the steps stay the same. This makes it easy for everyone to enjoy these tasty treats!
Flavored Breadsticks
Flavors can take your breadsticks to the next level. You can add cheese, herbs, or spices right into the dough. Try mixing in shredded mozzarella or cheddar for cheesy goodness. Herbs like rosemary or thyme work well too. If you want stuffed breadsticks, roll out the dough and place your favorite fillings inside. Some great options are pepperoni, cheese, or even pesto. Roll them up and bake as usual for a fun twist!
Sweet Breadsticks
Transform your breadsticks into a dessert! You can do this by adding sugar and cinnamon to the dough. After baking, drizzle with icing made from powdered sugar and milk. You can also top them with chocolate or caramel sauce. Think of sweet breadsticks as a fun treat for dessert or a special snack. They are sure to please anyone with a sweet tooth.
Storage Info
How to Store Leftover Breadsticks
To keep your breadsticks fresh, store them in an airtight container. This method helps prevent them from drying out. Place a piece of parchment paper between layers if you stack them. If you want to refrigerate them, they can last up to four days. For longer storage, freezing is a great option. Wrap each breadstick in plastic wrap, then put them in a freezer bag. They will stay good for up to three months.
Reheating Instructions
When you’re ready to enjoy leftover breadsticks, reheating them is simple. For the best texture, use an oven. Preheat it to 350°F (175°C). Place the breadsticks on a baking sheet and heat for about 5-7 minutes. This method keeps them crisp and warm.
If you’re short on time, you can use a microwave. Place the breadsticks on a microwave-safe plate. Cover them with a damp paper towel to keep moisture in. Heat them for 15-20 seconds. While this method is quick, it may make them a bit softer.Enjoy your delicious treats!
FAQs
How long do homemade breadsticks last?
Homemade breadsticks can last for about 2 to 3 days at room temperature. Store them in an airtight container to keep them fresh. If you want them to last longer, place them in the fridge for up to a week. For even longer storage, freeze them for up to 3 months. Just make sure to wrap them well in plastic wrap or foil.
Can I use whole wheat flour?
Yes, you can use whole wheat flour in this recipe. However, it may change the texture and flavor. Whole wheat flour makes the breadsticks denser and gives a nuttier taste. You might want to mix it with all-purpose flour to balance the texture. A 50-50 mix works well for a good result.
What can I serve with breadsticks?
Breadsticks pair well with many dishes. You can serve them with marinara sauce for dipping. They also go great with soups like tomato soup or minestrone. For a light meal, try them with a fresh salad. You can even enjoy them with cheese spreads or hummus.
How to make breadsticks softer?
To make softer breadsticks, try a few simple tips. First, do not over-knead the dough; just mix until combined. Second, use milk instead of water for a richer taste. Lastly, brush them with olive oil or melted butter before baking. This adds moisture and helps keep them soft inside.
You learned how to make delicious breadsticks from scratch. We covered ingredients, step-by-step instructions, and tips for best results. You also discovered fun variations and storage methods. Remember, feel free to experiment with flavors and toppings. Homemade breadsticks can be a great addition to any meal. Enjoy your baking journey and share your tasty creations with family and friends!