WANT TO SAVE THIS RECIPE?
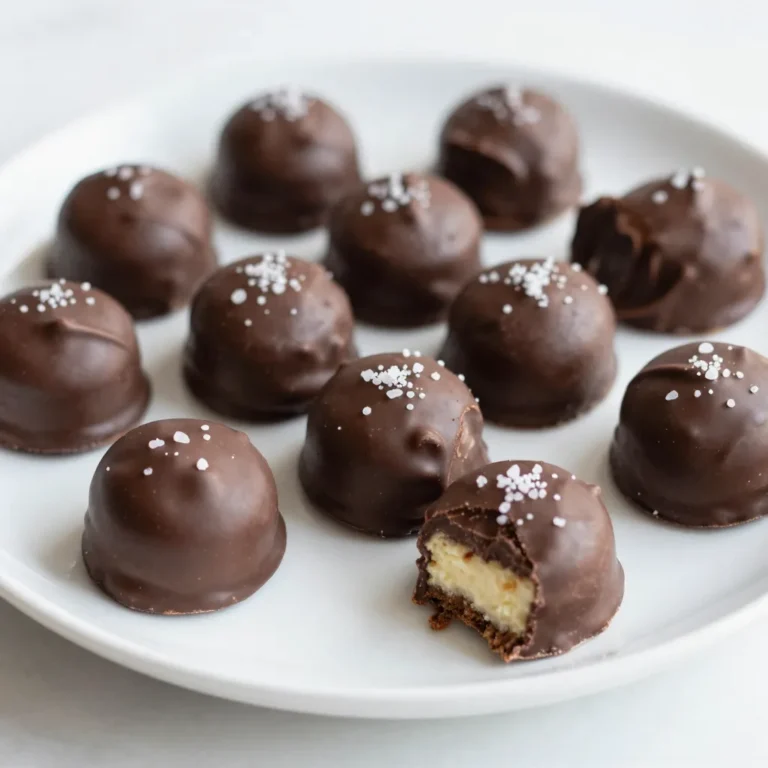
Are you ready for a dessert that packs a big punch? Chocolate covered cheesecake bites are the perfect treat for any occasion. With a creamy filling wrapped in rich chocolate, they are hard to resist. In this guide, I’ll share all the tips and tricks to make your bites irresistible. From must-have ingredients to delicious variations, let’s dive into this sweet adventure together!
Why I Love This Recipe
- Decadent Flavor: The combination of creamy cheesecake and rich chocolate creates an irresistible dessert that satisfies any sweet tooth.
- Easy to Make: With minimal ingredients and straightforward steps, these cheesecake bites can be whipped up in no time.
- Perfect for Any Occasion: Whether it’s a party, holiday, or simply a treat for yourself, these bites are always a hit!
- Customizable: Feel free to experiment with different toppings or add-ins, like nuts or flavored chocolate, to make them your own.
Ingredients
List of Required Ingredients
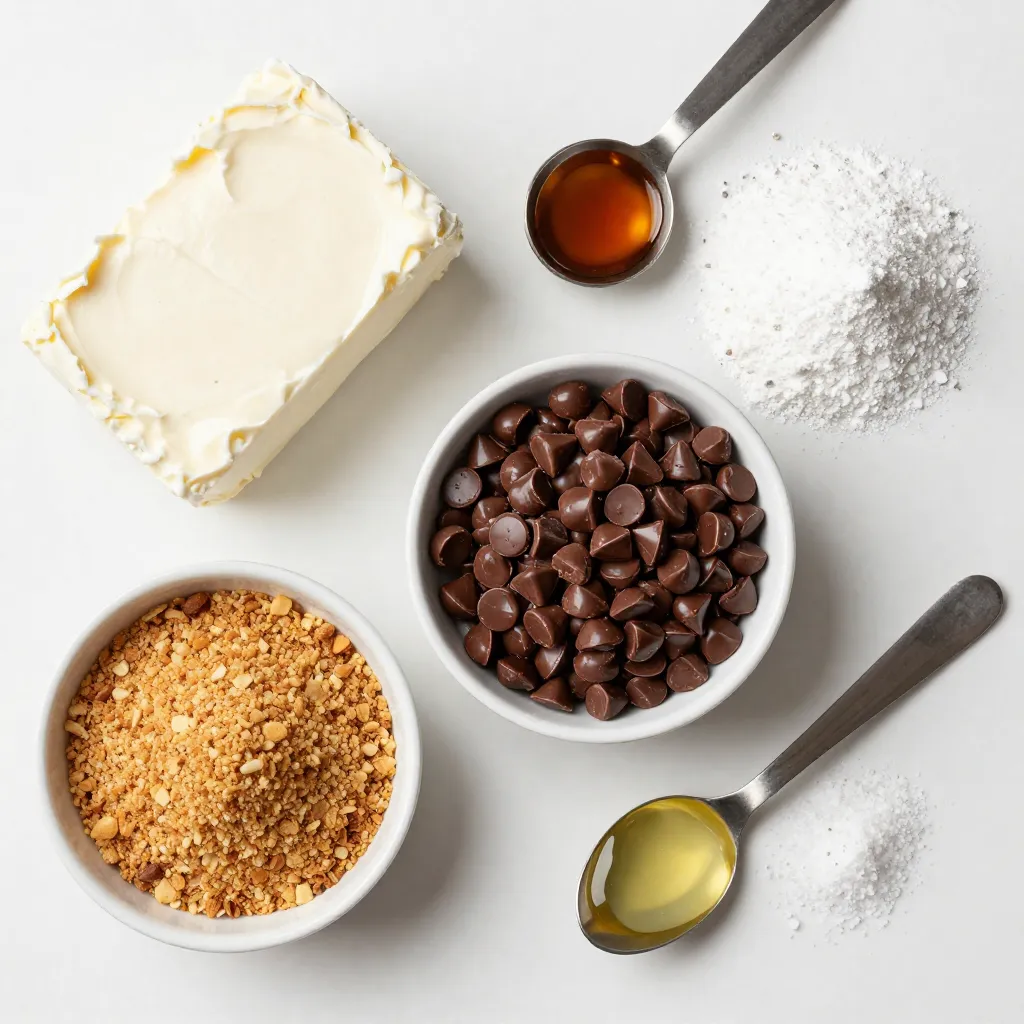
To make these chocolate-covered cheesecake bites, gather these key items:
– 8 oz cream cheese, softened
– 1/4 cup powdered sugar
– 1 teaspoon vanilla extract
– 1 cup graham cracker crumbs
– 1 cup semi-sweet chocolate chips
– 1 tablespoon coconut oil (or vegetable shortening)
– Sea salt (for garnish)
These ingredients create a rich, creamy filling and a smooth chocolate coat.
Optional Ingredients for Variations
You can add fun twists to your cheesecake bites. Here are some ideas:
– Chopped nuts for crunch
– Fresh fruit puree mixed into the filling
– Flavored extracts like almond or lemon
– Different types of chocolate, like dark or white
Experimenting with these options can lead to tasty new flavors.
Best Brands or Types of Ingredients to Use
Choosing the right brands makes a big difference. Here are my top picks:
– Cream Cheese: Philadelphia is a classic choice. It’s creamy and rich.
– Chocolate Chips: Ghirardelli or Nestlé work well. They melt smoothly.
– Graham Crackers: Honey Maid offers a great flavor and texture.
– Coconut Oil: Spectrum or Nutiva brands are good for melting.
Using quality ingredients enhances the taste of your bites. Enjoy crafting these delightful treats!

Step-by-Step Instructions
Preparing the Cheesecake Mixture
Start with 8 ounces of softened cream cheese. In a large bowl, mix the cream cheese, 1/4 cup of powdered sugar, and 1 teaspoon of vanilla extract. Use an electric mixer for best results. Beat until the mixture is smooth and creamy. This step is key for a great texture. Next, add 1 cup of graham cracker crumbs. Stir gently until everything is combined. The mix should hold together but still feel crumbly.
Forming the Bites
Now, it’s time to shape the cheesecake. Use a small cookie scoop or your hands to form the mixture into small balls. Aim for about 1 inch in diameter. Place each ball on a baking sheet lined with parchment paper. This helps prevent sticking. Once you form all the bites, freeze them for about 30 minutes. This makes them firm and easier to coat.
Melting the Chocolate and Dipping Process
While the bites freeze, prepare the chocolate. Take 1 cup of semi-sweet chocolate chips and 1 tablespoon of coconut oil. Place them in a microwave-safe bowl. Microwave in 30-second intervals. Stir between each interval until the chocolate is smooth and melted. After the cheesecake bites are firm, remove them from the freezer. Dip each bite into the melted chocolate. Let any extra chocolate drip off.
Once dipped, return them to the baking sheet. Before the chocolate sets, sprinkle a small pinch of sea salt on each one. This adds a nice contrast to the sweet chocolate. Finally, place the baking sheet in the refrigerator for about 15 minutes. This ensures the chocolate hardens properly. Enjoy your delicious treats!
Tips & Tricks
How to Achieve the Perfect Creamy Texture
To get a smooth and creamy texture, start with soft cream cheese. You can leave it out for about 30 minutes before mixing. This helps it blend easily. Use an electric mixer on medium speed to combine the cream cheese, powdered sugar, and vanilla extract. Mix until the mixture is completely smooth. If you want a richer flavor, consider adding a bit more vanilla extract.
Common Mistakes to Avoid
One common mistake is using cold cream cheese. Cold cheese makes it hard to mix. Another mistake is not measuring the ingredients correctly. Use measuring cups and spoons for accuracy. If the mixture feels too dry, add a tiny bit of milk to help it stick. Lastly, don’t skip the freezing step. Freezing helps the bites hold their shape when you dip them in chocolate.
Best Practices for Chocolate Melting
When melting chocolate, patience is key. Use a microwave-safe bowl and add chocolate chips and coconut oil. Heat in 30-second intervals. Stir after each interval until smooth. This avoids burning the chocolate. If you don’t have a microwave, you can melt chocolate in a bowl over simmering water. Just make sure the bowl doesn’t touch the water. This method gives you more control. Always dip the cheesecake bites in warm chocolate for an even coat.
Pro Tips
- Chill Your Ingredients: Ensure your cream cheese is softened but still cool for easier mixing and better texture.
- Use Quality Chocolate: Opt for high-quality chocolate chips for a richer flavor that complements the cheesecake filling.
- Perfect Dipping Technique: Dip the bites quickly to avoid melting the chocolate; use a fork for a smooth finish.
- Experiment with Flavors: Add a splash of almond extract or a sprinkle of citrus zest to the cream cheese mixture for a unique twist.
Variations
Flavored Cheesecake Bites (e.g., strawberry, lemon)
You can easily change the flavor of your cheesecake bites. For strawberry, add pureed strawberries to the cream cheese mix. Use about 1/4 cup for a nice berry burst. For lemon, mix in fresh lemon juice and zest. This brightens the taste and adds a zing. You can also try flavors like chocolate or coffee for fun twists.
Alternative Coatings (e.g., white chocolate, dark chocolate)
While semi-sweet chocolate is a classic choice, you can swap it for white or dark chocolate. White chocolate brings a sweet and creamy taste. Dark chocolate offers a rich flavor and a slight bitterness that balances the sweetness of the cheesecake. Just melt and dip the bites as you would with semi-sweet chocolate.
Adding Toppings (e.g., nuts, sprinkles)
Toppings make your cheesecake bites even more fun! Try adding chopped nuts like almonds or pecans for crunch. You can also sprinkle colorful sprinkles on top right after you dip them in chocolate. This adds a festive look and makes them extra special. Don’t forget a pinch of sea salt for a sweet-salty combo that everyone loves!
Storage Info
How to Store Chocolate Covered Cheesecake Bites
To keep your chocolate-covered cheesecake bites fresh, place them in an airtight container. Line the bottom of the container with parchment paper. This helps prevent sticking. You can stack them, but separate layers with more parchment paper. Store the container in the fridge. This keeps them cool and tasty.
Shelf Life and Freezing Tips
When stored properly, these bites last about a week in the fridge. If you want to keep them longer, freezing is a great option. Freeze them in a single layer on a baking sheet first. After they are frozen solid, transfer them to an airtight container. They can last up to three months in the freezer.
Reheating or Refreshing Leftover Bites
These bites taste best cold, so no need to heat them. If they seem a bit soft after thawing, pop them back in the fridge for a bit. This will help them firm up. Always enjoy them chilled for the best flavor and texture!
FAQs
Can I make these bites ahead of time?
Yes, you can make these bites ahead of time. After you form the cheesecake balls, you can freeze them for up to two weeks. Just keep them in an airtight container. When you want to serve them, dip them in chocolate and let them set.
What is the best way to serve chocolate-covered cheesecake bites?
I like to serve these bites chilled. Arrange them on a pretty plate. You can add fresh berries or mint leaves for a nice touch. Guests enjoy the look and flavor. These bites make a fun dessert for parties or family gatherings.
Are there any dairy-free options for this recipe?
Yes, you can make these bites dairy-free. Substitute the cream cheese with a dairy-free cream cheese. Use dairy-free chocolate chips for the coating. This way, everyone can enjoy these tasty treats!
You learned how to make delicious chocolate-covered cheesecake bites. We covered key ingredients, preparation steps, and essential tips. With variations, you can customize each bite to your taste. You can store them for later, too.
These bites are fun to make and share. Now you have all the info you need. Enjoy impressing your friends and family with these tasty treat
Chocolate Covered Cheesecake Bites
Delicious bite-sized treats with a creamy cheesecake center, covered in rich chocolate.
Prep Time 20 minutes mins
Total Time 1 hour hr
Course Dessert
Cuisine American
Servings 12
Calories 100 kcal
- 8 oz cream cheese, softened
- 1/4 cup powdered sugar
- 1 teaspoon vanilla extract
- 1 cup graham cracker crumbs
- 1 cup semi-sweet chocolate chips
- 1 tablespoon coconut oil (or vegetable shortening)
- to taste sea salt (for garnish)
In a mixing bowl, combine the softened cream cheese, powdered sugar, and vanilla extract. Beat with an electric mixer until smooth and creamy.
Stir in the graham cracker crumbs until fully incorporated. The mixture should hold together but be slightly crumbly.
Use a small cookie scoop or your hands to form the mixture into small balls (about 1 inch in diameter) and place them on a parchment-lined baking sheet.
Freeze the cheesecake bites for about 30 minutes or until firm.
Meanwhile, in a microwave-safe bowl, combine the chocolate chips and coconut oil. Microwave in 30-second intervals, stirring in between until the chocolate is fully melted and smooth.
Remove the cheesecake bites from the freezer. Dip each bite into the melted chocolate, allowing any excess chocolate to drip off.
Place the chocolate-covered bites back on the baking sheet. Sprinkle a small pinch of sea salt on top of each bite before the chocolate sets.
Once all bites are dipped and garnished, place the baking sheet in the refrigerator for about 15 minutes or until the chocolate hardens.
Arrange the bites on a decorative plate, garnished with a few fresh berries or mint leaves for a pop of color.
Keyword bites, cheesecake, chocolate, dessert, snack
WANT TO SAVE THIS RECIPE?