WANT TO SAVE THIS RECIPE?
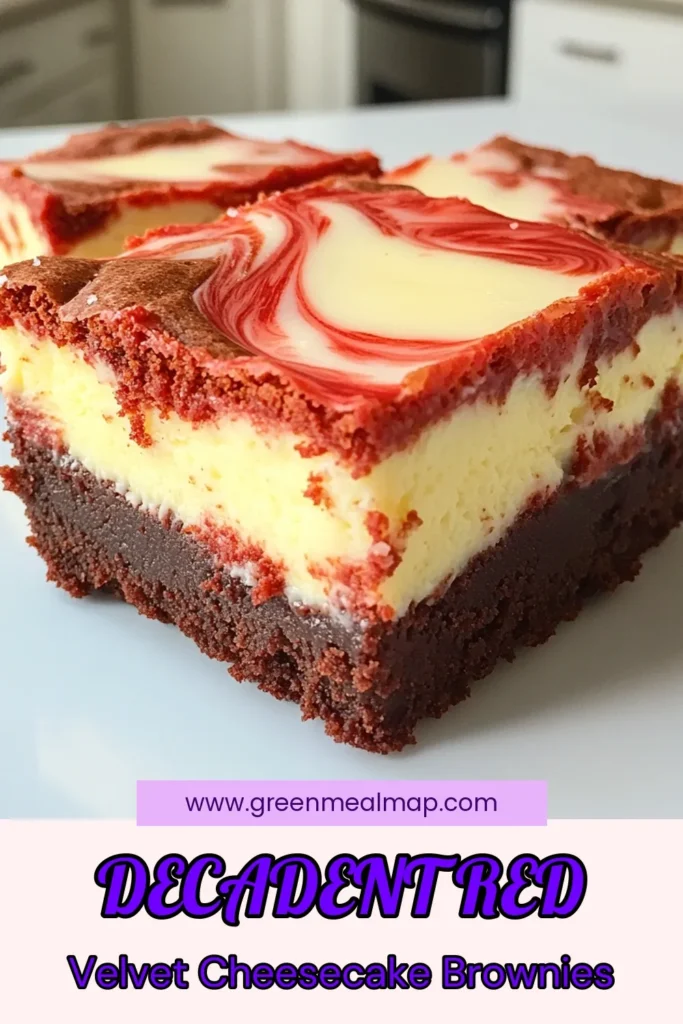
If you love desserts that look as good as they taste, you’ll adore these Red Velvet Cheesecake Brownies. Rich, creamy, and with a vibrant red hue, they bring joy to any occasion. This recipe combines the classic flavor of red velvet with a luscious cheesecake layer, creating a treat that’s both decadent and unforgettable. Let’s dive into the delightful world of baking these sweet beauties!
Why I Love This Recipe
- Decadent Flavor: The rich combination of red velvet and cheesecake creates a luxurious dessert that is both visually stunning and delicious.
- Perfect for Any Occasion: These brownies are ideal for celebrations, holidays, or just a special treat at home.
- Easy to Make: With straightforward steps and simple ingredients, this recipe is beginner-friendly and quick to prepare.
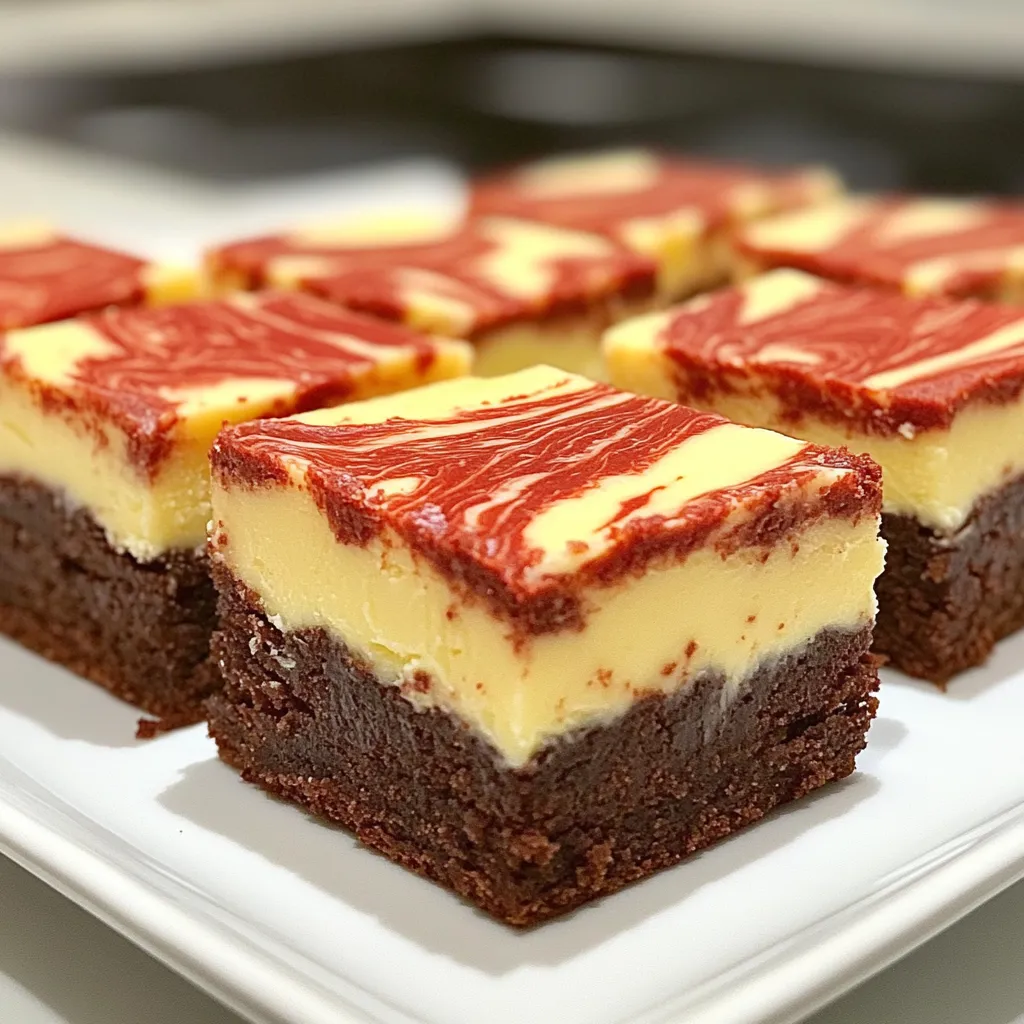
- Impressive Presentation: The marbled effect not only tastes amazing but also looks beautiful, making it a showstopper for your dessert table.
Ingredients
To create the best Red Velvet Cheesecake Brownies, you’ll need a few key ingredients. Here’s a handy list to gather before you start:
– 1 cup unsalted butter, melted
– 1 ½ cups granulated sugar
– 1 teaspoon vanilla extract
– 4 large eggs
– 1 ½ cups all-purpose flour
– 2 tablespoons cocoa powder
– 1 teaspoon baking powder
– ½ teaspoon salt
– 1 tablespoon red food coloring
– 1 package (8 oz) cream cheese, softened
– 1/3 cup powdered sugar
– 1 teaspoon lemon juice
– 1 teaspoon vanilla extract (for cheesecake layer)
Each ingredient plays a vital role in the flavor and texture of these brownies. The unsalted butter gives richness, while the granulated sugar adds sweetness. Vanilla extract enhances flavor, making each bite more delightful.
The eggs bind everything together. All-purpose flour provides structure, while cocoa powder adds that classic chocolatey taste. Baking powder helps the brownies rise, and salt balances the sweetness.
Red food coloring gives that signature red hue, making these treats visually stunning. Cream cheese adds a creamy, tangy layer that pairs so well with the brownie base. The powdered sugar sweetens the cheesecake layer, and lemon juice brightens the flavor.
Gather these ingredients to get started on your decadent baking adventure. Each one is crucial for making your Red Velvet Cheesecake Brownies a hit!

Step-by-Step Instructions
Preheat and Prepare Baking Pan
First, preheat your oven to 350°F (175°C). This step is key to get the brownies just right. Next, take a 9×13 inch baking pan. You can grease it with butter or line it with parchment paper. Either way works well!
Mixing Wet Ingredients
In a large bowl, combine 1 cup of melted unsalted butter, 1 ½ cups of granulated sugar, and 1 teaspoon of vanilla extract. Mix these together until they blend smoothly. This mixture should be creamy and inviting. Now, add 4 large eggs, one at a time. Make sure to mix well after each egg. Finally, stir in 1 tablespoon of red food coloring. This will give your brownies that lovely red hue.
Combining Dry Ingredients
In another bowl, whisk together 1 ½ cups of all-purpose flour, 2 tablespoons of cocoa powder, 1 teaspoon of baking powder, and ½ teaspoon of salt. Mixing these dry ingredients well is important. Gradually add this dry mix into the wet ingredients. Stir until just combined. Don’t overmix; a few lumps won’t hurt!
Creating the Cheesecake Layer
Now, let’s make the cheesecake layer. In a separate bowl, beat 1 package (8 oz) of softened cream cheese until it is smooth. Add 1/3 cup of powdered sugar, 1 teaspoon of lemon juice, and 1 teaspoon of vanilla extract. Mix until creamy and free of lumps. This mixture should be thick but spreadable.
Assembling the Layers
Pour half of your brownie batter into the prepared pan. Spread it evenly across the bottom. Then, spoon dollops of the cheesecake mixture over the brownie layer. Use a knife or skewer to gently swirl the cream cheese into the brownie batter. Next, pour the remaining brownie batter on top. Swirl the two layers together lightly for a nice marbled effect.
Baking and Cooling Process
Bake the brownies for 30-35 minutes. To check if they are done, insert a toothpick into the center. It should come out with a few moist crumbs but not wet batter. Once baked, let the brownies cool completely in the pan. This cooling step helps you cut them into pretty squares later!
Tips & Tricks
Achieving the Perfect Red Color
To get that bright red color, use good red food coloring. Gel or liquid works well. Add one tablespoon to your wet mix after the eggs. Mix it well so the color spreads evenly. If you want a deeper red, add a bit more food coloring. Just remember, a little goes a long way.
Ensuring Cream Cheese Layer is Smooth
For a creamy cheesecake layer, start with softened cream cheese. This helps it mix smoothly with the sugar and lemon juice. Beat the cream cheese alone first. Once it’s smooth, add the powdered sugar and lemon juice. Mix until there are no lumps. This step is key for a nice texture.
Swirling Techniques for Best Results
When you add the cream cheese mixture, use a spoon to dollop it. Be gentle but quick. Then, take a knife or skewer and swirl it lightly. Don’t overdo it! You want a marble effect, not a full mix. A few swirls create a beautiful look and keep the layers distinct.
Pro Tips
- Use Room Temperature Ingredients: Make sure your eggs and cream cheese are at room temperature for easier mixing and a smoother batter.
- Don’t Overmix: When combining the dry and wet ingredients, mix just until combined to keep the brownies fudgy and tender.
- Check for Doneness: To avoid overbaking, check the brownies a few minutes before the recommended time; they should have a few moist crumbs on the toothpick.
- Cool Before Cutting: Allow the brownies to cool completely in the pan before cutting to ensure clean edges and a beautiful presentation.
Variations
Gluten-Free Options
You can easily make these brownies gluten-free. Just swap all-purpose flour for a gluten-free blend. Look for a blend that works well in baking. This way, everyone can enjoy them without worry!
Adding Nuts or Chocolate Chips
Want some crunch? Try adding nuts or chocolate chips! Walnuts or pecans add a nice texture. You can also add dark or white chocolate chips. Just fold them into the brownie batter before baking. This makes each bite even more special.
Alternative Frostings or Toppings
If you want to change it up, use different frostings or toppings. A simple cream cheese frosting works great. You can also top with whipped cream or fresh berries. This adds color and flavor. Mix and match to find your perfect combo!
Storage Info
Best Practices for Storing Brownies
To keep your Red Velvet Cheesecake Brownies fresh, store them in an airtight container. Make sure they are completely cool before sealing. You can keep them at room temperature for up to three days. If you want to extend their life, refrigerate them for up to a week. Just remember that chilling may change their texture slightly, making them firmer.
Freezing Instructions
Freezing these brownies is simple and effective. Cut them into squares first, then wrap each piece tightly in plastic wrap. Place the wrapped brownies in a freezer-safe bag or container. They can last up to three months in the freezer. When you crave a treat, just take out a piece and let it thaw in the fridge or at room temperature.
How to Reheat for Freshness
To reheat your brownies, preheat your oven to 350°F (175°C). Place the brownies on a baking sheet and cover them with foil. Heat for about 10 minutes, or until warm. You can also microwave them for 10-15 seconds. This will make them soft and fresh again, just like when you first baked them!
FAQs
Can I use different food coloring?
Yes, you can use other colors. Choose any gel or liquid food coloring. Red is classic, but feel free to experiment. Just keep in mind that the flavor may change slightly with different colors.
What if I don’t have cream cheese?
If you lack cream cheese, try using ricotta or mascarpone. Both will give you a creamy texture. You can also use Greek yogurt, but it will taste different. Add a bit more powdered sugar to sweeten it up.
How do I know when the brownies are done?
Check your brownies after 30 minutes of baking. Insert a toothpick into the center. If it comes out with a few moist crumbs, they are done. If it comes out wet, bake for a few more minutes. Avoid overbaking; you want them soft and chewy.
Can I make these brownies ahead of time?
Absolutely! You can bake them a day in advance. Store them in an airtight container at room temperature. They will stay fresh and tasty. You can also freeze them for later. Just wrap them tightly and thaw before serving.
We explored the tasty world of red velvet brownies today. We covered the key ingredients, step-by-step baking methods, and helpful tips. You learned ways to customize your brownies and how to store them for later. Remember, the right color and smooth cream cheese are key for the best taste. Enjoy your baking and have fun experimenting. These brownies are a hit for any occasio
Red Velvet Cheesecake Brownies
Deliciously rich red velvet brownies swirled with a creamy cheesecake layer.
Prep Time 20 minutes mins
Cook Time 35 minutes mins
Total Time 55 minutes mins
Course Dessert
Cuisine American
Servings 12
Calories 250 kcal
- 1 cup unsalted butter, melted
- 1.5 cups granulated sugar
- 1 teaspoon vanilla extract
- 4 large eggs
- 1.5 cups all-purpose flour
- 2 tablespoons cocoa powder
- 1 teaspoon baking powder
- 0.5 teaspoon salt
- 1 tablespoon red food coloring
- 1 package (8 oz) cream cheese, softened
- 1.3 cups powdered sugar
- 1 teaspoon lemon juice
- 1 teaspoon vanilla extract (for cheesecake layer)
Preheat your oven to 350°F (175°C). Grease a 9x13 inch baking pan or line it with parchment paper.
In a large mixing bowl, combine melted butter, granulated sugar, and 1 teaspoon of vanilla extract. Mix until well combined.
Add the eggs, one at a time, mixing well after each addition. Then, stir in the red food coloring.
In another bowl, whisk together the flour, cocoa powder, baking powder, and salt. Gradually add the dry ingredients to the wet ingredients, mixing until just combined.
Pour half of the brownie batter into the prepared baking pan, spreading it evenly.
In a separate bowl, beat the softened cream cheese until smooth. Add powdered sugar, lemon juice, and 1 teaspoon of vanilla extract. Mix until creamy and no lumps remain.
Spoon dollops of the cream cheese mixture over the brownie layer in the pan, then use a knife or skewer to swirl it gently into the brownie batter.
Pour the remaining brownie batter on top of the cheesecake layer, and use the knife to swirl the two layers together slightly for a marbled effect.
Bake for 30-35 minutes or until a toothpick inserted into the center comes out with a few moist crumbs (but not wet).
Allow the brownies to cool completely in the pan before cutting them into squares.
Allow brownies to cool completely for best texture before cutting.
Keyword brownies, cheesecake, red velvet
WANT TO SAVE THIS RECIPE?